
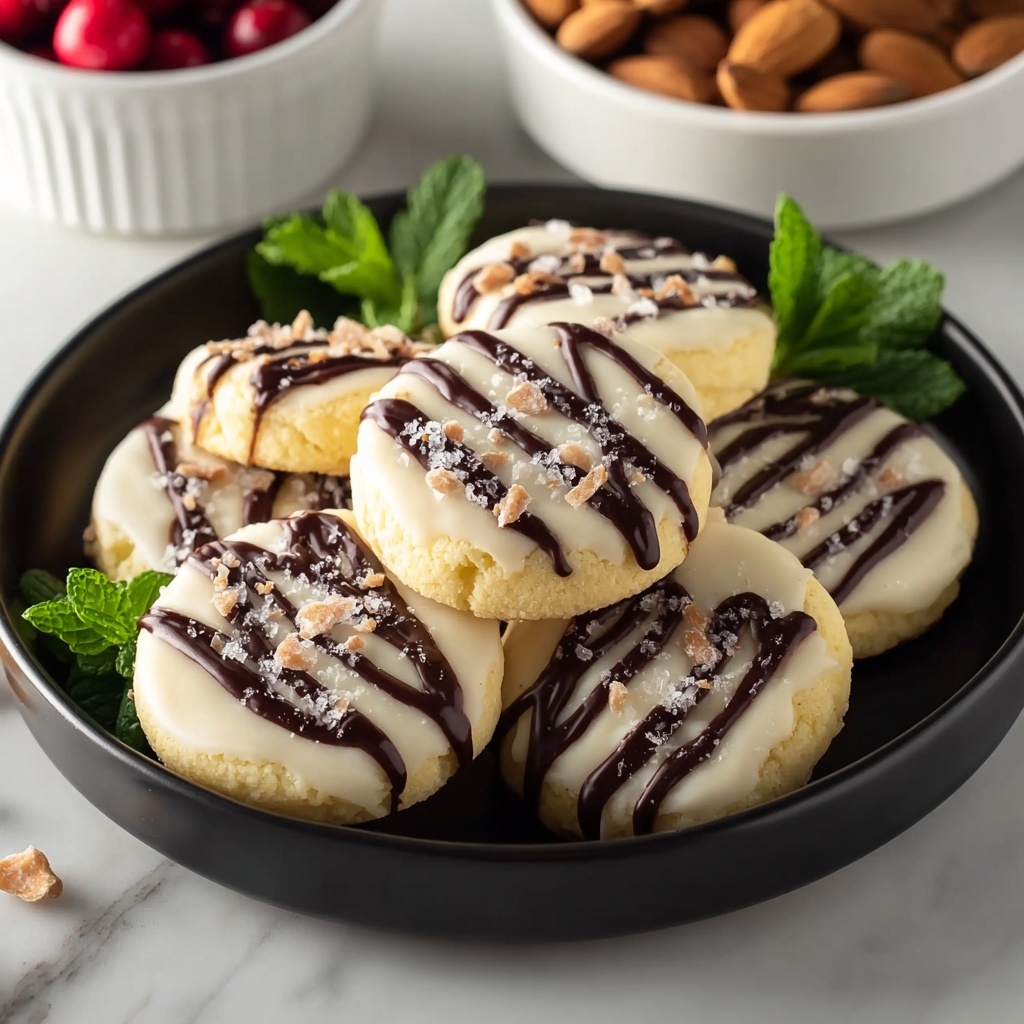
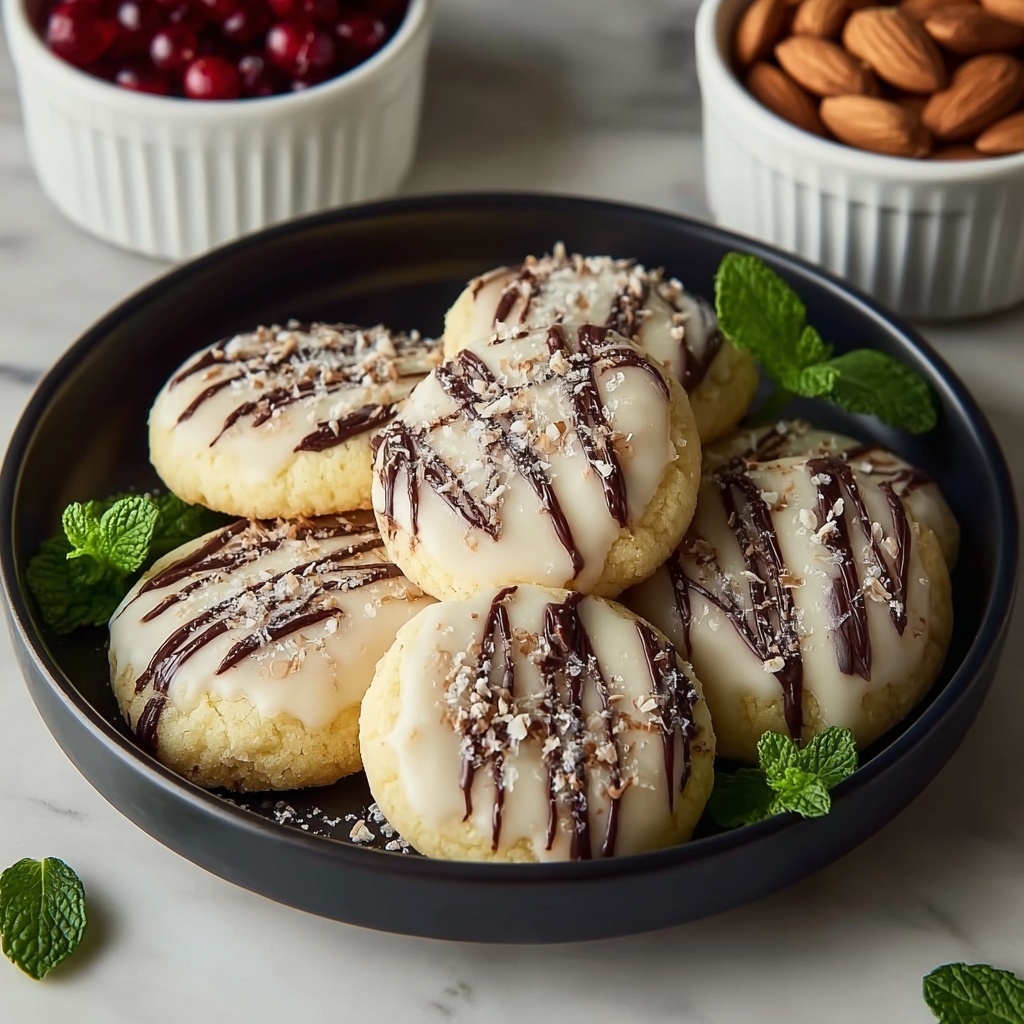
If you’ve been looking for a fun, visually stunning treat that also tastes absolutely divine, this Zebra Cookies Recipe is just what your baking dreams are made of. These cookies boast a beautiful swirl of vanilla and chocolate dough, creating a striking zebra stripe pattern that’s as delightful to look at as it is to eat. They’re buttery, soft, and perfectly sweet with just the right hint of cocoa, making them a fantastic choice for sharing with friends or enjoying as a special snack. Once you get the hang of the simple folding technique, these cookies become a charming showstopper that everyone will adore.
Ingredients You’ll Need
These ingredients are refreshingly straightforward, yet each one plays a crucial role in crafting the delicious texture and marbled look of the Zebra Cookies Recipe. From rich butter for tenderness to cocoa powder for that luscious chocolate swirl, here’s what you’ll want to gather before you start baking.
- 2 1/2 cups all-purpose flour: The sturdy base provides structure without making cookies tough.
- 1 teaspoon baking soda: This helps the cookies rise just enough for a light bite.
- 1/2 teaspoon salt: Enhances all the flavors and balances the sweetness.
- 1 cup unsalted butter, softened: Gives the cookies their rich, melt-in-your-mouth texture.
- 1 cup granulated sugar: Sweetens perfectly and helps with browning.
- 1 large egg: Binds all ingredients together and adds moisture.
- 2 teaspoons vanilla extract: Infuses the dough with warm, aromatic notes.
- 1/4 cup cocoa powder: Adds the vibrant chocolate tone and flavor for the zebra stripes.
- 2 tablespoons milk: Softens the cocoa dough to create a smooth consistency.
How to Make Zebra Cookies Recipe
Step 1: Prep Your Oven and Baking Sheets
Preheat your oven to 350°F (175°C). Line two baking sheets with parchment paper or silicone mats to ensure your cookies bake evenly and don’t stick. This simple preparation step sets you up for success.
Step 2: Mix the Dry Ingredients
In a medium bowl, whisk the all-purpose flour, baking soda, and salt together. This dry blend is what guarantees even flavor and texture throughout the dough, so don’t skip this step!
Step 3: Cream Butter and Sugar
In a large bowl, beat the softened butter and granulated sugar until the mixture is light and fluffy—about three minutes using a hand or stand mixer. This is where the magic of texture begins, giving your cookies a tender yet airy base.
Step 4: Add Egg and Vanilla
Mix the egg and vanilla extract into the butter-sugar base until fully combined. This adds moisture and a wonderful aromatic undertone that everyone will love.
Step 5: Incorporate Dry Ingredients Carefully
Gradually add your flour mixture to the wet ingredients and mix just until everything comes together. Avoid overmixing here to keep your cookies tender and soft.
Step 6: Divide the Dough
Split the dough evenly into two bowls. This is where you prepare your contrasting vanilla and chocolate halves, which create the signature zebra look.
Step 7: Make the Chocolate Dough
To one half, add cocoa powder and milk. Stir thoroughly until the dough is a smooth, deep chocolate shade. This chocolate dough is what gives your cookies their striking stripes.
Step 8: Form the Zebra Cookie Balls
Roll tablespoon-sized portions of plain dough and chocolate dough into individual balls. Then gently press one vanilla ball and one chocolate ball together to form a two-tone sphere—the start of your zebra pattern.
Step 9: Arrange and Bake
Place these marbled dough balls on your prepared baking sheets, spacing them so they have room to spread. Bake for 8–10 minutes until the cookies are set but still soft in the middle, then let them cool for 5 minutes on the sheets before transferring to a rack.
Step 10: Enjoy the Beautiful Result
Once cooled, you’ll love admiring the natural zebra stripes while savoring the perfect balance of vanilla and chocolate flavors. These cookies not only taste amazing but also look fantastic on any dessert tray.
How to Serve Zebra Cookies Recipe
Garnishes
Sprinkle a little powdered sugar lightly over the cooled cookies to accentuate the zebra stripes and add a hint of delicate sweetness. You can also drizzle melted white or dark chocolate for an elegant touch that takes these cookies to the next level.
Side Dishes
Pair Zebra Cookies with a cold glass of milk or a cup of rich coffee to complement their buttery texture and chocolaty notes. Fresh berries or a dollop of whipped cream add a fresh, bright contrast that makes each bite even more delightful.
Creative Ways to Present
Arrange these cookies in a spiral pattern on a decorative plate to highlight their marbled effect. For parties, stack them in a clear jar or gift box with a colorful ribbon to make a stunning edible gift that’s sure to impress friends and family.
Make Ahead and Storage
Storing Leftovers
Keep your Zebra Cookies Recipe fresh by storing them in an airtight container at room temperature. They’ll stay soft and delicious for about 3 to 5 days—perfect for sneaking an extra treat or two.
Freezing
If you want to keep these cookies longer, freeze them in a sealed container or freezer bag for up to three months. Just make sure to separate layers with parchment paper so they don’t stick together.
Reheating
To enjoy your frozen cookies, thaw them at room temperature or warm briefly in the oven at 300°F (150°C) for 5 minutes. This refreshes their soft texture and enhances the chocolate aroma beautifully.
FAQs
Can I use melted butter instead of softened butter?
For Zebra Cookies Recipe, softened butter is best because it helps whip in air, creating that light and fluffy dough texture. Melted butter could make your cookies denser and less tender.
Why do I need to add milk to the cocoa dough?
The milk softens the cocoa powder and helps achieve a smooth, consistent chocolate dough that blends well when pressed with the vanilla dough balls, ensuring those perfect zebra stripes.
Can I substitute the cocoa powder with chocolate chips?
While chocolate chips add great flavor, they won’t provide the same even chocolate color or consistency needed for the striped pattern. Cocoa powder is essential for that classic zebra look.
What if my cookies spread and lose the zebra pattern?
Make sure your dough isn’t too warm before baking and keep the balls firmly pressed together. Also, spacing them adequately on the sheet prevents merging and keeps stripes distinct.
Are these cookies gluten-free?
This Zebra Cookies Recipe uses all-purpose flour, which contains gluten. However, you can experiment with gluten-free flour blends—just be aware the texture may vary slightly.
Final Thoughts
Making the Zebra Cookies Recipe is a joyful experience that results in charming and scrumptious treats. They’re straightforward to prepare, a feast for the eyes, and wonderfully satisfying to eat. I wholeheartedly encourage you to give this recipe a try—it’s a sweet way to brighten any gathering or simply indulge yourself with a homemade delight that’s as fun to make as it is to enjoy.
Print
Zebra Cookies Recipe
- Prep Time: 0h 20m
- Cook Time: 0h 10m
- Total Time: 0h 30m
- Yield: 12 to 15 cookies
- Category: Dessert
- Method: Baking
- Cuisine: American
- Diet: Vegetarian
Description
Zebra Cookies are delightful two-toned cookies featuring a swirl of vanilla and chocolate flavors. These soft, marbled cookies are easy to make and perfect for any occasion, combining a classic vanilla dough with a rich cocoa-infused dough, creating a visually stunning and delicious treat.
Ingredients
Dry Ingredients
- 2 1/2 cups all-purpose flour
- 1 teaspoon baking soda
- 1/2 teaspoon salt
Wet Ingredients
- 1 cup unsalted butter, softened
- 1 cup granulated sugar
- 1 large egg
- 2 teaspoons vanilla extract
- 2 tablespoons milk
Additional
- 1/4 cup cocoa powder
Instructions
- Preheat oven: Preheat your oven to 350°F (175°C) and line two baking sheets with parchment paper or silicone mats to prevent sticking and ensure even baking.
- Mix dry ingredients: In a medium bowl, whisk together the all-purpose flour, baking soda, and salt until well combined. Set aside for later.
- Cream butter and sugar: In a large mixing bowl, use a hand mixer or stand mixer to cream the softened unsalted butter and granulated sugar on medium speed until the mixture is light and fluffy, about 3 minutes.
- Add egg and vanilla: Beat in the large egg and vanilla extract until the mixture is fully incorporated and smooth.
- Combine dry and wet ingredients: Gradually add the flour mixture to the wet ingredients, mixing just until combined; avoid overmixing to keep the cookies tender.
- Divide dough: Split the dough evenly into two separate bowls for flavoring.
- Add cocoa and milk: To one bowl of dough, stir in the cocoa powder and milk until the dough becomes a smooth, uniform chocolate dough.
- Prepare dough balls: From each dough, roll tablespoon-sized portions separately into balls.
- Form two-toned balls: Place one plain dough ball together with one chocolate dough ball and gently press to slightly stick them, creating a marbled two-tone effect.
- Arrange on baking sheets: Continue alternating and pairing dough balls, placing about 12 to 15 combined balls on each baking sheet, spaced slightly apart to allow for expansion.
- Bake cookies: Bake in the preheated oven for 8 to 10 minutes, until cookies are set but still soft in the center.
- Cool: Remove cookies from oven and let cool on the baking sheets for 5 minutes, then transfer to wire racks to cool completely.
- Serve and enjoy: Enjoy your beautiful zebra cookies with a unique marbled pattern and delicious flavor combination!
Notes
- Ensure butter is softened to room temperature for easier creaming and better texture.
- Do not overmix dough once flour is added to avoid tough cookies.
- Use parchment paper or silicone mats for easy cookie removal and clean-up.
- You can chill the dough before baking if the dough balls are too soft to handle.
- Store baked cookies in an airtight container at room temperature for up to 5 days.

