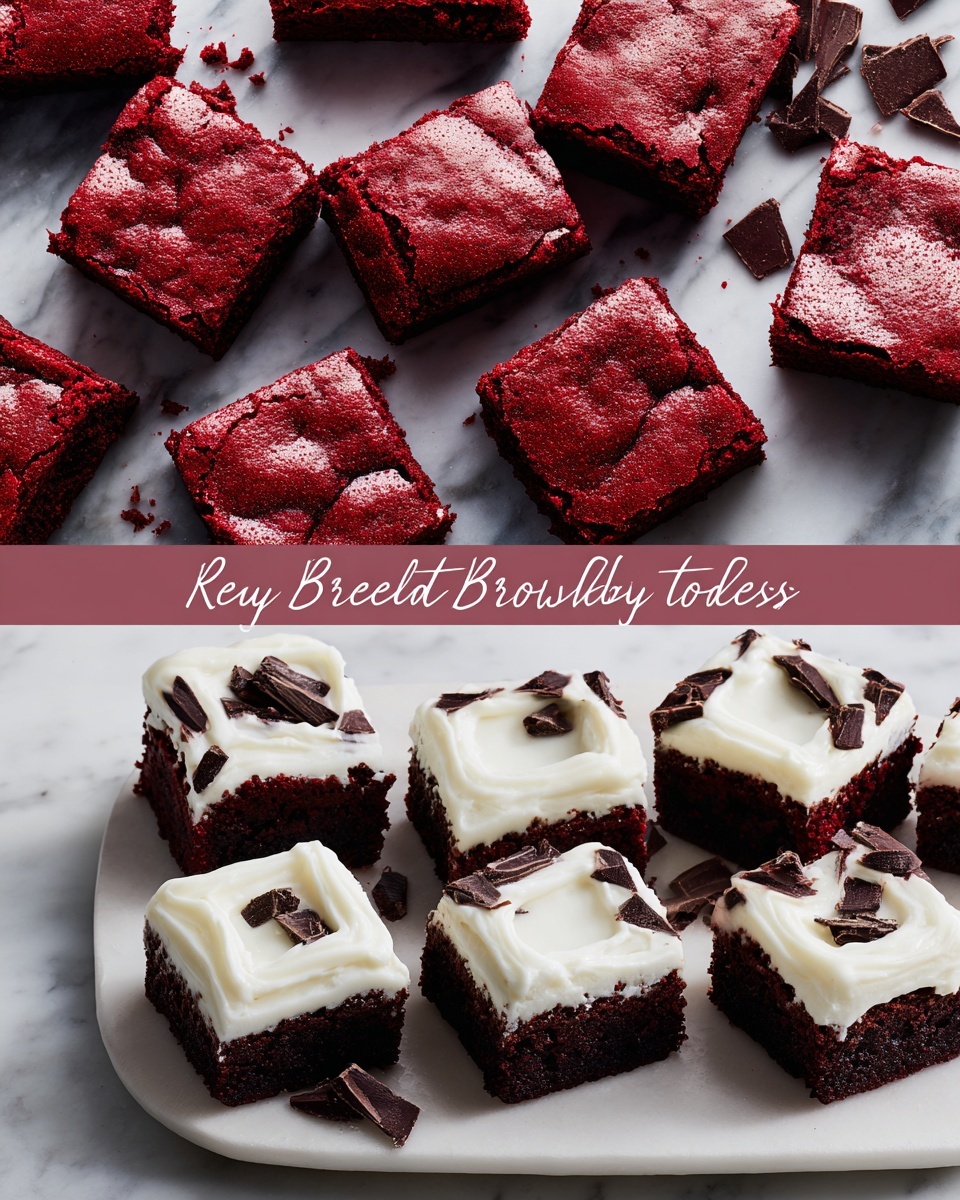
If you’re on the hunt for a rich, indulgent treat that absolutely melts in your mouth, your search ends here with The Best Fudgy Red Velvet Brownies Recipe. These brownies combine the deep chocolatey goodness of cocoa with the signature tangy twist of red velvet, creating an irresistible dessert that’s both moist and decadently fudgy. Whether you’re baking for a special occasion or just craving a homemade sweet fix, this recipe promises that perfect balance of flavor and texture that keeps everyone coming back for seconds.
Ingredients You’ll Need
Gathering your ingredients is the first exciting step toward these luscious brownies. Each one is chosen to build the rich flavor, velvety texture, and that iconic red hue that makes this recipe stand out.
- Unsalted butter (1/2 cup): Melts into the batter to create a moist, tender crumb and adds rich flavor without overpowering.
- Granulated sugar (1 cup): Sweetens and helps achieve that balanced fudginess with a slight crisp top.
- Large eggs (2): Bind everything together while contributing to the silky texture.
- Vanilla extract (1 tsp): Enhances the chocolate and red velvet flavors with subtle aromatic depth.
- Unsweetened cocoa powder (1/2 cup): Provides the rich chocolate base that defines the “fudgy” in the brownies.
- All-purpose flour (1/2 cup): Just enough to hold the fudgy batter in place without making it cakey.
- Salt (1/4 tsp): Balances sweetness and brings out the chocolate’s richness.
- Baking powder (1/4 tsp): Adds a touch of lift to keep the texture soft and tender.
- Buttermilk (1/2 cup): Infuses a slight tang and moistens the batter, enhancing that classic red velvet taste.
- Red food coloring (1–2 tbsp): Gives the brownies that stunning, vibrant red signature shade—adjust for your perfect hue.
- Red velvet cake mix (1 tbsp, optional): For an extra boost of authentic red velvet flavor if you want to take it up a notch.
- Mini marshmallows (1/2 cup, optional): Fold in these for pockets of gooey, melty deliciousness.
- Powdered sugar (for dusting, optional): Adds a pretty and sweet finishing touch before serving.
How to Make The Best Fudgy Red Velvet Brownies Recipe
Step 1: Preheat the Oven and Prepare Your Pan
Start by heating your oven to a cozy 350°F (175°C). Grease an 8×8 inch pan and line it with parchment paper—this simple step ensures your brownies come out perfectly intact and easy to slice.
Step 2: Melt Butter and Mix Sugar
In a medium saucepan, gently melt the butter over low heat. Once melted, take it off the heat and stir in the granulated sugar until fully combined. This blend sets the stage for the brownies’ tender, fudgy texture and that lovely top crust.
Step 3: Incorporate Eggs and Vanilla
Beat in the eggs one at a time, mixing well after each addition to create a smooth batter. Then, add the vanilla extract for a warm, inviting aroma that complements the cocoa and red velvet flavors beautifully.
Step 4: Whisk Dry Ingredients Separately
In a separate bowl, combine the cocoa powder, flour, salt, and baking powder. Whisk them together well to ensure even distribution—this keeps the brownies free of clumps and perfectly textured.
Step 5: Combine Dry and Wet Ingredients
Add the dry ingredient mixture gradually to your butter-sugar-egg blend, stirring just until combined to avoid over-mixing. Then pour in the buttermilk, red food coloring, and if using, the red velvet cake mix. Stir until the batter is smooth and evenly rich in its beautiful red color.
Step 6: Fold in Mini Marshmallows
If you’re going all out, gently fold the mini marshmallows into the batter. These little gems melt as they bake, creating delightful gooey pockets inside the fudgy brownies for an extra layer of indulgence.
Step 7: Bake to Perfection
Pour the batter into your prepared pan, smoothing it out evenly. Bake for 25 to 30 minutes or until a toothpick inserted near the center comes out with a few moist crumbs clinging to it. You want the brownies firm but still with that signature fudgy richness.
Step 8: Cool and Finish
Let the brownies cool completely in the pan on a wire rack. This cooling step is crucial; it allows the brownies to set properly so they cut beautifully. Just before serving, dust with powdered sugar if you crave a touch of elegant sweetness and prettiness.
How to Serve The Best Fudgy Red Velvet Brownies Recipe
Garnishes
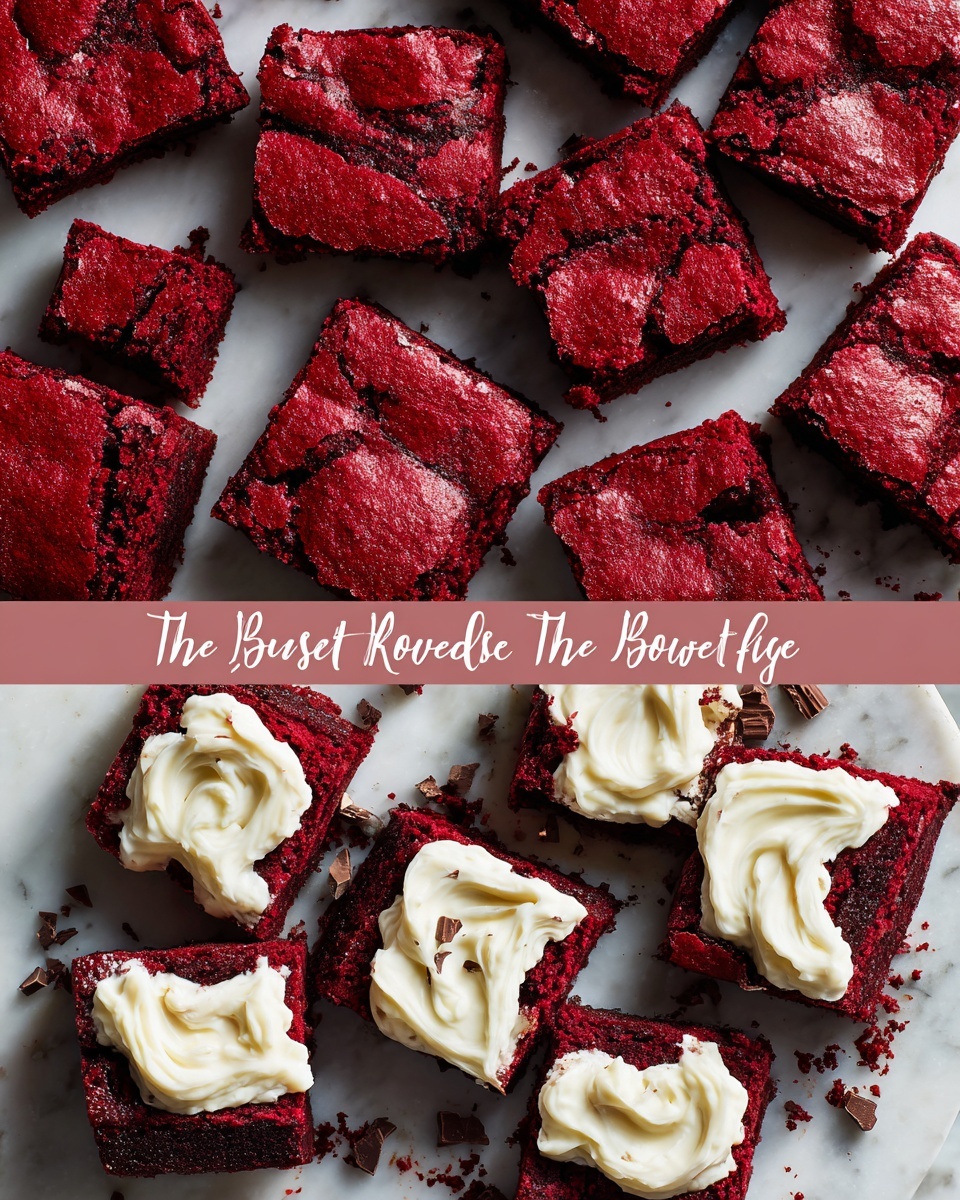
The charm of these brownies is in their simplicity, but you can glam them up easily. Consider a light dusting of powdered sugar, a drizzle of white chocolate, or even a sprinkle of chopped nuts for texture contrast. Fresh berries on the side also offer a fresh pop that complements the rich flavors beautifully.
Side Dishes
Pair these brownies with a scoop of vanilla ice cream for a classic combo that makes your dessert feel like a celebration. For something a little different, try a dollop of whipped cream infused with a touch of cinnamon or a rich homemade custard sauce to balance each bite.
Creative Ways to Present
Slice into neat squares for a traditional look or get creative by cutting triangles or using cookie cutters for festive shapes. Stacking brownies on a platter with alternating layers of fresh fruit or layering them with cream cheese frosting turns this recipe into a show-stopping dessert centerpiece.
Make Ahead and Storage
Storing Leftovers
Store any leftover brownies in an airtight container at room temperature. They stay moist and delicious for up to 4 days, making them perfect for prepping ahead or enjoying as an easy grab-and-go snack during the week.
Freezing
You can freeze these brownies by wrapping them tightly in plastic wrap and then placing them in a freezer-safe bag or container. They keep well for up to 3 months. When you’re ready, thaw them overnight in the fridge for best results.
Reheating
Warm your brownies gently in the microwave for about 15 seconds to recapture that fresh-out-of-the-oven softness. You can also warm them in a low oven for 5-10 minutes, but keep an eye to avoid drying out the fudgy goodness.
FAQs
Can I use regular milk instead of buttermilk?
Yes, but to mimic buttermilk’s tanginess, add 1/2 tablespoon of lemon juice or vinegar per 1/2 cup of milk. Let it sit for a few minutes before using. This will help maintain the classic red velvet flavor and tender texture.
What if I don’t have red velvet cake mix?
No worries! The red velvet cake mix is optional and mainly for extra flavor. The combination of cocoa, buttermilk, and red food coloring in this recipe does the heavy lifting for that authentic red velvet taste.
Can I make these brownies gluten-free?
Absolutely! Substitute the all-purpose flour with a gluten-free baking flour blend that matches 1:1 in texture. This tweak keeps your brownies safe for gluten-sensitive friends without sacrificing fudginess.
Why are my brownies cakey instead of fudgy?
Over mixing the batter or using too much flour can make brownies cakey. To keep them fudgy, mix just until combined and measure your flour carefully. Also, don’t overbake — pull them out when a toothpick has moist crumbs.
Can I add chocolate chips or nuts?
Definitely! Toss in a half cup of semi-sweet chocolate chips or chopped nuts to the batter before baking for an extra boost of texture and flavor that pairs wonderfully with the fudgy red velvet base.
Final Thoughts
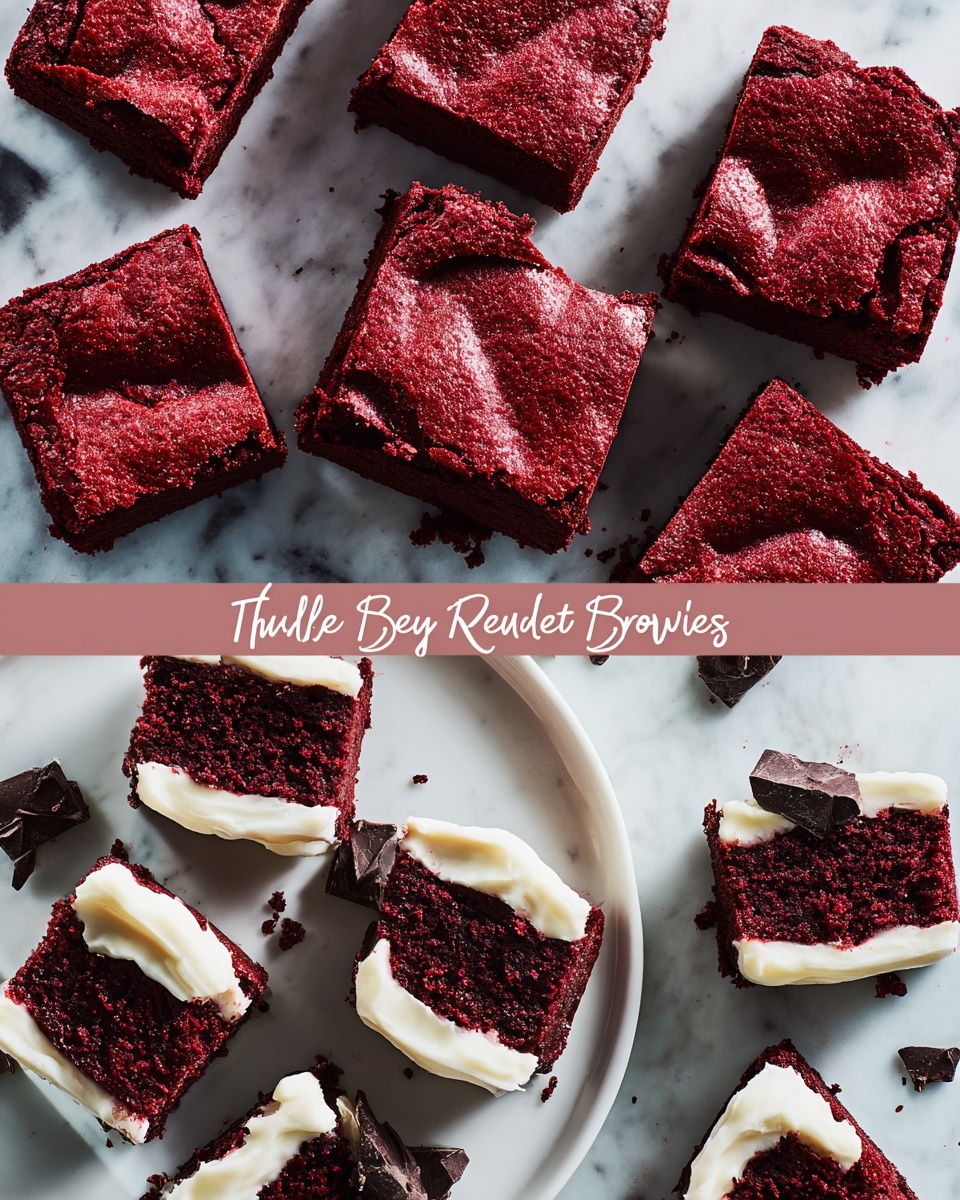
There’s something magical about The Best Fudgy Red Velvet Brownies Recipe that makes it a treasured favorite in my kitchen and, hopefully, soon in yours too. From the vibrant red color to the luscious, melt-in-your-mouth texture, these brownies are a heartwarming treat perfect for any time you want a bit of homemade joy. Dive in and enjoy every fudgy, velvety bite!
Print
The Best Fudgy Red Velvet Brownies Recipe
- Prep Time: 15 minutes
- Cook Time: 30 minutes
- Total Time: 45 minutes
- Yield: 12 brownies
- Category: Dessert
- Method: Baking
- Cuisine: American
Description
These fudgy red velvet brownies combine the rich, chocolatey taste of classic brownies with the vibrant color and subtle tang of red velvet. With a moist, dense texture and optional gooey mini marshmallows, they make a perfect dessert that’s easy to prepare and sure to impress.
Ingredients
Main Ingredients
- 1/2 cup (1 stick) unsalted butter
- 1 cup granulated sugar
- 2 large eggs
- 1 tsp vanilla extract
- 1/2 cup cocoa powder – unsweetened
- 1/2 cup all-purpose flour
- 1/4 tsp salt
- 1/4 tsp baking powder
- 1/2 cup buttermilk
- 1–2 tbsp red food coloring (adjust for desired color)
- 1 tbsp red velvet cake mix (optional, for extra red velvet flavor)
Optional Ingredients
- 1/2 cup mini marshmallows (optional, for a gooey texture)
- Powdered sugar – for dusting (optional)
Instructions
- Preheat the Oven: Preheat your oven to 350°F (175°C). Grease and line an 8×8 inch (20×20 cm) baking pan with parchment paper to ensure easy removal of the brownies after baking.
- Prepare the Batter: In a medium saucepan, melt the butter over low heat. Once melted, remove from heat and stir in the granulated sugar until the mixture is well combined. Beat in the eggs one at a time, ensuring each is fully incorporated before adding the next. Then add the vanilla extract and mix until smooth.
- Combine Dry Ingredients: In a separate bowl, whisk together the unsweetened cocoa powder, all-purpose flour, salt, and baking powder. This will help distribute the leavening and cocoa evenly throughout the batter.
- Mix Dry and Wet Ingredients: Gradually add the dry ingredients into the butter and sugar mixture, stirring just until combined to avoid overmixing. Next, add the buttermilk, red food coloring, and red velvet cake mix (if using). Mix everything together until the batter is smooth and uniformly colored.
- Add Optional Ingredients: If you want a gooey texture and extra sweetness, gently fold in the mini marshmallows. Be careful not to overmix to maintain their shape and texture.
- Bake the Brownies: Pour the batter evenly into the prepared baking pan. Bake in the preheated oven for 25 to 30 minutes. Check doneness by inserting a toothpick into the center—when it comes out with a few moist crumbs, the brownies are ready. The goal is a fudgy texture rather than a dry or cakey one.
- Cool and Serve: Allow the brownies to cool completely in the pan on a wire rack, which helps them set perfectly. Once cooled, dust with powdered sugar if desired before cutting into 12 squares and serving.
Notes
- Adjust red food coloring quantity to achieve your preferred shade of red.
- Using red velvet cake mix is optional but adds authentic red velvet flavor.
- Mini marshmallows add extra gooeyness but can be omitted for a more traditional brownie texture.
- For easy cleanup, lining the pan with parchment paper is recommended.
- Store brownies in an airtight container at room temperature for up to 3 days or refrigerate for up to a week.


