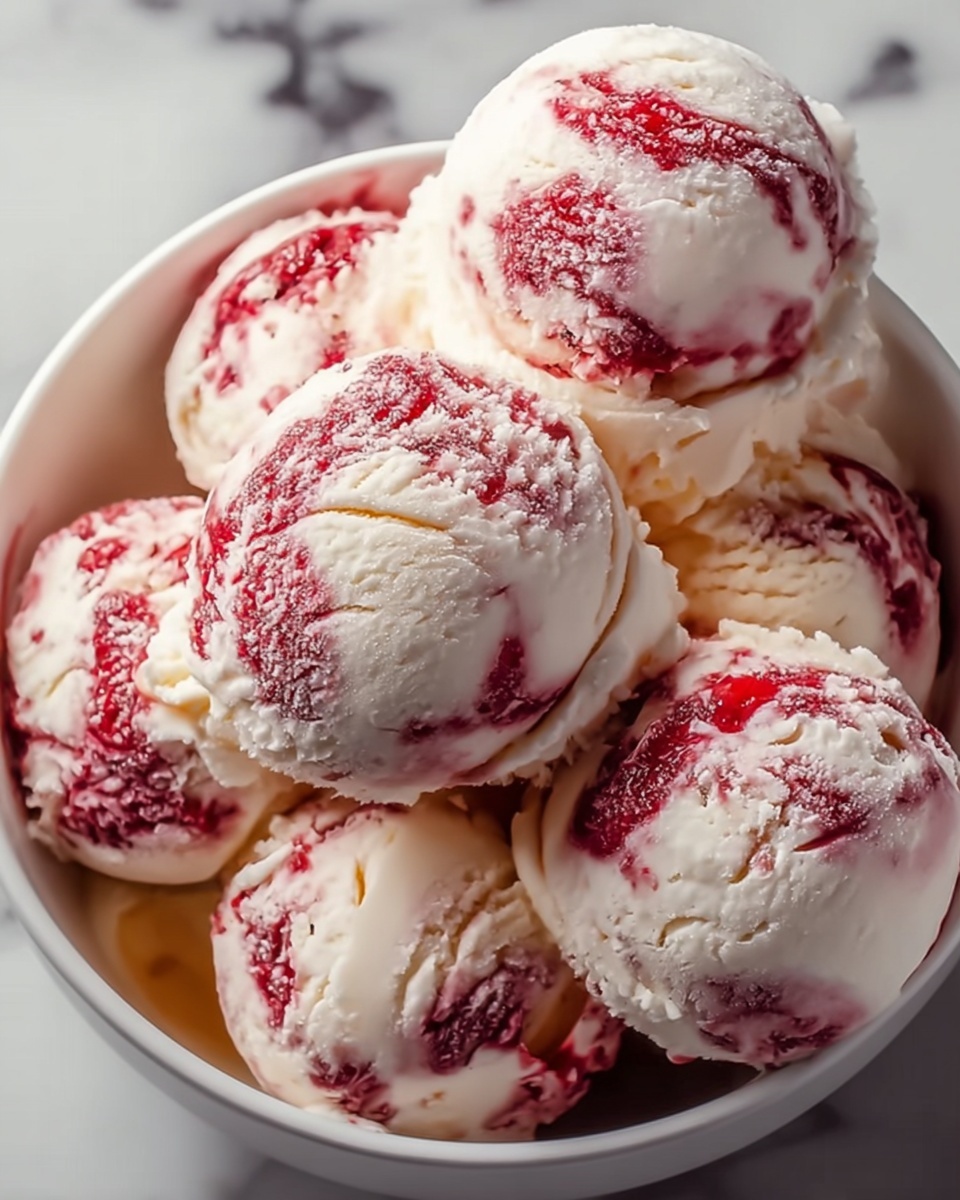
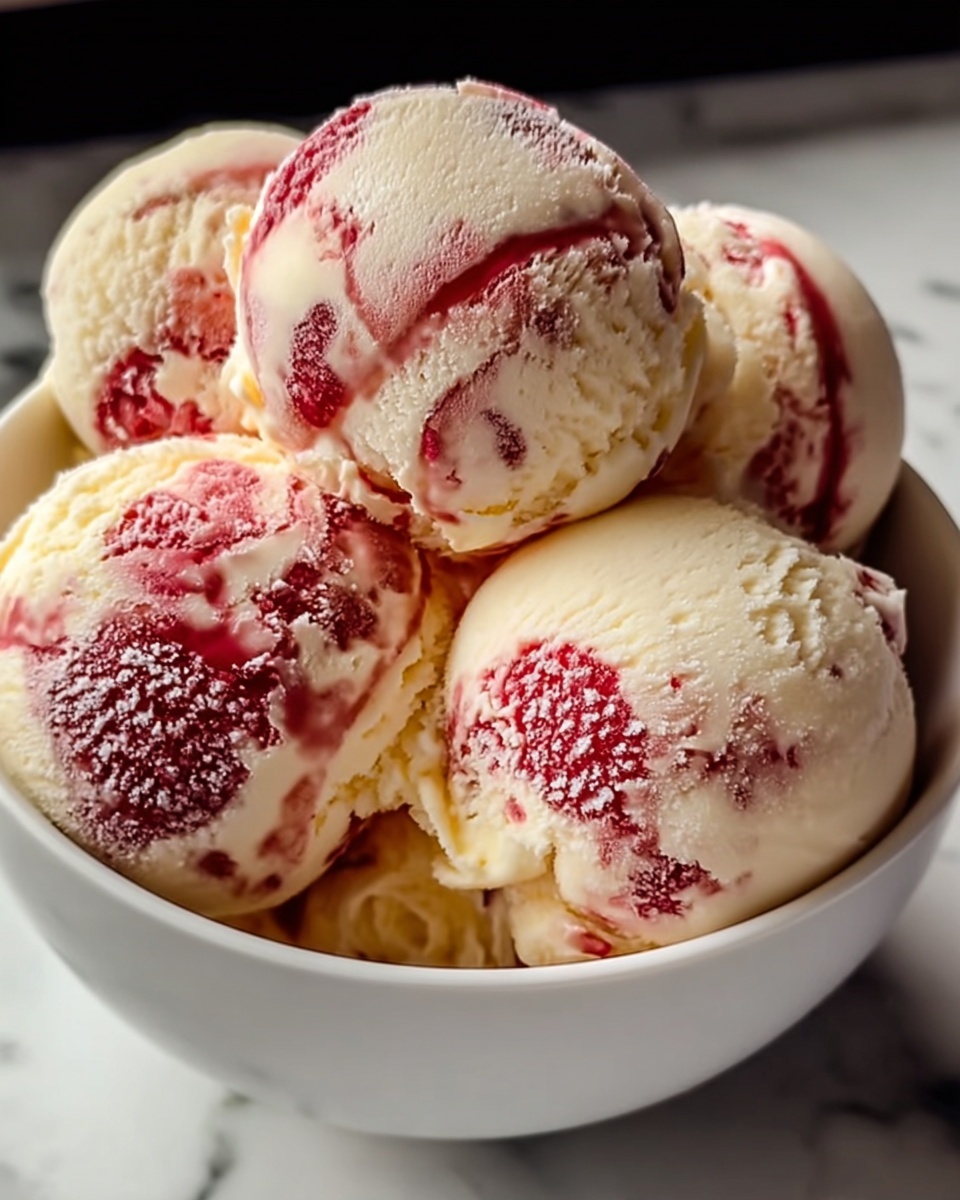
If you’re searching for a dessert that perfectly balances fruity freshness with rich creaminess, this Strawberry Vanilla Bean Ice Cream Recipe is an absolute must-try. It combines the sweetness of ripe strawberries with the fragrant warmth of real vanilla bean, resulting in a luscious, silky ice cream that feels homemade in every scoop. The use of fresh ingredients and a straightforward method makes it not only delicious but also incredibly satisfying to create from scratch. You’ll find yourself reaching for this recipe again and again, whether it’s to cool off on a sunny day or to impress guests with a classic treat that never goes out of style.
Ingredients You’ll Need
To make this charming Strawberry Vanilla Bean Ice Cream Recipe, you only need a handful of simple yet essential ingredients. Each one plays a crucial role in building the perfect texture, flavor, and color that make this ice cream so irresistible.
- Fresh strawberries: Provide natural sweetness and vibrant color with a fresh, fruity punch.
- Heavy cream: Adds rich creaminess and velvety texture to the ice cream base.
- Whole milk: Balances the cream’s heaviness while keeping the mixture smooth.
- Sugar: Sweetens the ice cream and helps to soften its texture for easier scooping.
- Vanilla bean: The secret star that infuses deep, aromatic vanilla flavor straight from the pod.
How to Make Strawberry Vanilla Bean Ice Cream Recipe
Step 1: Blend the Strawberries
Start by combining your fresh chopped strawberries with sugar in a blender or food processor. Blend them until you achieve a perfectly smooth puree, which will form the sweet and tangy heart of this ice cream. Using fresh strawberries gives you a bright, natural strawberry flavor that canned or frozen versions just can’t match.
Step 2: Mix the Cream Base
In a large mixing bowl, whisk together the heavy cream, whole milk, and the scraped seeds from the vanilla bean pod. Scraping the bean directly into your cream mixture releases those tiny black flecks and beautiful vanilla aroma that elevates this ice cream to something truly special and homemade.
Step 3: Combine
Pour the bright strawberry puree into the creamy vanilla mixture, then stir gently until fully combined. The color and flavor will start to meld, making your kitchen smell like a summer dream come alive. This combination is where the magic begins, marrying tartness and sweetness with smoothness.
Step 4: Chill
Cover the bowl with plastic wrap and refrigerate the ice cream mixture for at least two hours. Chilling this base is a key step to ensure it churns into a luscious texture instead of icy shards. Plus, it allows the flavors to marry and intensify for that perfect bite.
Step 5: Churn
Once chilled, pour the mixture into your ice cream maker and churn according to the manufacturer’s instructions. Usually, this takes about 20 to 25 minutes. As you watch this creamy blend turn into ice cream, you’ll feel excited knowing you’re moments away from a homemade treat that’s far tastier than store-bought.
Step 6: Freeze
Transfer the freshly churned ice cream to an airtight container and freeze it for at least 4 hours so it firms up to the ideal scoopable consistency. This final freeze solidifies the silky texture and locks in the beautiful strawberry and vanilla flavors you’ll adore.
How to Serve Strawberry Vanilla Bean Ice Cream Recipe

Garnishes
Simple garnishes like fresh strawberry slices, a sprig of mint, or a drizzle of honey enhance your servings beautifully. These additions provide an extra pop of color and freshness, making each scoop look as delightful as it tastes. A dusting of crushed vanilla beans or a few tiny edible flowers can also turn your ice cream into a showstopper for special occasions.
Side Dishes
This Strawberry Vanilla Bean Ice Cream Recipe pairs wonderfully with light summer desserts like angel food cake, shortbread cookies, or fresh fruit tarts. It also shines alongside a warm brownie or a slice of warm pie, creating the perfect contrast between warm and cold, soft and creamy.
Creative Ways to Present
Serve your ice cream in charming vintage glass bowls, waffle cones, or even hollowed-out citrus shells for a playful twist. You can layer it with crushed cookies or compote in a parfait glass to elevate the experience. For a fun party idea, offer various toppings and garnishes for guests to build their own personalized treats featuring this incredible Strawberry Vanilla Bean Ice Cream Recipe.
Make Ahead and Storage
Storing Leftovers
Store any leftover ice cream in an airtight container in the freezer to keep it tasting fresh. Press a piece of parchment paper directly on the surface before sealing to prevent ice crystals from forming. When stored properly, your ice cream will stay creamy and delicious for up to two weeks.
Freezing
After churning and freezing, this homemade ice cream holds up beautifully in the freezer. Just make sure your container is tightly sealed to avoid absorbing any surrounding freezer odors. Let the ice cream soften at room temperature for 5 to 10 minutes before scooping for perfect consistency every time.
Reheating
Since this is a frozen dessert, reheating isn’t necessary or recommended. Instead, if your ice cream becomes too hard, simply place it on the counter for a few minutes to soften naturally before serving. This preserves the creamy texture and fresh flavors of the Strawberry Vanilla Bean Ice Cream Recipe.
FAQs
Can I use frozen strawberries instead of fresh ones?
Absolutely! Frozen strawberries work well and are a convenient alternative when fresh berries are out of season. Just thaw and drain any excess liquid before blending to avoid a watery ice cream base.
Is it necessary to use a vanilla bean instead of vanilla extract?
While vanilla extract can be used in a pinch, a real vanilla bean offers a much deeper, more aromatic flavor along with those signature tiny black seeds that make this ice cream feel special and luxurious.
Do I need an ice cream maker to make this recipe?
An ice cream maker is highly recommended for achieving the best texture, but if you don’t have one, you can freeze the mixture and stir it every 30 minutes to break up ice crystals. It will take longer but still yield a tasty treat.
Can I make this recipe dairy-free?
Yes, you can substitute coconut cream and a dairy-free milk alternative, but keep in mind this will alter the creamy texture and flavor slightly. Experimenting is half the fun!
How long does the Strawberry Vanilla Bean Ice Cream last in the freezer?
Properly stored, your ice cream will maintain its quality for up to two weeks. Beyond that, it may start to develop ice crystals and lose some of its creamy texture.
Final Thoughts
This Strawberry Vanilla Bean Ice Cream Recipe is a delightful way to bring fresh fruit and luscious vanilla together in a classic, homemade dessert. It’s simple enough to make on any weekend yet elegant enough to impress a crowd. I encourage you to dive in and enjoy this creamy, fruity treat that’s bound to become one of your all-time favorites.
Print
Strawberry Vanilla Bean Ice Cream Recipe
- Prep Time: 15 minutes
- Cook Time: 25 minutes (churning time)
- Total Time: 6 hours 40 minutes (including chilling and freezing)
- Yield: 8 servings
- Category: Dessert
- Method: Churning
- Cuisine: American
Description
Delight in this luscious homemade Strawberry Vanilla Bean Ice Cream, featuring fresh strawberries blended into a creamy base infused with real vanilla bean. This recipe yields a smooth and rich frozen treat perfect for summer or any time you crave a fresh berry dessert.
Ingredients
Fruit Mixture
- 2 cups fresh strawberries, chopped
- ¾ cup sugar
Cream Base
- 1 cup heavy cream
- 1 cup whole milk
- 1 vanilla bean, scraped
Instructions
- Blend the Strawberries: In a blender or food processor, combine the chopped strawberries and sugar. Blend until smooth to create a sweet strawberry puree.
- Mix the Cream Base: In a large mixing bowl, whisk together the heavy cream, whole milk, and the scraped vanilla bean seeds to infuse the base with natural vanilla flavor.
- Combine: Add the strawberry puree to the cream mixture and stir gently until fully incorporated, creating a uniform ice cream base.
- Chill: Cover the mixture and refrigerate for at least 2 hours or until it is thoroughly chilled, which helps improve the texture when churning.
- Churn: Pour the chilled mixture into an ice cream maker and churn according to the manufacturer’s instructions, typically about 20-25 minutes, until the ice cream thickens to a soft-serve consistency.
- Freeze: Transfer the churned ice cream to an airtight container and freeze for at least 4 hours to firm up fully before serving.
Notes
- For best results, use ripe, fresh strawberries for natural sweetness and vibrant flavor.
- If you don’t have a vanilla bean, you can substitute with 1 tablespoon of pure vanilla extract.
- Ensure the ice cream base is well chilled before churning to help achieve a smooth texture.
- This recipe requires an ice cream maker; if you don’t have one, consider using alternative freezing methods but expect a different texture.
- Let the ice cream sit at room temperature for 5-10 minutes before scooping to soften slightly for easier serving.


