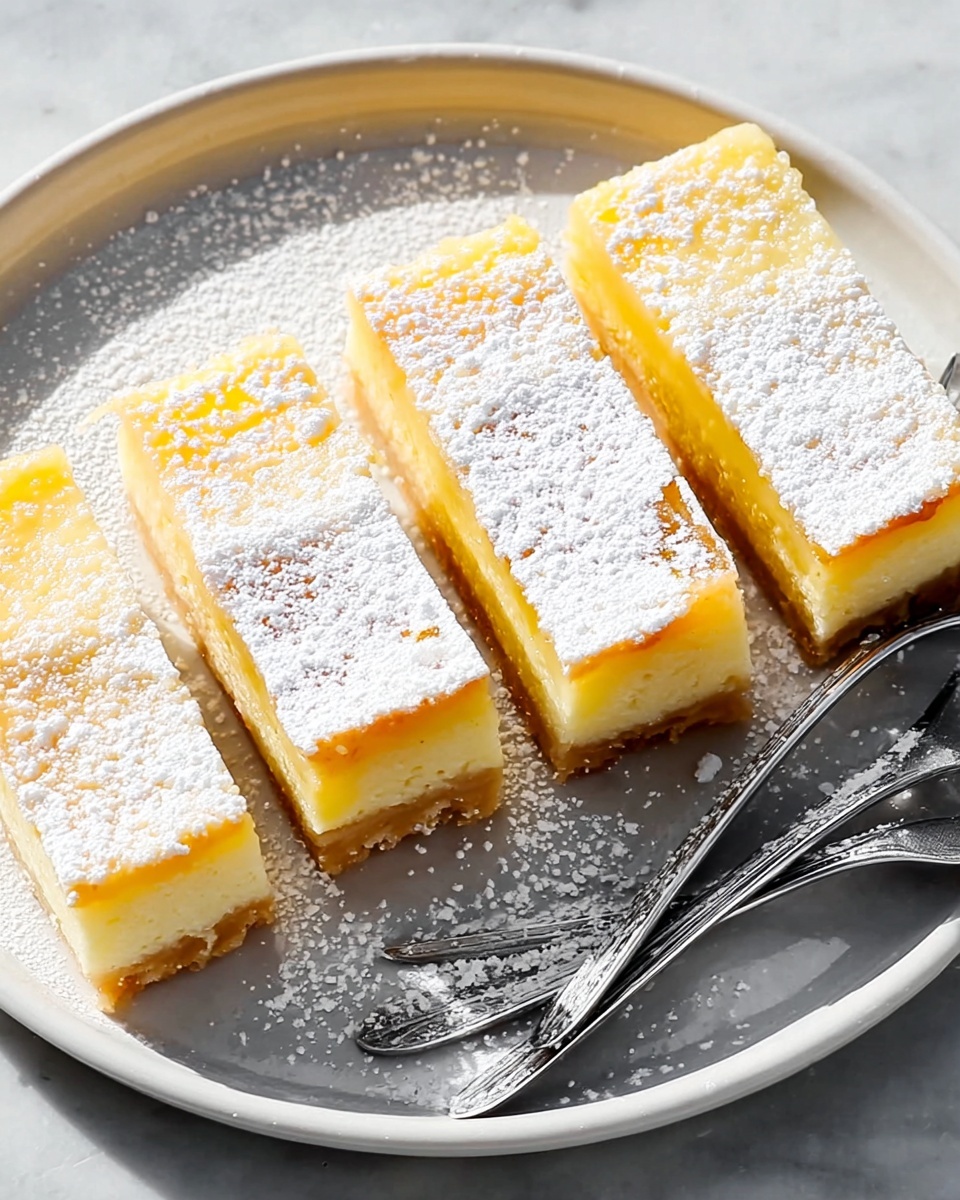
If you’re looking to brighten up your day with a burst of citrusy sunshine, this Small Batch Lemon Bars Recipe is exactly what you need. Perfectly balanced between a buttery, tender crust and a tangy, luscious lemon filling, these bars offer an irresistible combination of sweet and tart. The best part? It’s designed for just the right amount of servings, so you can enjoy fresh lemon bars without leftovers lingering in the fridge. Whether for a solo treat, a small family, or an intimate gathering, these lemon bars bring a fresh, vibrant twist to any dessert table.
Ingredients You’ll Need
This Small Batch Lemon Bars Recipe keeps things simple, requiring just a handful of everyday ingredients that come together to create a delightful flavor and texture harmony. Each component plays a vital role — from the crumbly crust that provides a sturdy foundation, to the bright lemon filling that offers a zesty punch.
- 1/2 cup all-purpose flour for crust: This forms the base, giving your crust a tender but firm texture.
- 1/4 cup powdered sugar for crust: Adds a subtle sweetness and helps with that perfect crumbly texture.
- 1/4 teaspoon salt: Enhances every flavor and balances the sweetness.
- 1/4 cup unsalted butter, softened: Keeps the crust rich and buttery without any overpowering saltiness.
- 2 large eggs: These bind and set the luscious lemon filling to the perfect consistency.
- 1/2 cup granulated sugar: Sweetens the filling just enough to complement the lemon’s zing.
- 1/4 cup fresh lemon juice (about 2 lemons): The star ingredient, delivering that fresh, bright citrus flavor.
- 1 tablespoon lemon zest: Intensifies the lemon punch with aromatic oils.
- 1/4 cup all-purpose flour for filling: Helps the filling set without losing its silky texture.
- 1/4 teaspoon baking powder: Gives just a hint of lift to the filling’s texture.
- Powdered sugar for dusting (optional): Adds a pretty finishing touch and a gentle dusting of sweetness.
How to Make Small Batch Lemon Bars Recipe
Step 1: Prepare Your Pan and Oven
Start by preheating your oven to 350°F (175°C). This ensures everything bakes evenly from the start. Then, grease an 8×8-inch baking pan or line it with parchment paper so the bars lift out easily when done — one less thing to worry about!
Step 2: Make the Crust
Combine the flour, powdered sugar, and salt in a medium bowl, then toss in the softened butter. Mix everything until it looks like a crumbly dough that holds together when pressed. Press this evenly into your prepared pan — this crust will bake into a golden, buttery base that’s just the right texture to support all that tangy lemon filling.
Step 3: Bake the Crust
Pop the crust into the oven and bake for 10 to 12 minutes, watching for that light golden brown color forming along the edges. This step sets the crust so it won’t get soggy when the filling is added.
Step 4: Whisk Together the Filling
As the crust bakes, whisk the eggs and granulated sugar in a bowl until smooth and fully combined — this ensures your filling is silky and creamy. Add in the fresh lemon juice, lemon zest, flour, and baking powder, and whisk until everything blends into a smooth, bright filling ready for baking.
Step 5: Bake the Lemon Filling
Pour your lemon mixture carefully over the hot crust straight from the oven. Then return the pan to the oven and bake for 18 to 20 minutes until the filling is set and gently golden around the edges. This step creates that wonderful firm-yet-creamy texture that lemon bars are known for.
Step 6: Cool and Cut
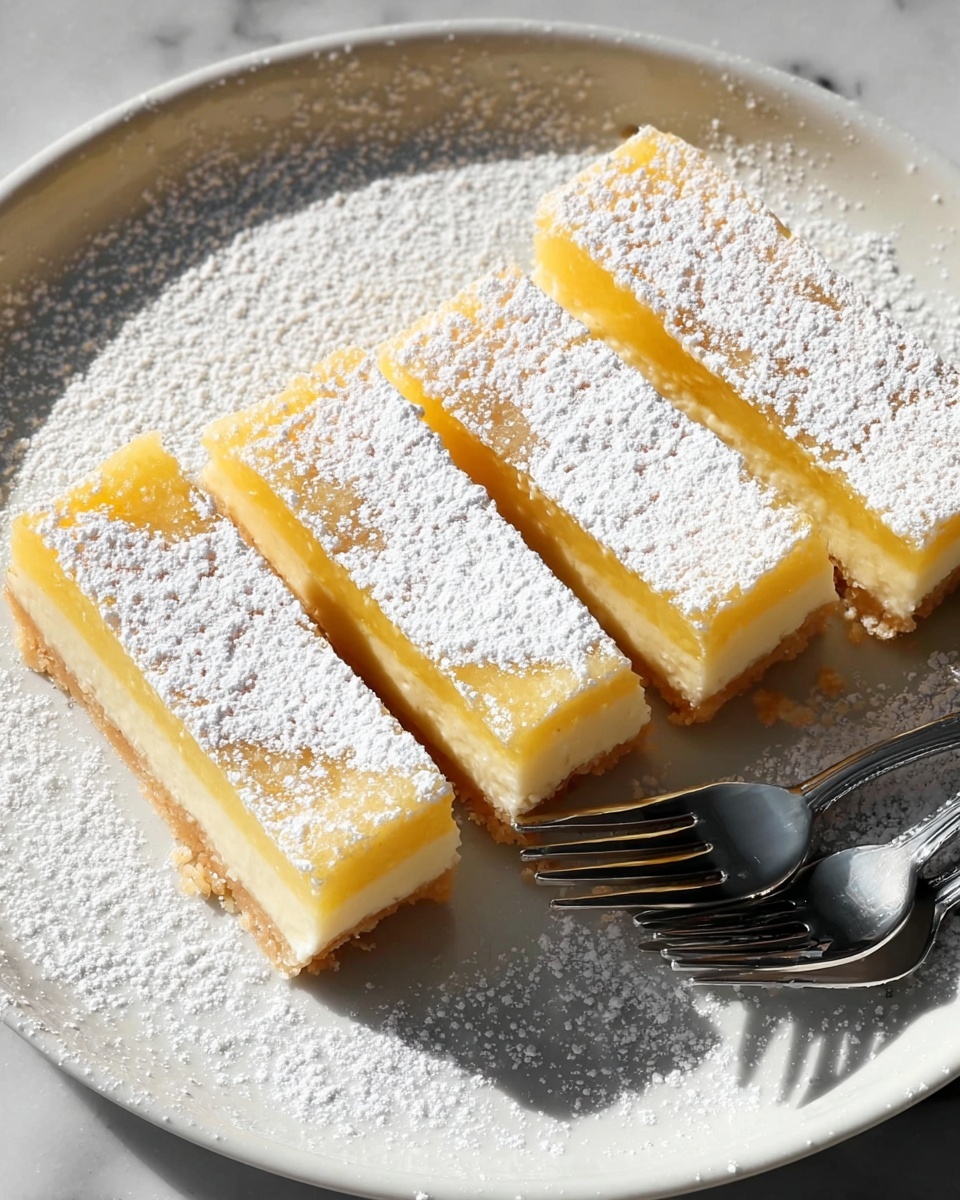
Once baked, take your lemon bars out and let them cool completely at room temperature. If you want a touch of extra sweetness, lightly dust powdered sugar on top before slicing into neat squares or bars.
Step 7: Chill for Best Texture
For the ideal bite, chill your lemon bars in the refrigerator before serving. This step makes them firmer and gives each piece a clean, satisfying snap when bitten into. It’s a small step that makes a big difference!
How to Serve Small Batch Lemon Bars Recipe

Garnishes
Adding some fresh mint leaves or thin lemon slices on top can elevate the presentation and provide a refreshing hint that pairs beautifully with the tangy lemon flavor. A light dusting of powdered sugar also adds a delicate sweetness and a pretty snowy finish.
Side Dishes
These lemon bars pair wonderfully with a cup of hot tea, a bright coffee, or even a chilled glass of sparkling water with a splash of lime. For an indulgent twist, serve alongside vanilla ice cream or a dollop of whipped cream to balance the tartness.
Creative Ways to Present
Looking to impress guests? Serve your Small Batch Lemon Bars Recipe on a rustic wooden board or a vibrant ceramic platter to highlight their sunny color. You can also cut them into mini bite-sized squares for easy snacking at parties or layer them on top of fresh berries for a beautiful, bright dessert parfait.
Make Ahead and Storage
Storing Leftovers
Store any leftover lemon bars in an airtight container in the refrigerator. They will stay fresh and delicious for up to 4 days, making it easy to enjoy these tangy treats on your own time.
Freezing
If you want to keep your lemon bars longer, wrap them tightly in plastic wrap and foil, then freeze for up to 2 months. Thaw them overnight in the fridge before serving to preserve their texture and flavor.
Reheating
For a warm treat, briefly warm your lemon bars in the microwave for about 10 seconds. Be careful not to overheat, so the filling stays creamy and the crust doesn’t turn soggy.
FAQs
Can I use bottled lemon juice instead of fresh?
Fresh lemon juice is best for its vibrant flavor and natural acidity, but in a pinch, bottled lemon juice will work. Just use a high-quality product without added preservatives for the best taste.
What if I don’t have an 8×8-inch pan?
A pan close in size, like an 8×8 or 9×9 inch, will work fine. Just be aware this may slightly affect the thickness and baking time, so keep an eye on your bars while baking.
Why does the filling need baking powder?
The small amount of baking powder adds a slight lift and helps the filling set with a light texture, preventing it from becoming too dense or rubbery.
Can I make this recipe gluten-free?
Yes! Substitute the all-purpose flour with a gluten-free flour blend. Just make sure it’s a blend designed for baking to keep the texture just right.
How do I know when the filling is set?
The filling should no longer jiggle significantly when the pan is gently shaken and will have lightly golden edges. It should still be slightly soft in the center but not runny.
Final Thoughts
There is something truly magical about a Small Batch Lemon Bars Recipe that delivers fresh, tangy brightness with every bite while being perfectly sized so nothing goes to waste. Whether you’re baking for yourself, a partner, or a few friends, these lemon bars promise joy in every tender, buttery bite. Give this recipe a try — I guarantee it will become your go-to for easy, irresistible citrusy delight.
Print
Small Batch Lemon Bars Recipe
- Prep Time: 15 minutes
- Cook Time: 30 minutes
- Total Time: 45 minutes
- Yield: 9 bars
- Category: Dessert
- Method: Baking
- Cuisine: American
- Diet: Vegetarian
Description
These Small Batch Lemon Bars are a delightful, tangy treat perfect for any occasion. Featuring a buttery, tender crust topped with a silky lemon filling, they offer a perfect balance of sweet and tart flavors. This recipe makes a modest batch, ideal for smaller households or when you want just a few servings of a refreshing dessert.
Ingredients
For the crust:
- 1/2 cup all-purpose flour
- 1/4 cup powdered sugar
- 1/4 teaspoon salt
- 1/4 cup unsalted butter, softened
For the filling:
- 2 large eggs
- 1/2 cup granulated sugar
- 1/4 cup fresh lemon juice (about 2 lemons)
- 1 tablespoon lemon zest
- 1/4 cup all-purpose flour
- 1/4 teaspoon baking powder
For garnish (optional):
- Powdered sugar for dusting
Instructions
- Preheat and prepare pan: Preheat the oven to 350°F (175°C). Grease or line an 8×8-inch baking pan with parchment paper to prevent sticking and allow easy removal of the lemon bars.
- Make the crust: In a medium bowl, combine the flour, powdered sugar, and salt. Add the softened butter and mix until the dough forms. Press the dough evenly into the bottom of the prepared pan to create the crust base.
- Bake the crust: Place the pan in the oven and bake the crust for 10–12 minutes, or until it turns lightly golden brown, indicating it’s cooked but not overdone.
- Prepare the filling: While the crust bakes, whisk together the eggs and granulated sugar in a separate bowl until smooth. Add in the fresh lemon juice, lemon zest, flour, and baking powder, and whisk until fully combined and smooth.
- Bake with filling: Once the crust is done, remove it from the oven and pour the lemon filling over the hot crust evenly. Return the pan to the oven and bake for 18–20 minutes, or until the filling is set and edges turn lightly golden.
- Cool and dust: Remove from the oven and let the lemon bars cool to room temperature. Once cooled, optionally dust the top with powdered sugar for an elegant finish.
- Chill and serve: For a firmer texture, refrigerate the lemon bars before cutting into squares and serving. This step is optional but enhances the lemon bar’s consistency.
Notes
- Use fresh lemon juice and zest for the best flavor impact.
- Make sure the butter for the crust is softened to room temperature for easy mixing.
- Press the crust dough firmly into the pan for an even base and proper structure.
- Allow the bars to cool completely before slicing to prevent crumbling.
- Chilling the bars before serving helps achieve clean cuts and a firmer texture.
- Optional powdered sugar dusting adds sweetness and a decorative touch.