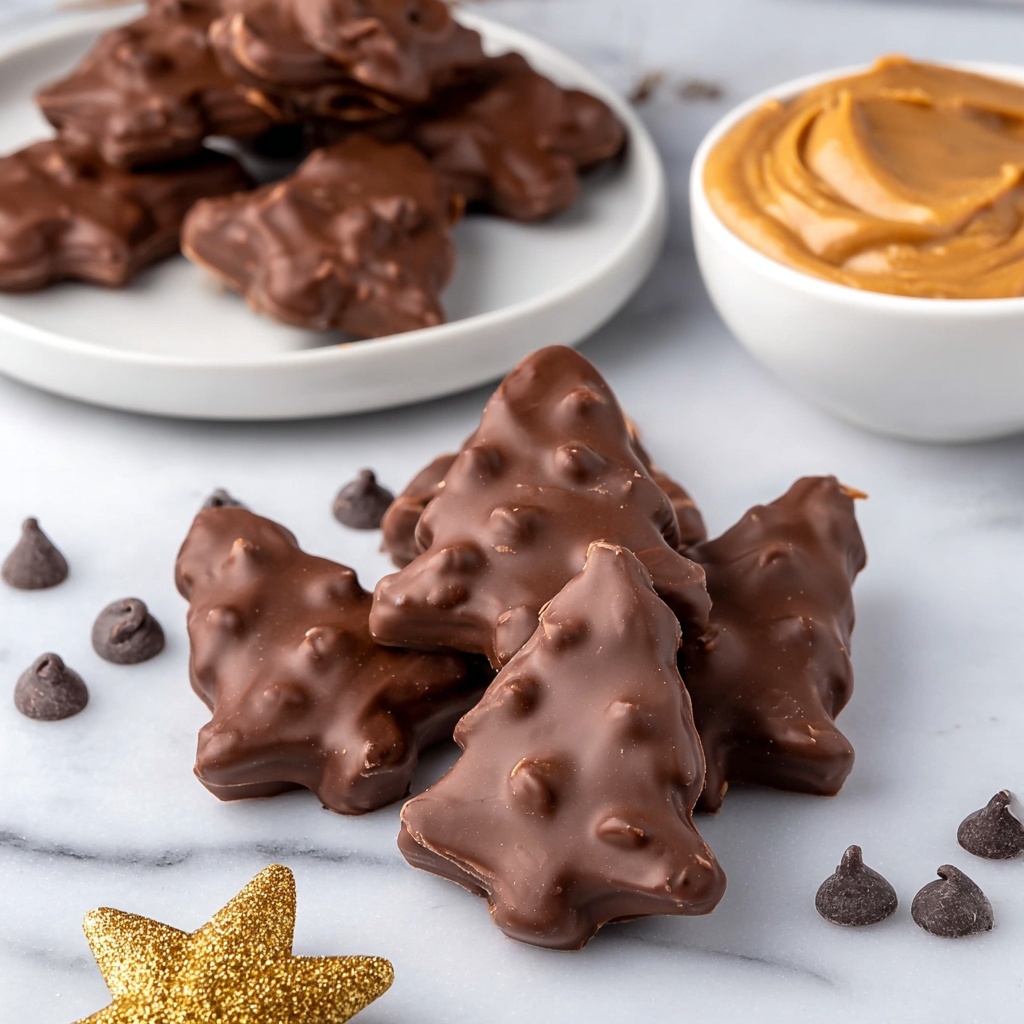
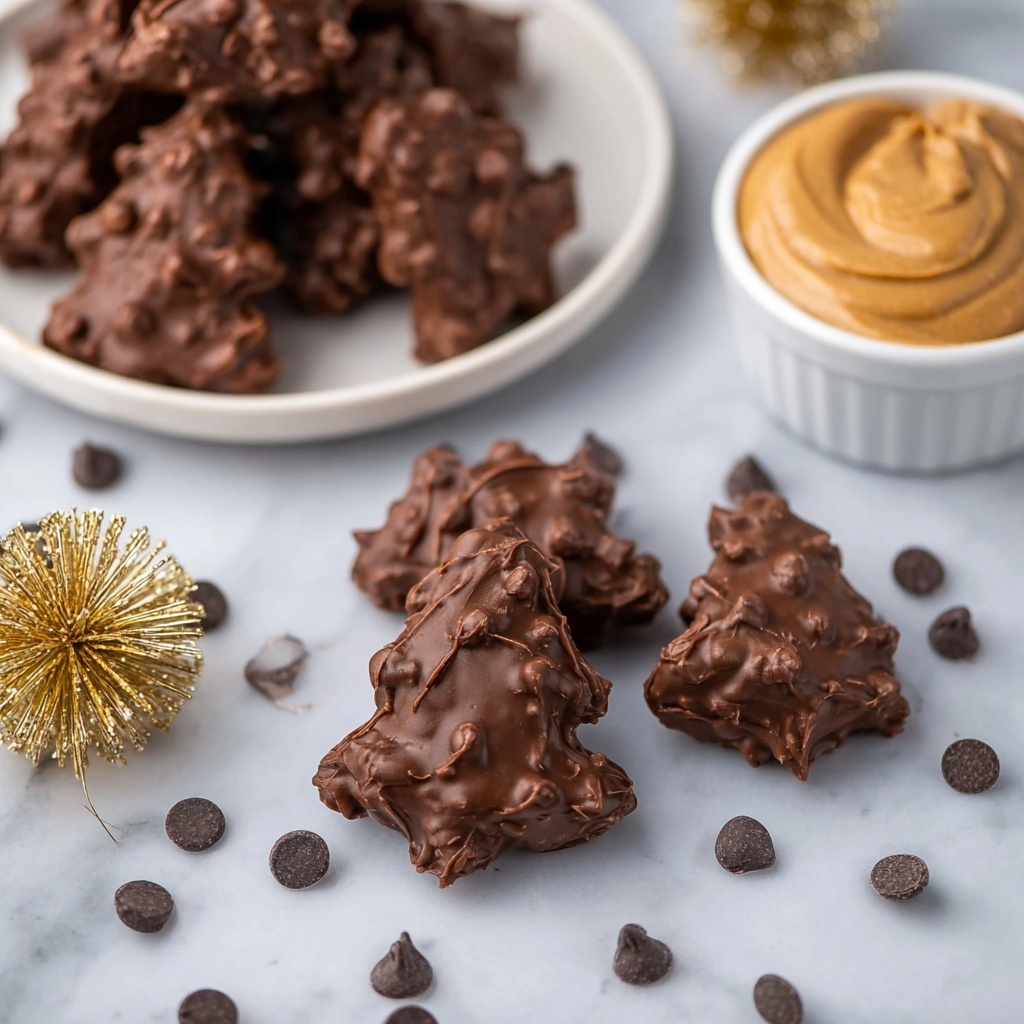
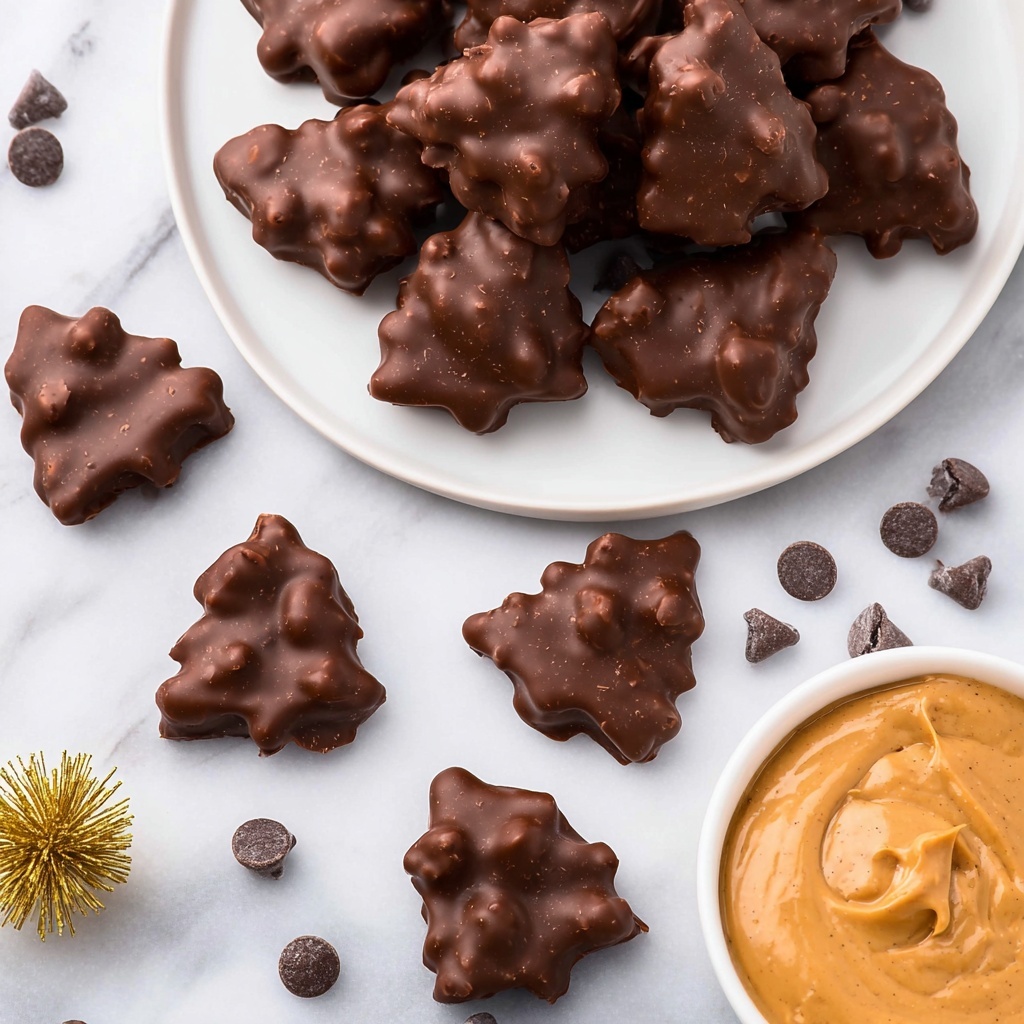
If you’re searching for a festive treat that bursts with rich peanut butter flavor and a smooth chocolate finish, the Reese’s Peanut Butter Trees Recipe is your new best friend. These delightful, bite-sized Christmas trees combine creamy peanut butter goodness with a luscious chocolate coating, giving you that perfect balance of sweet and salty that makes every bite pure magic. Whether you’re celebrating the holidays or simply craving a nostalgic candy moment, this recipe brings joy and warmth to any kitchen.
Ingredients You’ll Need
The magic behind these Reese’s Peanut Butter Trees sits in some simple, everyday ingredients that come together to create something truly special. Each element plays a vital role in achieving the right texture, sweetness, and chocolatey finish.
- ½ cup butter (salted, melted): Provides richness and helps bind the peanut butter filling together smoothly.
- 2 cups creamy peanut butter: The star of the show, lending that signature creamy, nutty flavor with a perfect silky texture.
- ¼ cup granulated sugar: Adds a touch of sweetness and balances the savory notes of peanut butter.
- 1 Tbsp vanilla extract: Enhances the flavors with a warm, aromatic background note.
- 4 cups powdered sugar: Essential for firming up the peanut butter mixture and providing sweetness without graininess.
- 3 cups semi-sweet chocolate chips (or a mix of semi and milk chocolate): Creates the smooth, glossy chocolate coating that perfectly envelopes each peanut butter tree.
- 2 Tbsp shortening: Helps the chocolate melt evenly and gives it a beautiful shine once hardened.
How to Make Reese’s Peanut Butter Trees Recipe
Step 1: Prepare Your Workspace
Start by lining a 10×15-inch jelly roll or half-sheet pan with parchment paper. This is crucial to prevent your peanut butter mixture from sticking and makes for easy cleanup later on.
Step 2: Make the Peanut Butter Mixture
In a mixing bowl, use a hand mixer to blend together the melted butter, creamy peanut butter, granulated sugar, and vanilla extract until the mixture is silky smooth and creamy. Gradually add the powdered sugar and continue beating until fully incorporated. This mixture will be irresistible with its creamy texture and just-sweet-enough flavor.
Step 3: Chill and Cut the Trees
Press the peanut butter mixture evenly into your lined sheet pan to about half an inch thick. Pop it in the freezer for roughly 10 minutes until firm enough to handle. Then lift the parchment with the peanut butter slab out and flip it onto a fresh parchment-lined pan. Using a Christmas tree-shaped cookie cutter, cut out your festive treats. Don’t worry if there’s leftover peanut butter – you can simply press it out again to maximize your yield.
Step 4: Freeze the Cutouts
Place your cutout trees on a clean parchment-lined baking sheet and freeze for 20 to 30 minutes. This chilling step is important because it helps keep the shapes firm and makes them easier to dip in chocolate without breaking apart.
Step 5: Melt Your Chocolate Coating
Combine the chocolate chips and shortening in a microwave-safe glass bowl. Heat in 30-second bursts, stirring well in between, until the mixture is velvety smooth and ready for dipping. The shortening keeps the chocolate glossy and easy to work with.
Step 6: Dip and Chill
One at a time, lift a peanut butter tree with a fork and dunk it thoroughly into the melted chocolate. Let the excess drip off, then place it back on the parchment-lined sheet. Allow the chocolate coating to firm up completely at room temperature or pop the trees back into the fridge for quicker setting.
How to Serve Reese’s Peanut Butter Trees Recipe
Garnishes
These trees are beautiful on their own, but you can sprinkle a bit of crushed peanuts, festive colored sugar, or even a tiny drizzle of white chocolate to add a clever holiday twist. It’s an easy way to elevate their look while adding just a hint of extra texture or color.
Side Dishes
Serve your Reese’s Peanut Butter Trees alongside a hot cup of cocoa or a spiced chai latte for a cozy holiday snack duo. If you’re putting on a party, lay them out with a platter of assorted nuts, dried fruits, and other seasonal cookies for a sweet and savory balance that everyone will adore.
Creative Ways to Present
Present these delightful trees in miniature cupcake liners or arrange them on a rustic wooden board garnished with fresh pine sprigs for a charming holiday centerpiece. Wrapping them up in cellophane tied with festive ribbons also makes for a thoughtful homemade gift that friends and family will cherish.
Make Ahead and Storage
Storing Leftovers
Leftover Reese’s Peanut Butter Trees should be stored in an airtight container at room temperature or in the fridge, especially during warmer months, to keep the chocolate from melting. They stay fresh and delicious for up to a week, making them ideal for making ahead of holiday gatherings.
Freezing
If you want to keep these treats longer, freeze them in a tightly sealed container layered with parchment paper to prevent sticking. When stored this way, the Reese’s Peanut Butter Trees Recipe treats can last up to 2 months without losing their flavor or texture.
Reheating
While these trees are best enjoyed chilled or at room temperature, if needed, let frozen trees thaw at room temperature for about 15 minutes before serving to bring back that perfect melt-in-your-mouth feel.
FAQs
Can I use crunchy peanut butter instead of creamy?
Absolutely! Crunchy peanut butter will add a delightful texture contrast inside the smooth chocolate coating, though the cutting might be a bit trickier due to the added nuts.
Do I have to use shortening in the chocolate?
Shortening helps keep your chocolate smooth and shiny, but if you don’t have any, you can substitute with a neutral vegetable oil or just melt the chocolate on its own—though the finish might be less glossy.
Can these peanut butter trees be made gluten-free?
Yes! Since this recipe contains no flour or gluten ingredients, it’s naturally gluten-free — but be sure your chocolate chips don’t have any gluten-containing additives.
Is it possible to use a different cookie cutter shape?
Definitely! While the Reese’s Peanut Butter Trees Recipe highlights the festive tree shape, you can get creative with stars, bells, or any cookie cutter you like to fit any occasion.
How long does the chocolate coating take to harden?
At room temperature, it usually takes about 30 minutes for the chocolate to set, but placing them in the fridge will speed things up to around 10-15 minutes.
Final Thoughts
This Reese’s Peanut Butter Trees Recipe is such a joyful way to celebrate the flavors of the season, blending creamy peanut butter with rich chocolate in perfect harmony. Whether you’re making them for yourself or gifting them to loved ones, these charming little treats are sure to bring smiles and warm memories. Don’t wait—grab your ingredients and start crafting your own batch of these irresistible peanut butter trees today!
Print
Reese’s Peanut Butter Trees Recipe
- Prep Time: 15 minutes
- Cook Time: 30 minutes (including freezing and chocolate setting time)
- Total Time: 45 minutes
- Yield: 24 trees
- Category: Dessert
- Method: No-Cook
- Cuisine: American
Description
Reese’s Peanut Butter Trees are a festive, no-bake holiday treat combining creamy peanut butter filling with a smooth chocolate coating, shaped into charming Christmas trees. Perfect for holiday parties or gifting, these sweet and nutty confections are easy to make and delightfully rich.
Ingredients
Peanut Butter Mixture
- ½ cup salted butter, melted
- 2 cups creamy peanut butter
- ¼ cup granulated sugar
- 1 tablespoon vanilla extract
- 4 cups powdered sugar
Chocolate Coating
- 3 cups semi-sweet chocolate chips (or a combination of semi-sweet and milk chocolate chips)
- 2 tablespoons shortening
Instructions
- Prepare the pan: Line a 10×15-inch jelly roll or half-sheet pan with parchment paper and set aside to prevent sticking and make removal easier.
- Make the peanut butter mixture: Using a hand mixer, beat together the melted butter, creamy peanut butter, granulated sugar, and vanilla extract until the mixture is smooth and creamy. Gradually beat in the powdered sugar until fully incorporated. Press this peanut butter mixture evenly into the prepared pan spreading it to about ½-inch thickness. Freeze for approximately 10 minutes until firm.
- Cut out tree shapes: Lift the chilled peanut butter layer from the pan using the parchment paper. Place a fresh piece of parchment on the pan. Use a cookie cutter to cut out ½-inch thick Christmas tree shapes from the peanut butter layer and place the cutouts on the lined pan.
- Chill the cutouts: Freeze the cutout trees for 20-30 minutes to firm up. Scoop up the leftover peanut butter mixture, reshape it to ½-inch thickness, and cut out additional trees, then freeze again.
- Prepare chocolate coating: In a microwave-safe glass bowl, combine the chocolate chips and shortening. Heat in 30-second increments, stirring well between intervals, until the chocolate is completely melted and smooth.
- Coat the peanut butter trees: Using a fork, lift one peanut butter tree at a time and dip it into the melted chocolate, coating it thoroughly. Tap off any excess chocolate and place the coated tree back on the parchment-lined pan. Allow the chocolate to harden completely before serving or storing.
Notes
- Use parchment paper to easily lift and maneuver the peanut butter mixture and finished trees.
- Freezing the peanut butter layer and cutouts helps achieve clean cuts and sturdy shapes.
- You can substitute shortening with coconut oil if preferred.
- Refrigerate the coated trees to speed up chocolate hardening if desired.
- Store the finished trees in an airtight container at room temperature or in the refrigerator for longer freshness.


