
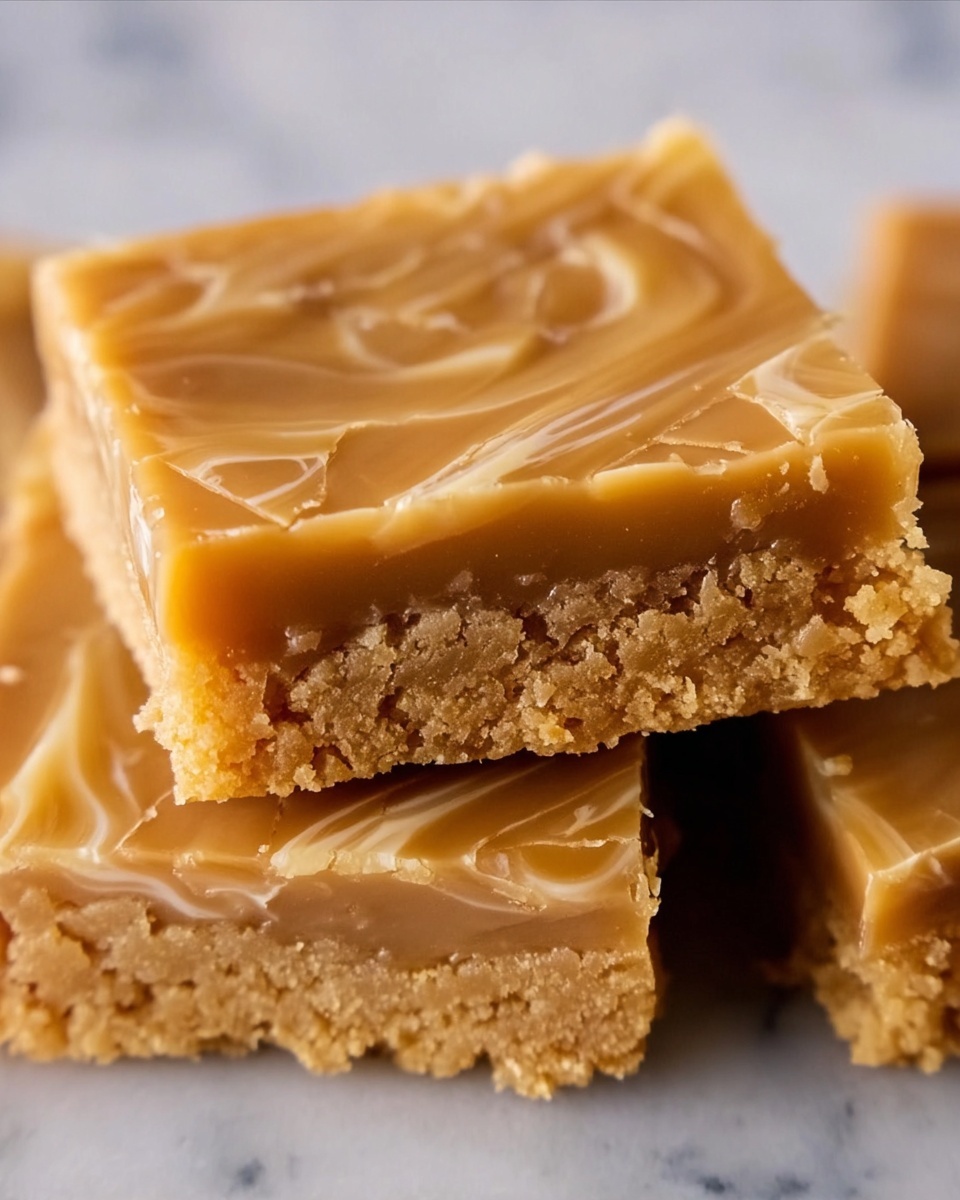
If you’ve ever wished you could capture that nostalgic school cafeteria treat in a homemade batch, then this Peanut Butter Lunch Lady Cookie Bars Recipe is your new best friend. These cookie bars blend creamy peanut butter, chewy oats, and just the right amount of chocolate chips to create a dessert that tastes like childhood wrapped in a warm hug. Perfect for lunchboxes, after-school snacks, or simply a cozy afternoon bite, these bars balance sweetness and texture so well you’ll find yourself reaching for just one more piece. Trust me, once you try this Peanut Butter Lunch Lady Cookie Bars Recipe, it might just become your go-to comfort dessert.

Ingredients You’ll Need
Every great recipe starts with simple, trustworthy ingredients that come together to build flavor, texture, and that perfect golden color. These staples are easy to find yet essential in making your Peanut Butter Lunch Lady Cookie Bars Recipe truly irresistible.
- 1 cup unsalted butter, softened: Provides richness and helps create a tender crumb in your bars.
- 1 cup creamy peanut butter: The star ingredient adding that classic, nutty flavor everyone loves.
- 1 cup granulated sugar: Balances the savory peanut butter with just the right touch of sweetness.
- 1 cup packed light brown sugar: Adds moisture and a subtle caramel note, enhancing depth of flavor.
- 2 large eggs: Bind all the ingredients together while keeping the bars chewy and moist.
- 2 teaspoons vanilla extract: Brings warmth and rounds out the flavors beautifully.
- 2 cups all-purpose flour: Creates structure without weighing down the bars.
- 1 teaspoon baking soda: Helps the bars rise just enough for a soft, fluffy texture.
- ½ teaspoon salt: Balances sweetness and highlights nutty undertones.
- 2 cups quick oats: Adds heartiness and a gentle chew for texture contrast.
- 1 cup semi-sweet chocolate chips: Gives melty, gooey pockets of chocolate to elevate each bite.
How to Make Peanut Butter Lunch Lady Cookie Bars Recipe
Step 1: Prepare Your Baking Dish and Oven
Start by preheating your oven to 350°F (175°C). Lightly grease a 9×13-inch baking dish or line it with parchment paper for easy removal. This ensures your cookie bars bake evenly and come out perfectly intact.
Step 2: Cream the Butter and Sugars
In a large mixing bowl, combine the softened butter, creamy peanut butter, granulated sugar, and light brown sugar. Beat them together until the mixture is light and fluffy. This step is crucial for creating a smooth base that will hold all your flavors together.
Step 3: Add Eggs and Vanilla
Whisk in the eggs one at a time, followed by the vanilla extract. Make sure everything is fully incorporated before moving to the dry ingredients. This adds moisture and richness, making the bars soft but sturdy enough to hold their shape.
Step 4: Combine Dry Ingredients
In a separate bowl, whisk together the all-purpose flour, baking soda, and salt. This ensures even distribution of leavening agents and salt, so your bars bake evenly with balanced flavor.
Step 5: Mix Dry Ingredients Into Wet
Gradually add the flour mixture to the wet ingredients, stirring until just combined. Avoid overmixing to keep the texture tender and chewy — which is exactly what you want from a Peanut Butter Lunch Lady Cookie Bars Recipe!
Step 6: Fold in Oats and Chocolate Chips
Gently fold in the quick oats and semi-sweet chocolate chips. The oats provide heartiness and chewiness, while the chocolate chips add those delightful bursts of sweetness and melty goodness.
Step 7: Bake Until Golden
Spread the dough evenly into your prepared baking dish. Bake in the preheated oven for 22 to 25 minutes, or until the edges turn a lovely golden brown and a toothpick inserted into the center comes out clean. Let the bars cool completely in the pan before slicing to keep their shape intact.
How to Serve Peanut Butter Lunch Lady Cookie Bars Recipe
Garnishes
For a little extra flair and flavor, try drizzling melted chocolate or a peanut butter glaze over the cooled bars. A sprinkle of flaky sea salt adds a surprising but delightful contrast that enhances the nutty and sweet flavors.
Side Dishes
These cookie bars shine best when paired with a cold glass of milk or a creamy cup of coffee. You can also serve them alongside fresh fruit or a simple yogurt for a balanced snack that combines indulgence with a touch of freshness.
Creative Ways to Present
Turn your Peanut Butter Lunch Lady Cookie Bars Recipe into a party favorite by cutting them into bite-sized squares and arranging them on a platter with colorful cupcake liners. You can also sandwich a layer of peanut butter frosting between two bars for an extra-special treat that looks and tastes amazing.
Make Ahead and Storage
Storing Leftovers
Once your bars have cooled completely, store them in an airtight container at room temperature. They stay fresh and chewy for up to 4 days — making them perfect for prepping snacks ahead of a busy week.
Freezing
If you want to enjoy these bars later, freezing is a fantastic option. Wrap individual bars tightly in plastic wrap and place them in a freezer-safe bag or container. They’ll keep well for up to 2 months and thaw quickly when you need a fast sweet fix.
Reheating
To bring back that just-baked warmth, microwave a bar for 10 to 15 seconds or pop it in a low oven (around 300°F) for a few minutes. This revives the gooey chocolate chips and makes the peanut butter flavor smell even more inviting.
FAQs
Can I use crunchy peanut butter instead of creamy?
Absolutely! Using crunchy peanut butter will add some extra texture to your bars, making each bite even more interesting. It’s a lovely variation if you enjoy little nutty bursts throughout your dessert.
Are these bars gluten-free?
This particular recipe uses all-purpose flour, so it is not gluten-free. However, you can try substituting a gluten-free flour blend to make the bars safe for gluten-sensitive eaters. Just be sure to check that your oats are certified gluten-free as well.
How do I make the bars more chocolatey?
For chocolate lovers, adding an extra ½ cup of chocolate chips or swirling melted chocolate on top before baking can enhance the flavor. You can also drizzle melted chocolate over the cooled bars for an indulgent finish.
Can these bars be frozen before baking?
Yes, you can freeze the unbaked dough in the pan, tightly wrapped, for up to a week. When you’re ready, simply bake it from frozen, adding a few extra minutes to the baking time to ensure it cooks through.
What’s the best way to cut these bars without crumbling?
Make sure the bars are completely cooled before slicing. Using a sharp knife and wiping it clean between cuts will give you neat, clean edges without crumbling or sticking.
Final Thoughts
There’s something so comforting and joyful about making a homemade version of a beloved school treat, and this Peanut Butter Lunch Lady Cookie Bars Recipe delivers just that. With its rich peanut butter flavor, chewy oats, and pockets of chocolate, it’s truly a crowd-pleaser. Whether you’re making it for your family, friends, or just yourself, these bars will bring smiles and maybe even a little happy nostalgia. Give this recipe a try—you won’t regret it!
Print
Peanut Butter Lunch Lady Cookie Bars Recipe
- Prep Time: 15 minutes
- Cook Time: 25 minutes
- Total Time: 40 minutes
- Yield: 24 bars
- Category: Dessert
- Method: Baking
- Cuisine: American
- Diet: Vegetarian
Description
These Peanut Butter Lunch Lady Cookie Bars are a nostalgic American dessert featuring a rich peanut butter and oat base studded with semi-sweet chocolate chips. They offer a perfect balance of chewy and slightly crunchy textures, reminiscent of classic school cafeteria treats. Easy to prepare and bake, these bars are ideal for lunchboxes or a sweet snack anytime.
Ingredients
Wet Ingredients
- 1 cup unsalted butter, softened
- 1 cup creamy peanut butter
- 1 cup granulated sugar
- 1 cup packed light brown sugar
- 2 large eggs
- 2 teaspoons vanilla extract
Dry Ingredients
- 2 cups all-purpose flour
- 1 teaspoon baking soda
- ½ teaspoon salt
- 2 cups quick oats
- 1 cup semi-sweet chocolate chips
Instructions
- Preheat and Prepare Pan: Preheat your oven to 350°F (175°C) and lightly grease a 9×13-inch baking dish or line it with parchment paper to prevent sticking.
- Cream Butter and Sugars: In a large mixing bowl, cream together the softened butter, peanut butter, granulated sugar, and brown sugar until light and fluffy, which will help create a tender texture in the bars.
- Add Eggs and Vanilla: Mix in the eggs and vanilla extract until fully incorporated to bind the ingredients and add flavor.
- Combine Dry Ingredients: In a separate bowl, whisk together the all-purpose flour, baking soda, and salt to evenly distribute the leavening agent and seasoning.
- Mix Dry and Wet Ingredients: Gradually add the dry flour mixture into the wet ingredients, stirring until just combined to avoid overmixing which can make the bars tough.
- Fold in Oats and Chocolate Chips: Gently fold in the quick oats and semi-sweet chocolate chips, ensuring they are evenly distributed throughout the dough.
- Spread in Pan and Bake: Spread the dough evenly into the prepared baking dish and bake for 22–25 minutes, until edges are golden and a toothpick inserted in the center comes out clean.
- Cool and Serve: Allow the bars to cool completely in the pan to set properly before slicing into 24 bars and serving.
Notes
- Use crunchy peanut butter instead of creamy for added texture in the bars.
- For extra sweetness, drizzle melted chocolate or a peanut butter glaze over the bars after they have cooled.

