
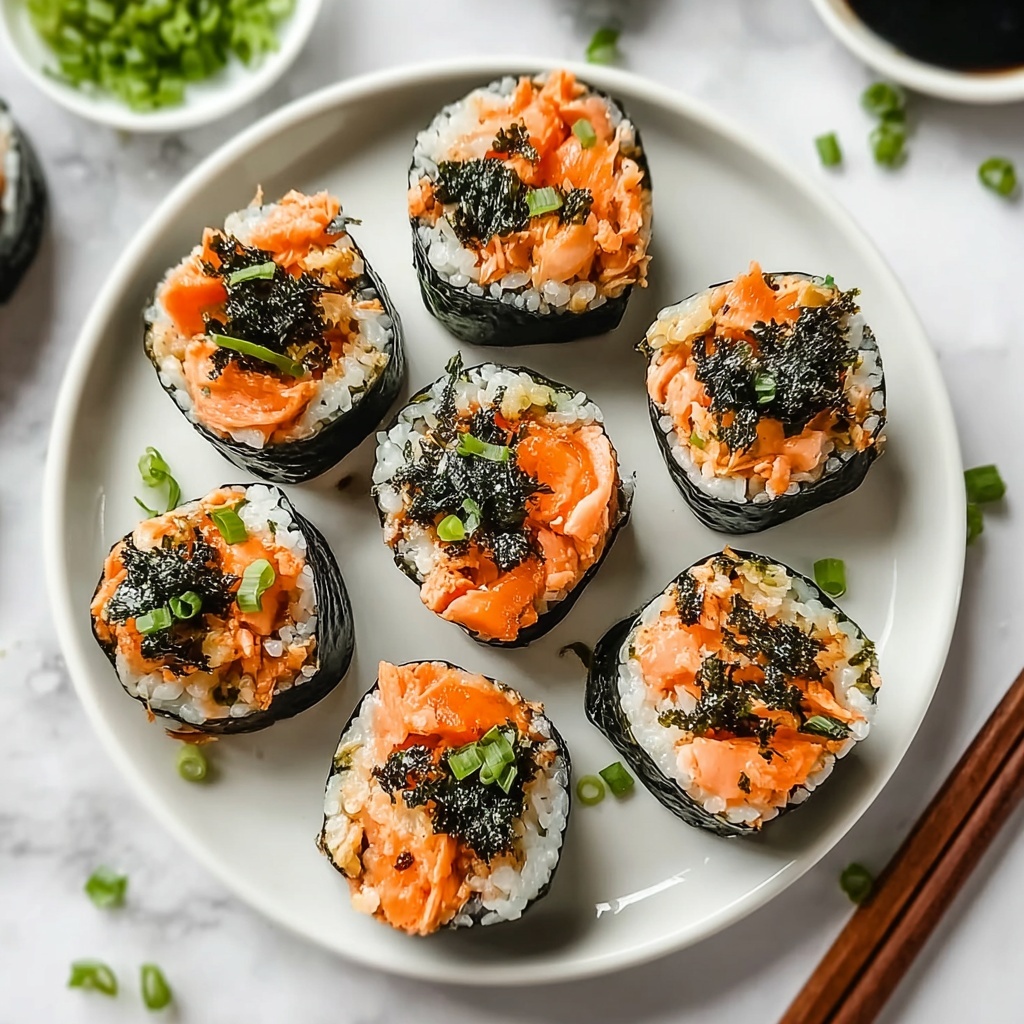
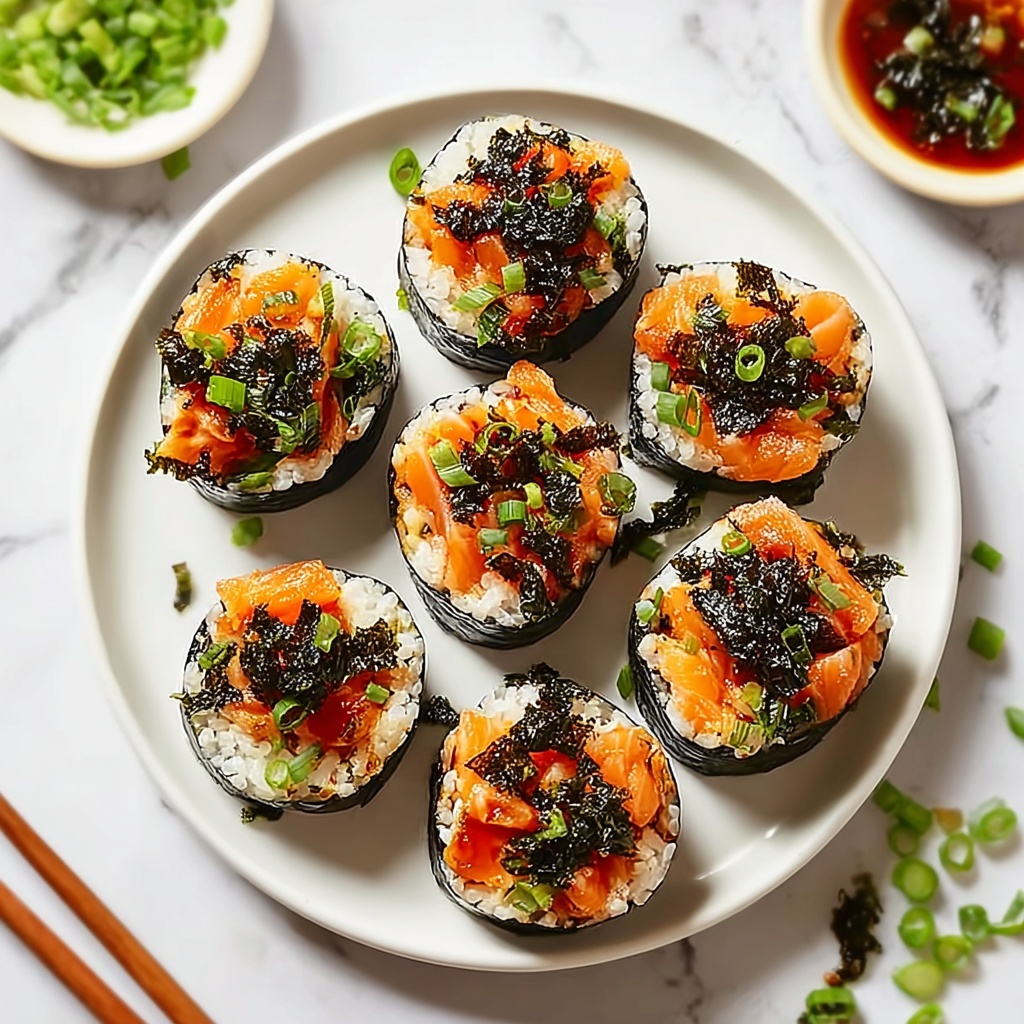
If you’re craving a fun, flavorful, and hands-on dish that brings the magic of sushi into your home kitchen, then you simply must try this Irresistibly Easy Baked Salmon Sushi Cups You’ll Love Recipe. Imagine flaky, tender salmon mingling with seasoned sushi rice, all nestled inside crisp nori cups and topped with creamy spicy mayo and a sprinkle of furikake. It’s a bite-sized burst of umami and texture that’s as impressive as it is straightforward to make—perfect for a casual get-together or a special weeknight meal. Get ready, because once you taste these sushi cups, they’re going to become an instant favorite in your recipe collection!
Ingredients You’ll Need
Don’t let the relatively modest list fool you—each ingredient plays a crucial role in balancing texture, flavor, and visual appeal to create this delectable dish. From the rich, savory salmon to the subtly sweet and tangy sushi rice, every component brings something essential to the party.
- 1 lb Salmon: Choose fresh, high-quality salmon for the best flavor, or try cooked crab or tofu as exciting alternatives.
- 2 tbsp Light Soy Sauce: Adds a gentle saltiness and depth; tamari works well if you need a gluten-free option.
- 3 tbsp Kewpie Mayo: This Japanese mayo is creamier and richer than standard mayo, bringing a smooth texture and subtle sweetness.
- 1 tbsp Sriracha: Provides a perfect spicy kick—feel free to adjust according to your heat preference.
- 1 tbsp Sesame Oil: Imparts a toasty, nutty aroma that lifts the entire dish; olive oil is a fine substitute if necessary.
- 1 cup Sushi Rice: Use sushi-grade rice cooked just right for that sticky, tender base that holds everything together.
- 2 tbsp Rice Vinegar: Balances the rice with a tangy sweetness; apple cider vinegar can work in a pinch.
- 1 tbsp Sugar: Combines with vinegar to season the rice perfectly and add a hint of sweetness.
- 6 sheets Nori Sheets: Crisp seaweed sheets form the perfect edible cup; make sure to keep them fresh and crunchy.
- 1 tbsp Furikake: This Japanese seasoning blend adds savory notes and texture; toasted sesame seeds make a simple alternative.
- 2 tbsp Green Onion: Adds fresh, mild onion flavor and vibrant color; chives can substitute if needed.
How to Make Irresistibly Easy Baked Salmon Sushi Cups You’ll Love Recipe
Step 1: Prepare the Sushi Rice
Start by rinsing your sushi rice thoroughly under cold water until the water runs clear to remove excess starch. Cook the rice according to package instructions—ideally in a rice cooker for consistent texture. Once cooked, gently fold in the rice vinegar and sugar combo while the rice is still warm to season it perfectly. Set aside to cool slightly; this seasoned rice is the foundation of your sushi cups.
Step 2: Season and Bake the Salmon
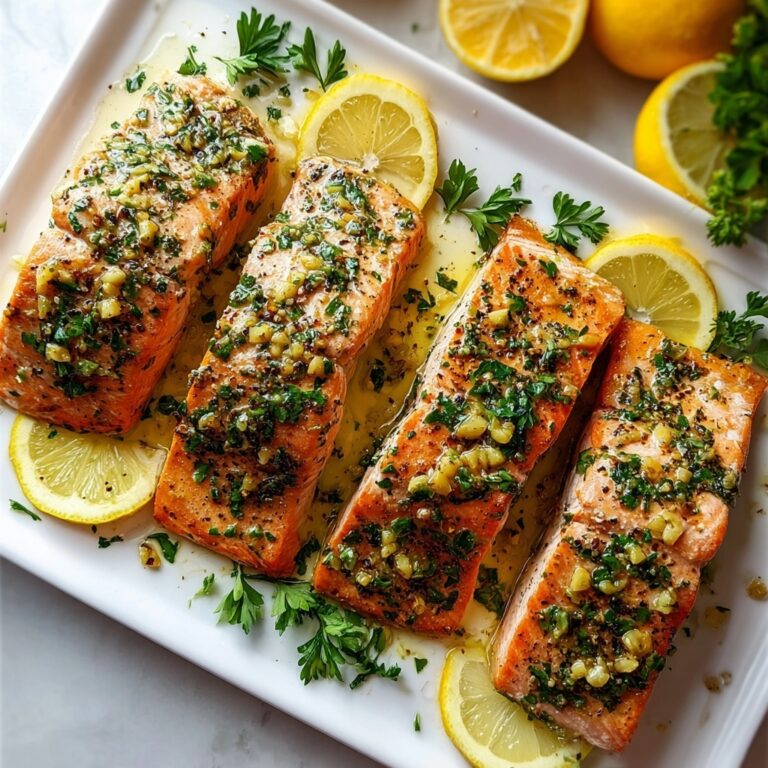
While the rice cools, preheat your oven to 375°F. Place the salmon fillet on a lined baking sheet, brush it lightly with the light soy sauce and sesame oil, then bake for about 12 to 15 minutes until the fish flakes easily with a fork. Baking ensures a tender, flavorful salmon that’s easy to mix and build into your sushi cups.
Step 3: Mix the Spicy Mayo Sauce
In a small bowl, whisk together the Kewpie mayo and sriracha until fully combined. Taste and tweak the spice level to your liking. This creamy, tangy sauce will add a rich layer of flavor and a delicious cooling contrast to the savory salmon and seasoned rice.
Step 4: Assemble the Sushi Cups
Cut the nori sheets into smaller squares to fit your muffin tin or silicone cup molds. Press each square gently into the cup to create a sturdy shell. Spoon a layer of seasoned sushi rice into each nori cup, then flake the baked salmon over the rice. Top with a drizzle of the spicy mayo sauce and sprinkle generously with furikake and chopped green onions for that extra crunch and burst of color.
How to Serve Irresistibly Easy Baked Salmon Sushi Cups You’ll Love Recipe
Garnishes
Adding fresh garnishes can elevate these sushi cups from delicious to dazzling. Consider thin slices of avocado for creaminess, a sprinkle of toasted sesame seeds for texture, or delicate pickled ginger on the side for a refreshing zing. A few microgreens also add a lovely, fresh pop of green that brightens the plate.
Side Dishes
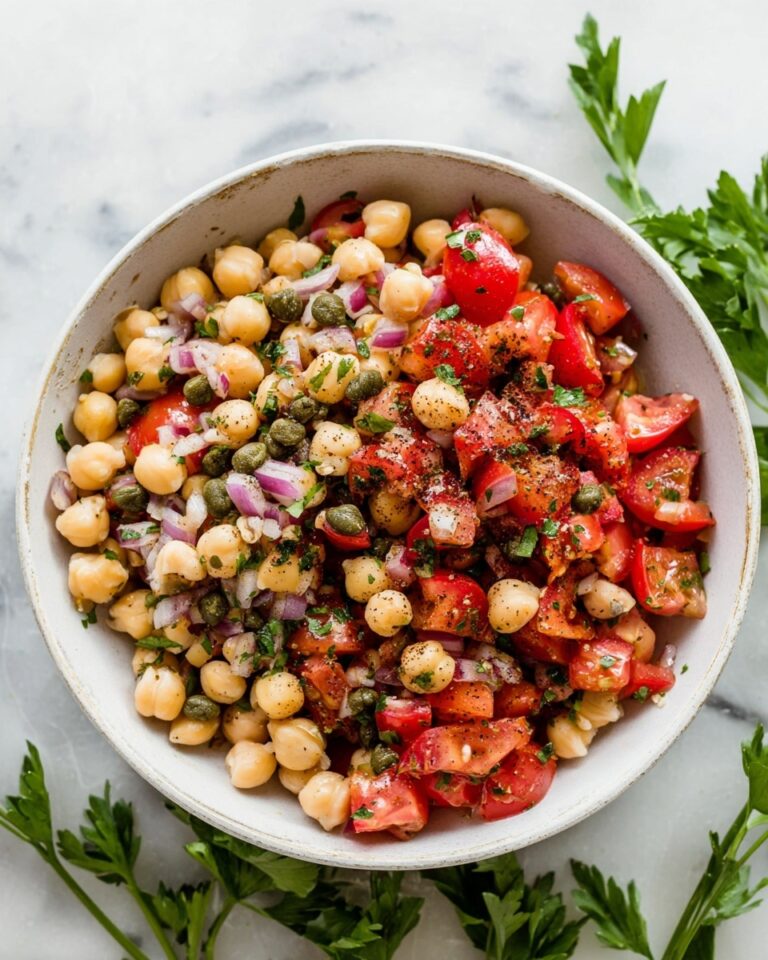
These sushi cups pair beautifully with light, complementary side dishes. A crisp cucumber salad tossed with rice vinegar or a miso soup can round out your meal without overpowering the delicate flavors. For a heartier option, a seaweed salad or edamame with sea salt are fantastic, protein-packed accompaniments.
Creative Ways to Present
Presentation is half the fun with this recipe! Serve the sushi cups on a sleek black plate lined with a bamboo leaf for an elegant touch, or arrange them on a colorful ceramic platter for a playful vibe. You can also offer individual dipping bowls with soy sauce or wasabi mayo, letting your guests customize each bite to their preference.
Make Ahead and Storage
Storing Leftovers
Store any leftover sushi cups in an airtight container in the refrigerator. Because the nori can get soft over time, it’s best to enjoy leftovers within 24 hours to preserve texture and freshness. Keep the spicy mayo separate to prevent sogginess when storing.
Freezing
Freezing is not recommended for this dish as the texture of the sushi rice, nori, and baked salmon deteriorates significantly after thawing. For the best taste and texture, try to consume the sushi cups fresh or within one day if refrigerated.
Reheating
If you want to enjoy leftovers warm, briefly heat the salmon and rice portion in the microwave without the nori to avoid it becoming chewy or soggy. Then reassemble the sushi cups just before serving to maintain that crisp, delightful crunch of the nori shell.
FAQs
Can I substitute the salmon with another protein?
Absolutely! Cooked crab, shrimp, or tofu are fantastic alternatives that give you different textures and flavors while keeping the sushi cups just as delicious.
Do I have to bake the salmon or can it be served raw?
This recipe focuses on baked salmon for ease and safety, but if you have sushi-grade salmon and feel comfortable, serving it raw is an option that adds a classic sushi feel.
What can I use if I don’t have nori sheets?
Nori is key for creating that authentic sushi cup experience, but if unavailable, try using thin cucumber slices or lettuce leaves as a fresh, crunchy alternative.
Is this recipe gluten-free?
You can make it gluten-free by using tamari instead of regular soy sauce and ensuring all other ingredients like furikake are gluten-free certified.
How spicy is this dish?
The spiciness mainly comes from sriracha in the mayo sauce. You can tone it down or amp it up to suit your heat tolerance, making this dish versatile for all palates.
Final Thoughts
There’s something genuinely special about crafting your own sushi cups that burst with fresh, savory flavors and satisfying textures, and this Irresistibly Easy Baked Salmon Sushi Cups You’ll Love Recipe delivers exactly that without the fuss. Whether you’re cooking for a crowd or just treating yourself, giving this recipe a whirl will make your meals more exciting and delicious. So, grab your ingredients and start creating; your taste buds will thank you!
Print
Irresistibly Easy Baked Salmon Sushi Cups You’ll Love Recipe
- Prep Time: 20 minutes
- Cook Time: 15 minutes
- Total Time: 35 minutes
- Yield: 12 cups
- Category: Appetizer
- Method: Baking
- Cuisine: Japanese
Description
These Irresistibly Easy Baked Salmon Sushi Cups are a delightful twist on traditional sushi, combining the fresh flavors of salmon with creamy mayo and a touch of spice, all baked to perfection in crispy nori cups. Perfect for parties or a fun family meal, these sushi cups bring together the best of Japanese cuisine in a simple, accessible format that even beginners can master.
Ingredients
Main Ingredients
- 1 lb Salmon (Substitute with cooked crab or tofu for variety)
- 1 cup Sushi Rice (Ensure sushi-grade and properly cooked)
- 6 sheets Nori Sheets (Store properly to maintain crunch)
Seasonings and Sauces
- 2 tbsp Light Soy Sauce (Use tamari for a gluten-free option)
- 3 tbsp Kewpie Mayo (Regular mayo can be used but won’t provide the same flavor)
- 1 tbsp Sriracha (Adjust based on spice preference)
- 1 tbsp Sesame Oil (Swap with olive oil if desired)
- 2 tbsp Rice Vinegar (Apple cider vinegar can be used as a substitute)
- 1 tbsp Sugar
- 1 tbsp Furikake (Toasted sesame seeds can be an alternative)
- 2 tbsp Green Onion (Chives work in a pinch)
Instructions
- Prepare the Sushi Rice: Rinse 1 cup of sushi rice under cold water until the water runs clear. Cook the rice according to package instructions, typically using a rice cooker or stovetop. While the rice is still warm, mix in 2 tablespoons of rice vinegar and 1 tablespoon of sugar. Gently fold to combine and let the rice cool to room temperature.
- Prepare the Salmon Mixture: Cut 1 lb of salmon into small, bite-sized pieces. In a bowl, combine the salmon with 2 tablespoons of light soy sauce, 3 tablespoons of Kewpie mayo, 1 tablespoon of sriracha (adjust to taste), and 1 tablespoon of sesame oil. Mix thoroughly to coat the salmon and set aside for flavors to meld.
- Assemble the Nori Cups: Preheat your oven to 350°F (175°C). Cut each nori sheet into smaller squares to fit a muffin tin. Gently press the nori squares into the cups of the muffin tin, forming a cup shape. Fill each nori cup halfway with the seasoned sushi rice, then top with a generous spoonful of the salmon mixture.
- Bake the Sushi Cups: Place the muffin tin in the preheated oven and bake for 12-15 minutes, or until the salmon is cooked through and the nori is crisp.
- Add Finishing Touches: Remove the sushi cups from the oven and let them cool slightly. Sprinkle each sushi cup with 1 tablespoon of furikake and garnish with 2 tablespoons of finely chopped green onions to add flavor and a fresh crunch.
- Serve and Enjoy: Serve these baked salmon sushi cups warm or chilled, perfect as an appetizer, snack, or light meal. They pair wonderfully with soy sauce or wasabi on the side.
Notes
- For a gluten-free version, substitute soy sauce with tamari.
- Adjust the level of sriracha to control the spiciness of the cups.
- Kewpie mayo adds a unique flavor but regular mayo can be used as a substitute.
- Ensure sushi rice is properly cooked and cooled to avoid sogginess in the cups.
- Store leftover sushi cups in an airtight container and consume within 24 hours for best freshness.
- To keep nori sheets crispy, avoid exposing them to moisture before assembly.


