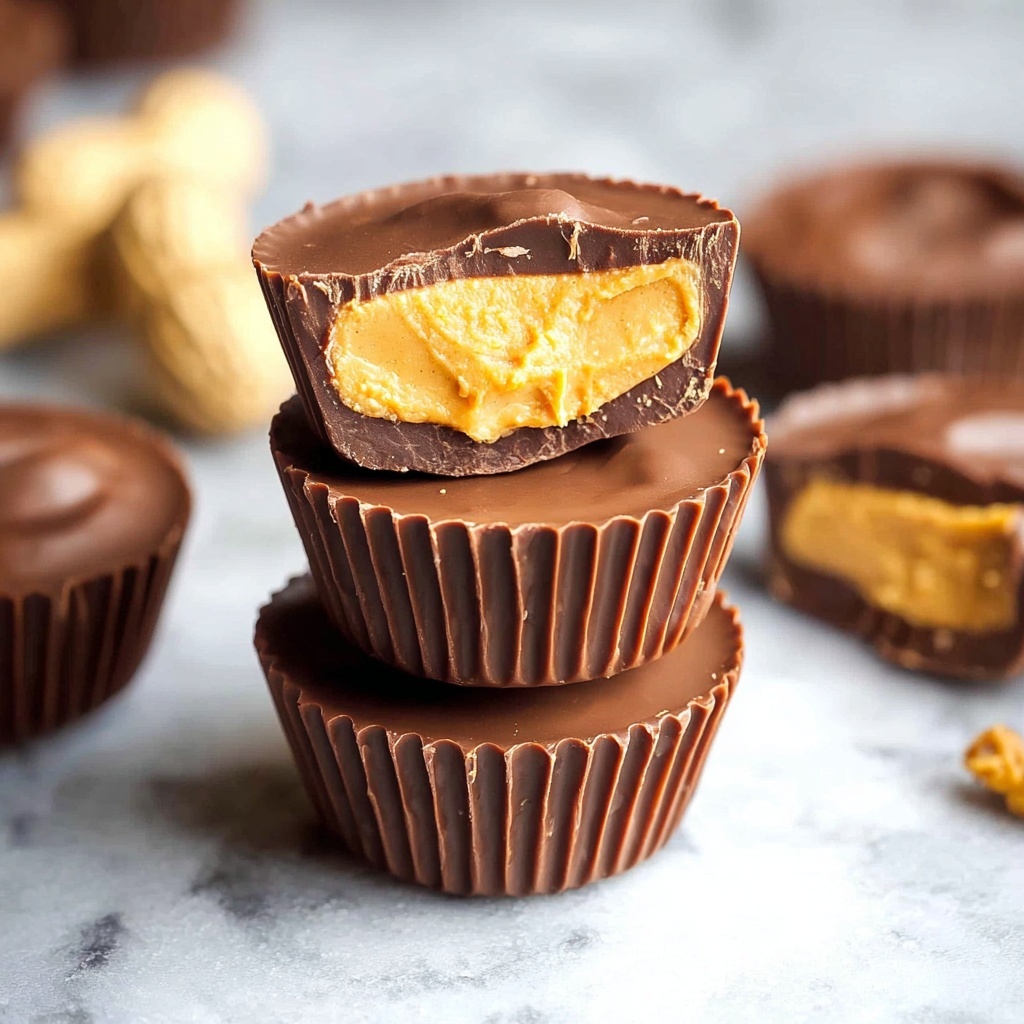
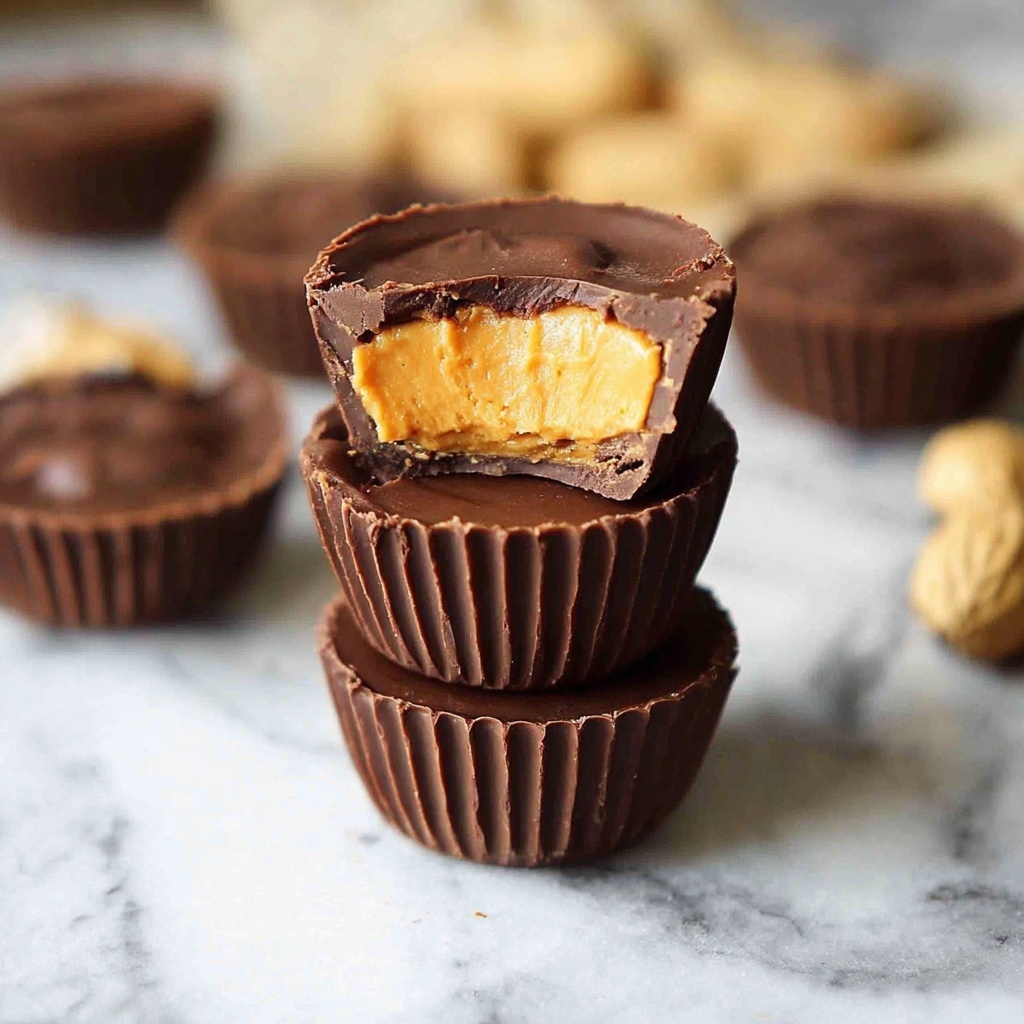
If you’ve ever found yourself craving the perfect balance of rich chocolate and creamy peanut butter, you are going to absolutely adore this Homemade Reese’s Peanut Butter Cups Recipe. It’s a delightful twist on the classic candy that lets you control every ingredient and customize your sweet treat right in your own kitchen. These peanut butter cups are creamy, velvety, and just the right amount of sweet, making them an irresistible snack or gift. Plus, making them yourself brings a special kind of satisfaction that store-bought just can’t match. Let me walk you through each step to create your new favorite indulgence!
Ingredients You’ll Need
This Homemade Reese’s Peanut Butter Cups Recipe only calls for a handful of simple and easy-to-find ingredients, but each one plays a crucial role in creating that signature texture and flavor. From the smooth peanut butter that’s creamy and nutty to the rich chocolate that envelops it all, every component works perfectly in harmony.
- Smooth peanut butter: Using smooth peanut butter ensures a silky filling that melts beautifully in your mouth.
- Unsalted butter: Adds richness and helps create a smooth, creamy peanut butter mixture.
- Brown sugar: Brings a deep, caramel-like sweetness to the filling, balancing the peanut butter’s natural flavor.
- Icing sugar (powdered sugar): Provides sweetness and helps to thicken the peanut butter filling for perfect shaping.
- Chocolate (for melting): Choose a good-quality chocolate for coating—milk, dark, or semi-sweet—all yield delicious results!
How to Make Homemade Reese’s Peanut Butter Cups Recipe
Step 1: Prepare Your Muffin Tins
Start by lining three 12-hole mini muffin tins with paper patties. This step is essential for easy removal later and ensures your peanut butter cups keep their shape beautifully. I promise, this simple prep makes all the difference when it comes time to pop these treats out.
Step 2: Make the Peanut Butter Filling
Combine the smooth peanut butter, unsalted butter, and brown sugar in a small saucepan over medium heat. Stir constantly as the mixture gently bubbles to prevent burning and encourage everything to melt perfectly together. Once smooth and warm, take it off the heat and gradually stir in the powdered sugar, about 1/4 cup at a time. This vigorous mixing will give your filling the ideal creamy yet firm texture.
Step 3: Cool the Peanut Butter Mixture
Set your peanut butter mixture aside to cool down. To speed this up, pop it in the fridge. The cooling solidifies the mixture just enough to shape it into little discs without it being too stiff, so you get that perfect consistency for the next step.
Step 4: Melt Half of the Chocolate
While the peanut butter filling chills, melt half of your chocolate in the microwave. Use 30-second bursts, stirring well between each session to avoid overheating and burning. This method gives you silky, smooth chocolate ready for layering.
Step 5: Add the First Chocolate Layer
Pour about 1 1/2 to 2 teaspoons of melted chocolate into each lined muffin cup. This forms the delicious chocolate base your peanut butter will sit on. Tilt the cups if you need to, ensuring the chocolate covers the bottom evenly and prepares a smooth foundation.
Step 6: Shape and Place the Peanut Butter Filling
Take a heaped teaspoon of the chilled peanut butter filling and roll it into a small ball. Flatten it into a disc slightly smaller than the muffin cup’s diameter—this way, there will be enough room for chocolate to surround the peanut butter for that classic cup look. Place each disc neatly in the middle of the chocolate base.
Step 7: Chill Again
Refrigerate your muffin tins for about 20 minutes so the chocolate sets firmly around the peanut butter discs. This crucial step locks everything in place and makes handling easier during the final chocolate layer.
Step 8: Melt the Remaining Chocolate
Return to the microwave to melt the rest of your chocolate, again using 30-second intervals with stirring. This is the luscious top layer that will completely encase the peanut butter filling.
Step 9: Pour Over the Peanut Butter Filling
Pour another 1 1/2 to 2 teaspoons of melted chocolate on top of each peanut butter disc. Gently tap the muffin tin on the countertop to help the chocolate level out and create that perfectly smooth finish—like a professional candy maker!
Step 10: Final Chill
Pop the tins back into the refrigerator for another 20 minutes to let the chocolate set completely. Patience here really pays off, as it ensures a satisfying snap when you bite into these beauties.
Step 11: Remove and Enjoy!
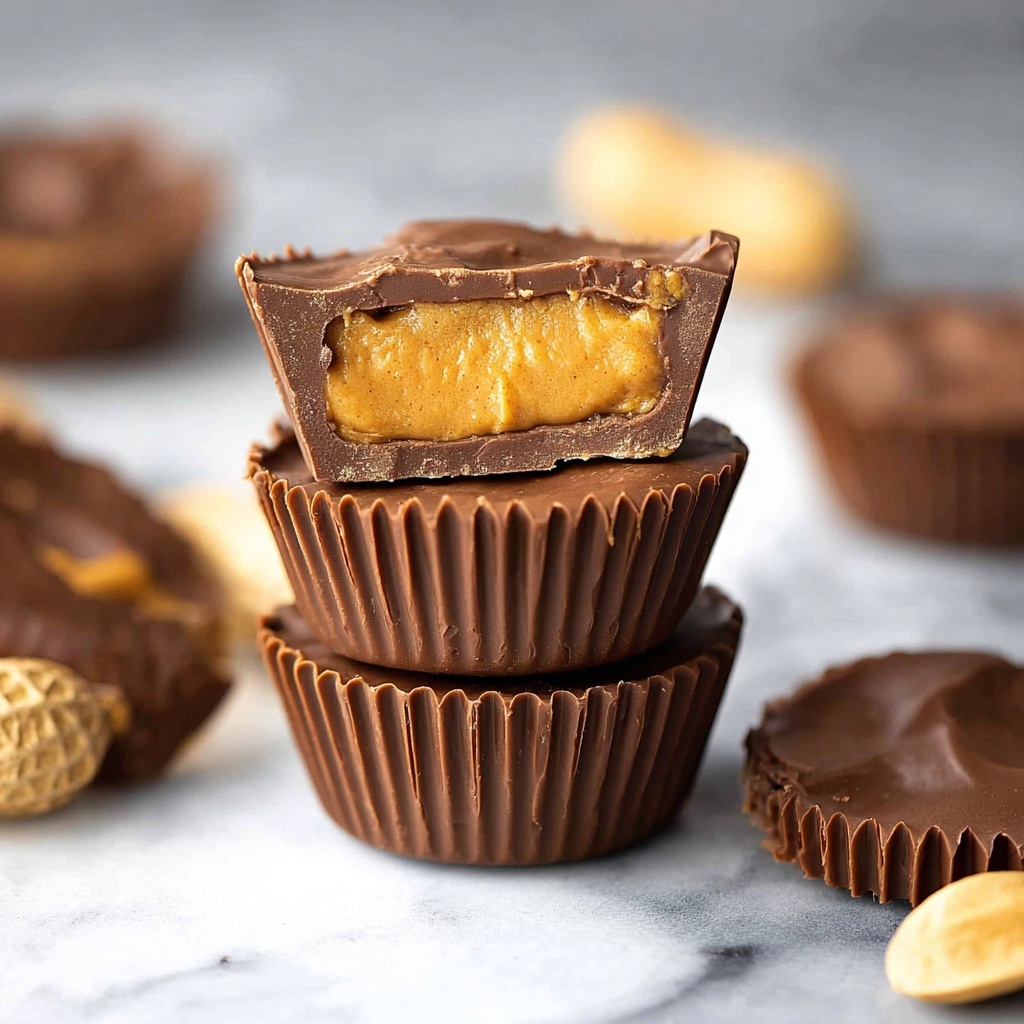
Carefully peel away the paper patties and admire your gorgeous, glossy homemade peanut butter cups. Whether you’re gifting them or indulging yourself, these treats are guaranteed to impress.
How to Serve Homemade Reese’s Peanut Butter Cups Recipe
Garnishes
While these peanut butter cups are perfect as is, a sprinkle of flaky sea salt on top adds an extraordinary contrast that enhances both the chocolate and peanut butter flavors. You could also try a drizzle of melted white chocolate to add a pretty, gourmet touch.
Side Dishes
If you want to turn this snack into a mini dessert experience, serve the peanut butter cups alongside a scoop of vanilla ice cream or alongside fresh berries. The cold creaminess or bright freshness complements the rich, nutty chocolate cups perfectly.
Creative Ways to Present
Wrap your homemade peanut butter cups individually in colored foil or place them in decorative cupcake liners for gift-giving. You could also arrange them on a beautiful platter with edible flowers or chocolate shavings to create an enticing dessert centerpiece guaranteed to wow family and friends.
Make Ahead and Storage
Storing Leftovers
Store your Homemade Reese’s Peanut Butter Cups Recipe in an airtight container at room temperature if the day isn’t too warm, but ideally keep them in the refrigerator to maintain firmness and freshness. They will stay delicious for about a week.
Freezing
These peanut butter cups freeze wonderfully! Place them in a single layer on a baking sheet initially, freeze until solid, then transfer to a sealed freezer bag or container. They will keep well for up to three months.
Reheating
Enjoy these chilled or at room temperature. If you prefer a softer texture, let them sit out for 10-15 minutes at room temperature before eating. Avoid microwave reheating, which can melt the chocolate unevenly and ruin the texture.
FAQs
Can I use crunchy peanut butter for this recipe?
Yes, you can! Crunchy peanut butter will add a delightful texture to the filling, giving your cups a lovely little crunch inside. Just keep in mind it might be a bit less smooth when shaping.
What type of chocolate works best for melting?
Semi-sweet, milk, or dark chocolates all work well for this recipe. Choose a good-quality chocolate block or chips labeled for melting to ensure a smooth, shiny finish.
Is there a substitute for unsalted butter?
You can use salted butter if that’s what you have on hand; just omit any added salt elsewhere in the recipe. Unsalted butter is preferred because it gives you more control over the saltiness.
How do I prevent the chocolate from seizing when melting?
Melting chocolate gently in the microwave in short bursts and stirring in between helps prevent seizing. Using a dry, clean bowl without any moisture is also very important.
Can I make these peanut butter cups vegan?
Absolutely! Swap the butter for vegan margarine and choose a dairy-free chocolate. Also, check your peanut butter and powdered sugar to ensure they’re vegan-friendly, and enjoy a delicious vegan version of these treats.
Final Thoughts
There is something truly magical about making your own Homemade Reese’s Peanut Butter Cups Recipe. It’s a wonderful way to indulge in a nostalgic favorite while infusing it with your personal touch. Whether you’re making them for a special occasion, gift-giving, or simply because you deserve a sweet treat, these peanut butter cups will quickly become a beloved staple. Give this recipe a go and watch your friends and family fall in love with your homemade delights!
Print
Homemade Reese’s Peanut Butter Cups Recipe
- Prep Time: 15 minutes
- Cook Time: 0 minutes
- Total Time: 35 minutes
- Yield: 30-36 mini peanut butter cups
- Category: Dessert
- Method: No-Cook
- Cuisine: American
- Diet: Vegetarian
Description
These homemade Reese’s Peanut Butter Cups combine a smooth, buttery peanut butter filling with rich chocolate in perfectly portioned mini muffin cups. Easy to make and no baking required, they offer a delightful treat for peanut butter and chocolate lovers alike.
Ingredients
Peanut Butter Filling
- 1 cup / 250g smooth peanut butter
- 60g / 4 tbsp unsalted butter
- 1/4 cup / 55g brown sugar
- 1 cup / 120g icing sugar (powdered sugar)
Chocolate Coating
- 500g / 16 oz chocolate (for melting, not eating chocolate)
Instructions
- Prepare muffin tins: Line 3 x 12 hole mini muffin tins with paper patties to prevent sticking and make removal easier.
- Make peanut butter filling: Combine peanut butter, butter, and brown sugar in a small saucepan over medium heat. Stir constantly until melted and gently bubbling, then remove from heat and gradually add powdered sugar, stirring vigorously to fully incorporate.
- Cool filling: Set the peanut butter mixture aside to cool. Refrigerate if you want to speed up the process.
- Melt half chocolate: Melt half of the chocolate in the microwave in 30 second bursts, stirring between each to ensure even melting.
- Add chocolate base: Pour about 1 1/2 to 2 teaspoons of melted chocolate into each paper-lined muffin cup as the base layer.
- Shape and add peanut butter filling: Scoop slightly heaped teaspoons of the cooled peanut butter filling, roll into balls and flatten slightly. Place each disc into the center of each muffin cup, making sure the filling is smaller in diameter than the cup to allow chocolate coverage on the sides.
- Set initial chocolate layer: Refrigerate the muffin tins for 20 minutes until the chocolate base and peanut butter filling partially set.
- Melt remaining chocolate: Melt the rest of the chocolate in the microwave using 30 second bursts, stirring in between for smoothness.
- Cover peanut butter filling: Pour 1 1/2 to 2 teaspoons of melted chocolate over each peanut butter disc, covering it completely. Gently tap the muffin tin on the counter to smooth out the chocolate surfaces.
- Final setting: Refrigerate again for 20 minutes or until the chocolate is fully set and firm.
- Serve: Remove the paper patties from the peanut butter cups and serve immediately or store refrigerated for later enjoyment.
Notes
- Using icing (powdered) sugar is critical for achieving the right texture in the peanut butter filling.
- You can refrigerate the peanut butter mixture to speed up the cooling process before assembling.
- Choose a good quality melting chocolate for best results; avoid eating chocolate as it doesn’t melt well.
- Ensure the peanut butter discs are slightly smaller than the muffin cups to allow chocolate to coat the sides properly.
- Store the peanut butter cups in an airtight container in the refrigerator for up to 1 week.

