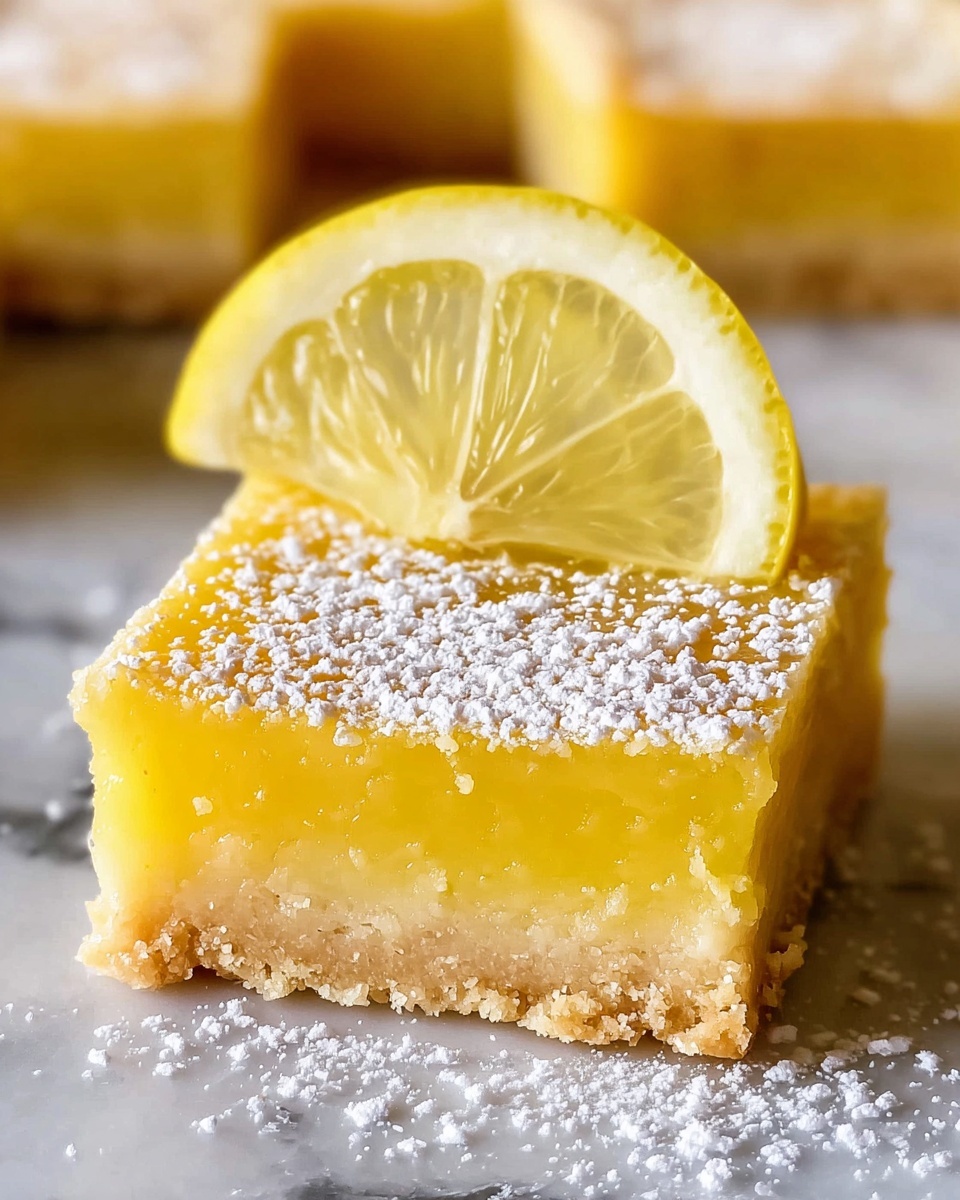
If you’ve been searching for a bright, tangy, and utterly delicious treat to brighten up your dessert repertoire, look no further than this Classic Lemon Bars Recipe. Bursting with fresh lemon juice and zest, balanced by a buttery, crumbly crust, these bars are the perfect combination of sweet and tart. They bring sunny flavors to any occasion and offer a nostalgic feel that makes you want to share them with friends and family over a warm cup of tea or coffee. Simply put, this recipe is a timeless delight that’s as impressive as it is easy to make.
Ingredients You’ll Need
Gathering fresh, quality, and straightforward ingredients is the secret to baking the most irresistible lemon bars. Each component plays a crucial role—from the flour and butter forming the foundation for that flaky crust to the vibrant lemon zest and juice delivering the signature tang that makes these bars unforgettable.
- All-purpose flour (1 and 3/4 cups + 1/2 cup + 1 tablespoon): Provides structure for both the crust and the luscious lemon custard filling.
- Cornstarch (1/4 cup): Adds a delicate lightness to the crust, ensuring it stays tender and crumbly.
- Powdered sugar (2/3 cup + extra for dusting): Sweetens the crust softly and adds a pretty snowy touch when dusted on top before serving.
- Kosher salt (1 teaspoon total, divided): Enhances all the flavors, balancing sweetness and tartness beautifully; reduce if using table salt.
- Lemon zest (1 teaspoon + 2 tablespoons): Infuses both the crust and filling with fresh citrus oils for an aromatic punch.
- Cold butter (1 cup, 2 sticks): The star ingredient for a flaky, rich crust that melts in your mouth.
- Large eggs (6): Bind the filling together, creating a smooth, custard-like texture.
- Granulated sugar (2 and 1/4 cups): Sweetens the tangy filling just right without overpowering it.
- Fresh lemon juice (1 cup + 2 tablespoons): The heart of the recipe, delivering that sparkling, lively citrus flavor essential to classic lemon bars.
How to Make Classic Lemon Bars Recipe
Step 1: Prepare the Pan
Start by lining a 9×13 inch glass or ceramic pan with parchment paper. This helps ensure your bars come out cleanly. If you don’t have parchment, nonstick spray or a buttered pan works too. This simple step prevents sticking and makes your life so much easier at the serving stage!
Step 2: Mix the Dry Crust Ingredients
In a large bowl, whisk together the all-purpose flour, cornstarch, powdered sugar, kosher salt, and lemon zest until everything is evenly combined. This mixture lays the groundwork for a crust bursting with subtle citrus flavor and a tender crumb.
Step 3: Cut in the Butter
Using a pastry cutter or a butter knife, cut the cold butter into the flour mixture until it forms pea-sized pieces. Don’t worry if it looks crumbly—this is exactly what you want to create that flaky texture in the crust. Keeping the butter cold is essential, so work quickly!
Step 4: Chill and Bake the Crust
Press the buttery mixture firmly and evenly into your prepared pan to form the crust base. Then chill it—either in the freezer for 20 minutes or the refrigerator for 30 minutes—to keep the butter cold. Preheat your oven to 350°F (175°C), then bake the crust for about 24-25 minutes or until the edges turn golden and the surface looks matte and set. Let it cool fully before the next step.
Step 5: Prepare the Lemon Filling
In a large bowl or mixer, whisk the eggs, granulated sugar, flour, salt, lemon zest, and fresh lemon juice together. Beat this mixture for about 2 minutes, making sure everything is fully blended and smooth. This filling is what makes this Classic Lemon Bars Recipe so wonderfully tart and creamy.
Step 6: Bake the Lemon Bars
Pour the lemon custard evenly over the cooled crust. Pop the pan back into the oven at 350°F (175°C) and bake for 30-35 minutes. You’re aiming for edges that are set and a center that’s just slightly wiggly but not runny. The edges might appear a bit darker, which means you’re perfectly close to that ideal lemon bar magic.
Step 7: Chill and Cut
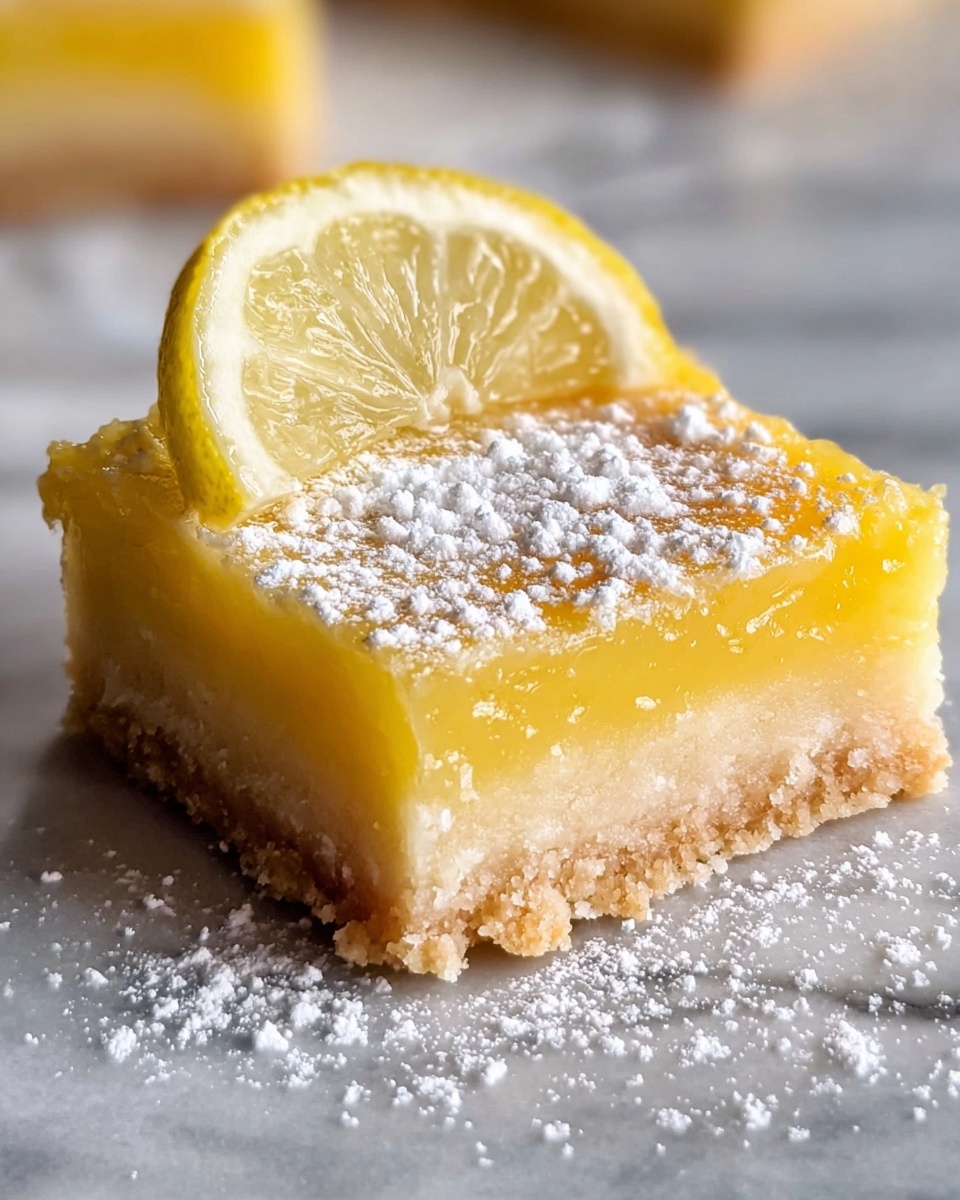
Once baked, cool the bars on a wire rack for 20-30 minutes, then cover loosely with plastic wrap and refrigerate for at least 2-3 hours until fully set. This chilling step ensures your lemon bars slice cleanly. Use a sharp knife, wiping it off between cuts, to create perfectly neat bars. Dust them generously with powdered sugar for a signature finish.
How to Serve Classic Lemon Bars Recipe
Garnishes
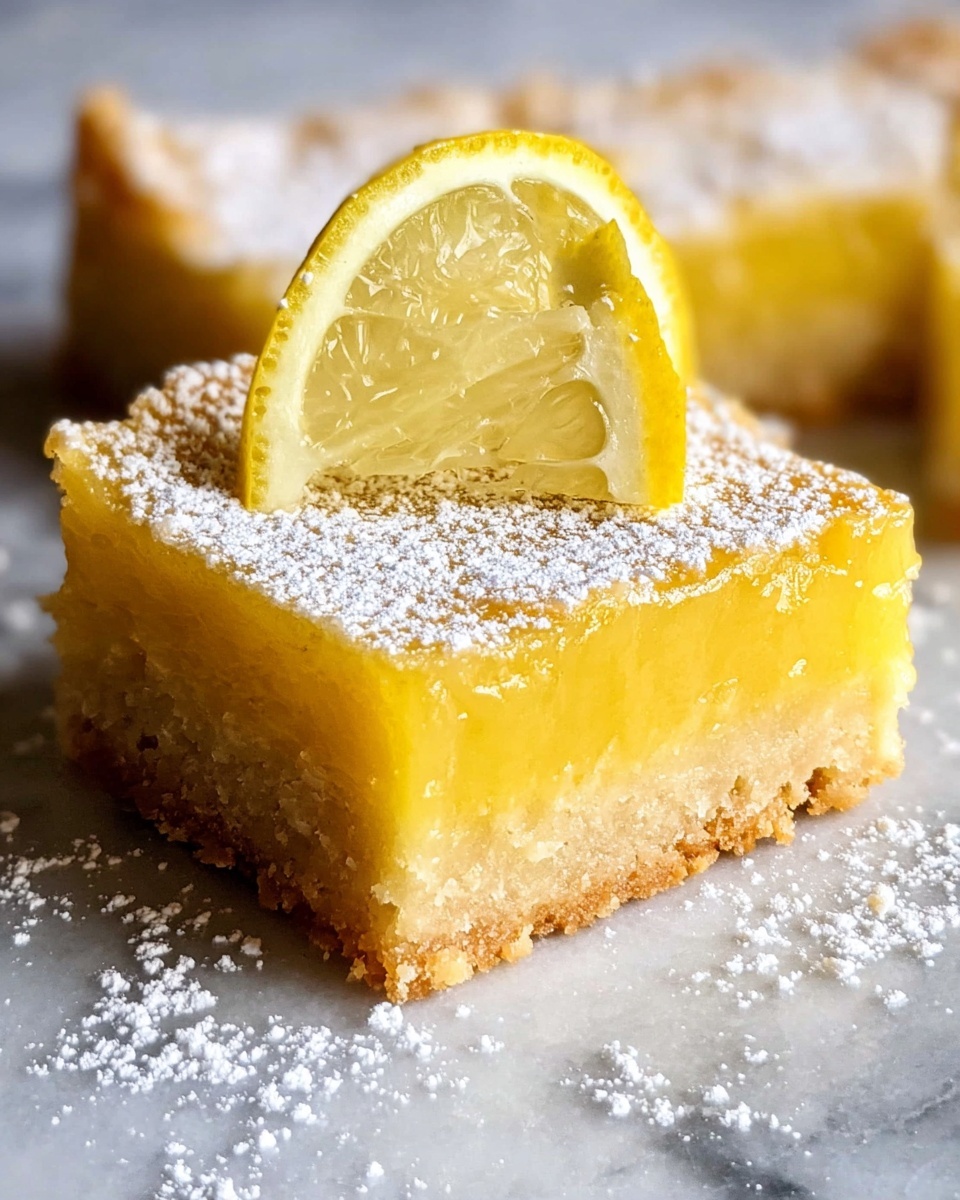
While the powdered sugar dusting is classic and elegant, feel free to get creative! Add a small sprig of fresh mint or thin lemon slices for a fresh, decorative touch that complements the bright lemon flavor beautifully.
Side Dishes
Classic lemon bars pair wonderfully with light accompaniments. Think fresh berries, a dollop of whipped cream, or a scoop of vanilla ice cream. These side options add a lovely balance without overpowering the lemon’s fresh tang.
Creative Ways to Present
For an inviting presentation, layer lemon bars on a pretty serving platter or arrange in a decorative box for gifting. You can also cut them into mini squares or use festive cookie cutters to create lemon bar shapes that make any gathering extra special.
Make Ahead and Storage
Storing Leftovers
Once your lemon bars are cut and dusted, store them in an airtight container in the refrigerator. They’ll stay fresh and flavorful for up to five days, making them a perfect make-ahead dessert for busy days or unexpected guests.
Freezing
If you want to enjoy your Classic Lemon Bars Recipe later, wrap individual bars tightly in plastic wrap and place in a freezer-safe container. They freeze beautifully for up to three months. Thaw in the refrigerator before serving to maintain their best texture and flavor.
Reheating
While lemon bars are typically enjoyed chilled, you can let them sit at room temperature for 15-20 minutes to take the chill off before serving. Avoid microwaving as it can make the crust soggy—room temperature is the best way to enjoy all their tender crumb and tangy filling glory.
FAQs
Can I use bottled lemon juice instead of fresh?
While fresh lemon juice has the brightest, most vibrant flavor, bottled lemon juice can work in a pinch. Just be sure to use high-quality bottled juice and consider adding a touch more zest to boost the lemony punch.
How do I get a perfectly smooth lemon filling?
Beat the eggs and other filling ingredients thoroughly for about two minutes to ensure everything is fully combined and smooth. Scrape down the sides of your bowl as you go to avoid any lumps or uneven texture.
Why is chilling the crust before baking important?
Chilling the crust keeps the butter cold, which helps the crust stay flaky and prevents it from shrinking or becoming tough during baking. This step is key to creating the signature delicate crumb of classic lemon bars.
Can I make these lemon bars gluten-free?
Yes! Substitute the all-purpose flour with a gluten-free flour blend that measures cup-for-cup. However, results might vary slightly in texture, so choose a blend that includes xanthan gum for best results.
How do I prevent the lemon bars from cracking?
Avoid overbaking and make sure to remove the bars from the oven when the center is just slightly wiggly. Overbaking causes the filling to dry out and crack. Cooling the bars gradually and not rushing the chilling process also helps avoid cracks.
Final Thoughts
I cannot recommend this Classic Lemon Bars Recipe enough for anyone who loves a zesty, buttery treat that feels both elegant and homey. It’s perfect for holidays, potlucks, or just when you want to brighten your day with something fresh and satisfying. Give it a try—you’ll be amazed at how simple ingredients come together to create such an unforgettable dessert that everyone will ask for again and again!
Print
Classic Lemon Bars Recipe
- Prep Time: 20 minutes
- Cook Time: 55 minutes
- Total Time: 1 hour 15 minutes (excluding chilling time)
- Yield: 24 bars
- Category: Dessert
- Method: Baking
- Cuisine: American
Description
Classic Lemon Bars feature a tender, flaky shortbread crust topped with a bright, tangy lemon custard. This refreshing dessert balances a sweet and tart lemon flavor perfect for any occasion, finished with a light dusting of powdered sugar. The bars are baked in two stages to achieve a crisp base and a luscious, creamy lemon topping.
Ingredients
For the Crust
- 1 and 3/4 cups all-purpose flour, spooned and leveled
- 1/4 cup cornstarch
- 2/3 cup powdered sugar
- 1/2 teaspoon kosher salt (use half the amount if using table salt)
- 1 teaspoon lemon zest (zest of one lemon)
- 1 cup cold butter (2 sticks)
For the Lemon Filling
- 6 large eggs
- 2 and 1/4 cups granulated sugar
- 1/2 cup + 1 tablespoon all-purpose flour, spooned and leveled
- 1/2 teaspoon kosher salt (use half the amount if using table salt)
- 2 tablespoons lemon zest (about 6–8 lemons; more zest for more tartness)
- 1 cup + 2 tablespoons fresh lemon juice (about 6–8 medium lemons)
For Finishing
- Powdered sugar, for dusting the finished lemon bars
Instructions
- Prepare the Pan: Line a 9×13 inch glass or ceramic pan with parchment paper or alternatively grease it with nonstick spray or butter to prevent sticking.
- Mix Crust Ingredients: In a large bowl, whisk together flour, cornstarch, powdered sugar, kosher salt, and lemon zest until well combined.
- Cut in Butter: Use a pastry cutter or butter knife to cut cold butter into the flour mixture until the pieces are pea-sized; the mixture should be crumbly and dry.
- Form the Crust: Firmly and evenly press the butter-flour mixture into the prepared pan. Freeze for 20 minutes or chill in the refrigerator for 30 minutes to keep the butter cold for a flaky crust.
- Bake the Crust: Preheat oven to 350°F (175°C). Bake the crust for 24-25 minutes until the edges are golden and the top loses its shine. Remove and cool to room temperature.
- Prepare Lemon Filling: In a large bowl or stand mixer, beat together eggs, granulated sugar, flour, kosher salt, lemon zest, and fresh lemon juice thoroughly for about 2 minutes, scraping the sides and bottom to fully incorporate the eggs.
- Assemble: Pour the lemon custard evenly over the cooled crust.
- Bake Again: Bake at 350°F (175°C) for 30-35 minutes until the edges are set and the center is just slightly wiggly but not liquid. The edges may darken to signal readiness.
- Cool and Chill: Let the bars cool on a wire rack for 20-30 minutes. Cover loosely with plastic wrap and refrigerate for at least 2-3 hours until fully set and cold.
- Cut and Serve: Once chilled, cut into 24 bars using a sharp knife, wiping between cuts. Optionally trim edges. Dust the tops with powdered sugar before serving for a classic finish.
Notes
- Using cold butter and chilling the crust ensures a flaky, tender base.
- Adjust lemon zest and juice quantities to increase or decrease tartness as preferred.
- Be careful not to overbake the lemon filling; it should have a slight wiggle for perfect texture.
- Cut bars with a sharp knife and clean the knife between cuts to maintain clean edges.
- Bars can be stored covered in the refrigerator for up to 3-4 days.
