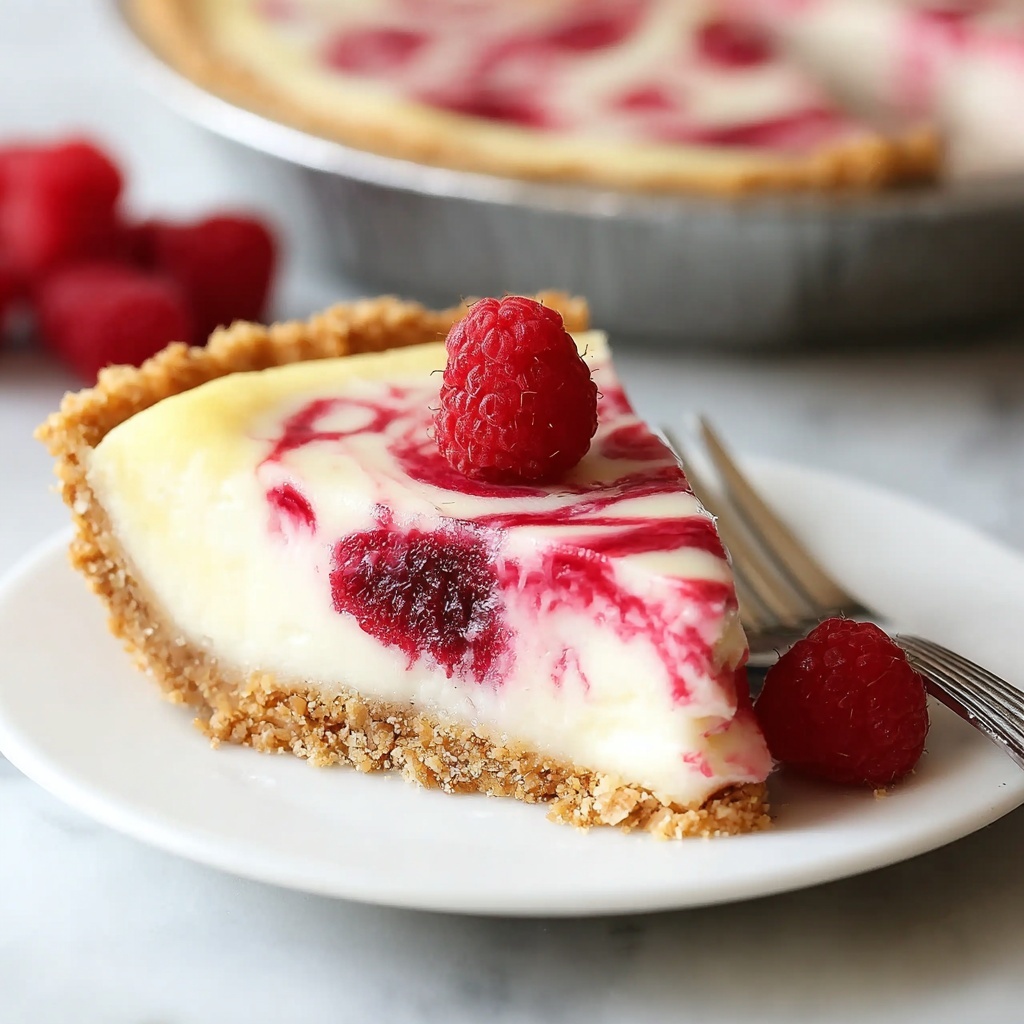
If you are searching for a dessert that bursts with bright, refreshing flavors and creamy textures, this Frozen Raspberry Lemonade Pie Recipe is your new best friend in the kitchen. Imagine the perfect marriage of tart lemons and sweet raspberries, enveloped in a crisp graham cracker crust and finished with a fluffy whipped topping. This pie is not only a feast for your taste buds but also a stunning, cool treat perfect for warm days or any time you crave a delightful, chilled dessert. The balance of tangy lemon pudding and luscious raspberry puree makes each bite an irresistible experience you will want to share again and again.
Ingredients You’ll Need
The beauty of this pie lies in its simplicity and the way each ingredient plays a crucial role, whether it’s the crunchy graham cracker crust adding texture or the fresh raspberries lending vibrant color and natural sweetness. With just a handful of everyday ingredients, you can create something truly special and refreshing.
- Graham cracker crumbs: These form the crunchy, buttery crust that’s essential for the pie’s foundation.
- Sugar: Used in two places to sweeten the crust and the raspberry puree gently without overpowering the tartness.
- Melted butter: Helps bind the graham cracker crumbs and adds richness to the crust.
- Instant lemon pudding mix: Offers the bright, tangy lemon flavor that makes the pie so refreshing.
- Milk: Used to prepare the pudding, contributing to a creamy, luscious filling.
- Lemon juice: Boosts the citrusy zing and balances the sweetness perfectly.
- Cool Whip Whipped Topping: Adds lightness and fluffy texture to the lemon filling.
- Fresh raspberries: Pureed to create a vibrant, naturally sweet and slightly tart layer and drizzle.
How to Make Frozen Raspberry Lemonade Pie Recipe
Step 1: Prepare and Bake the Crust
Start by preheating your oven to 350°F. Combine graham cracker crumbs, sugar, and melted butter in a bowl until the mixture resembles wet sand. Press this mixture firmly into a greased pie pan to create an even crust. Bake it for about 9 to 10 minutes until it’s golden and fragrant. Let it cool completely before adding the filling—this crust sets the tasty stage for everything to come.
Step 2: Make the Lemon Filling
While the crust cools, whisk together the instant lemon pudding mix and milk until it thickens, which takes just a few minutes. Then, stir in the freshly squeezed lemon juice to heighten the citrus flavor. Lightly fold in the Cool Whip whipped topping, making the filling delightfully fluffy and smooth—this mix is the heart of the pie’s creamy, tangy goodness.
Step 3: Prepare the Raspberry Puree
In a blender or food processor, puree the fresh raspberries together with sugar until smooth. This sweet-tart raspberry puree will lend a beautiful color contrast and a burst of fresh fruit flavor that pairs perfectly with the lemon filling.
Step 4: Assemble the Pie
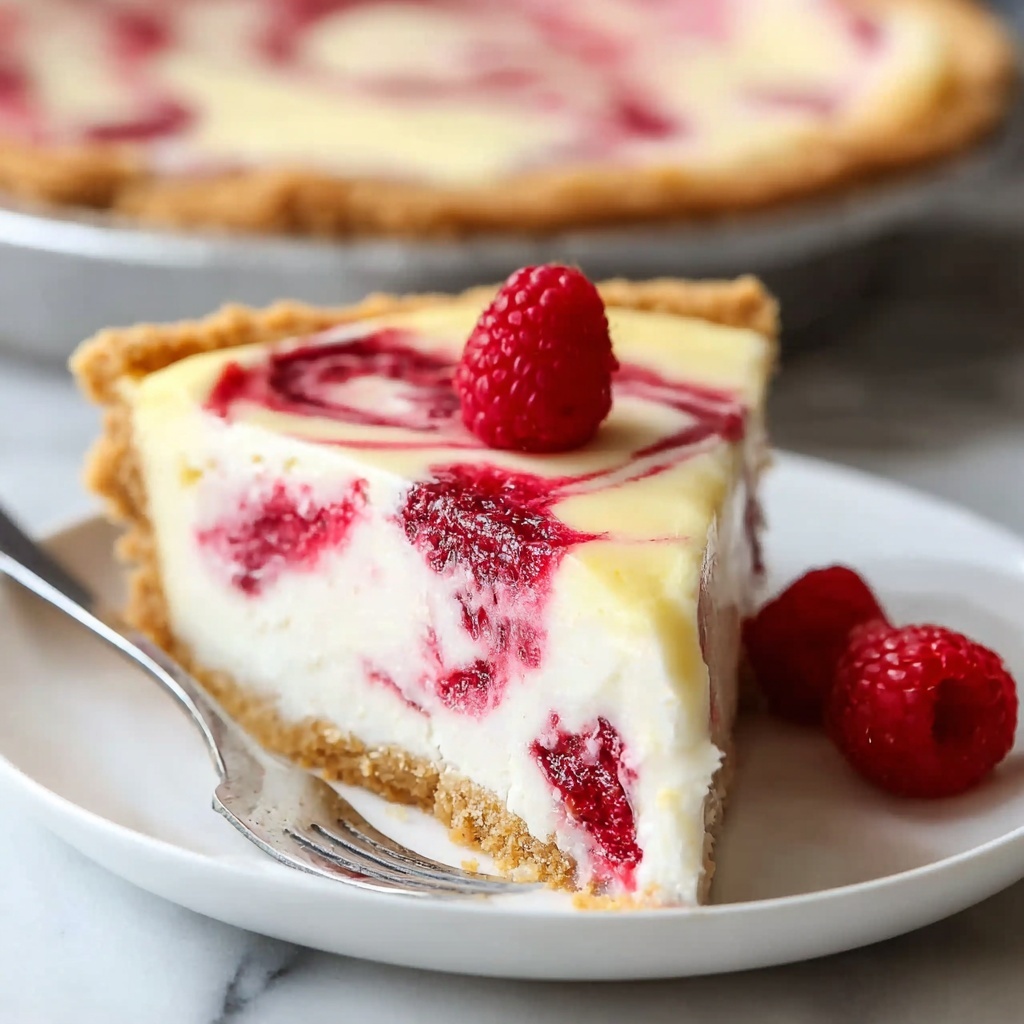
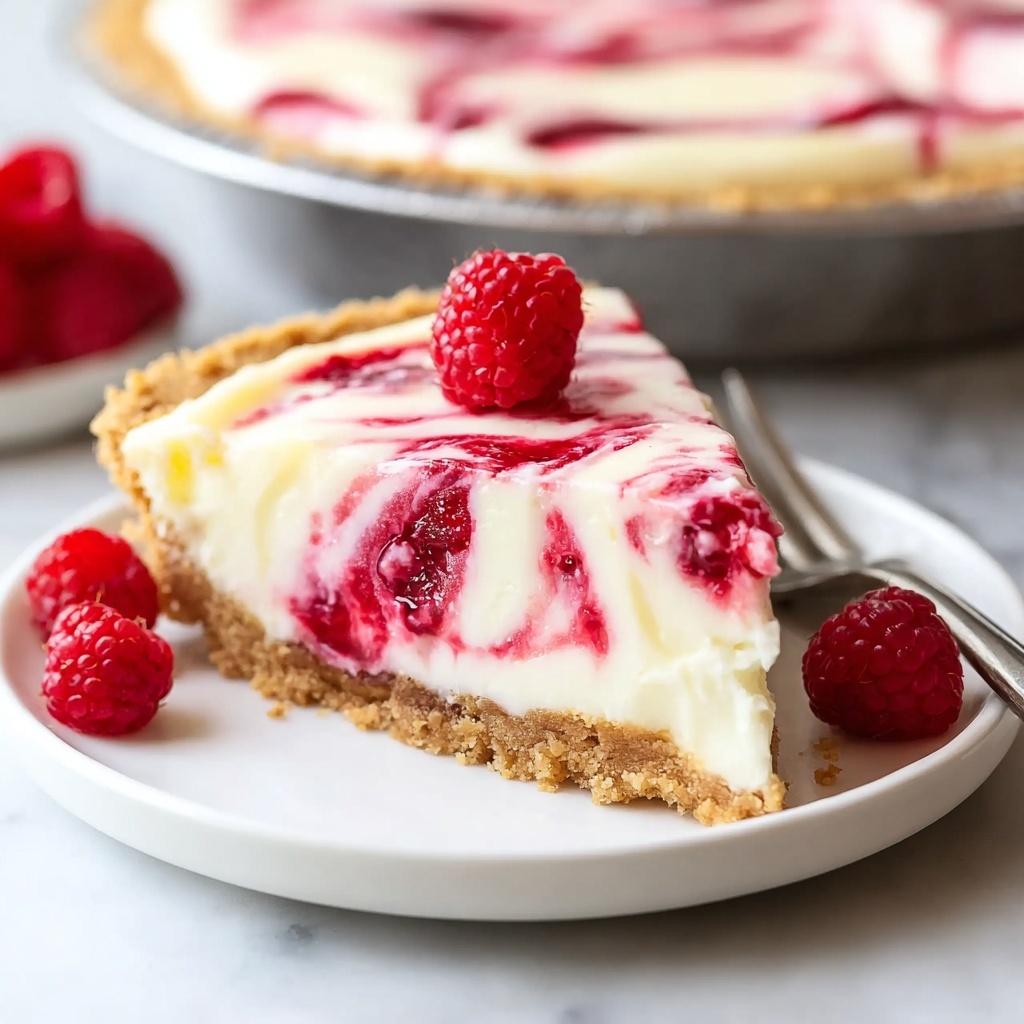
Begin layering by pouring half of the lemon filling into the cooled crust. Next, gently spoon the raspberry puree on top, allowing it to spread without mixing fully with the lemon. Add the remaining lemon filling to cover the raspberry layer, and finally, finish with a drizzle of more raspberry puree on top for a pretty, inviting look. Every step adds dimension, blending creamy and fruity notes harmoniously.
Step 5: Freeze Until Firm
Cover the pie loosely with plastic wrap and place it in the freezer for at least three hours. This chilling time allows everything to set beautifully, resulting in a refreshingly cold dessert that is perfect the moment you want a cool break from the heat.
Step 6: Thaw Before Serving
Before you serve, let the pie thaw just a bit so slices hold together but are soft enough for easy cutting. This short wait guarantees the best texture and flavor with every forkful.
How to Serve Frozen Raspberry Lemonade Pie Recipe
Garnishes
Adding garnishes can make this pie even more irresistible. Fresh raspberries placed around the edges, a few bright lemon zest curls, or a sprig of mint add a beautiful pop of color and aroma, enhancing both the taste and visual appeal.
Side Dishes
Because this pie is so rich in flavor and texture, consider pairing it with light and simple sides like a crisp green salad or a small scoop of vanilla ice cream that complements but never competes with the pie’s vibrant citrus and berry notes.
Creative Ways to Present
Serve individual slices on pretty plates with a drizzle of raspberry sauce or a dusting of powdered sugar for an elegant touch. For a fun twist, serve the pie in mini tart pans or alongside a refreshing lemonade drink to echo and amplify the citrus theme.
Make Ahead and Storage
Storing Leftovers
Keep any leftover pie tightly covered in the freezer or refrigerator. Properly stored, it stays fresh and flavorful for up to 3 days in the fridge or up to a month in the freezer, making it a perfect make-ahead dessert for unexpected guests or a sweet treat later on.
Freezing
This pie actually benefits from freezing as the process helps firm up the layers and blends all the flavors beautifully. Wrap it well in plastic wrap and foil to prevent freezer burn, ensuring every bite remains just as delicious as the day you made it.
Reheating
This pie is meant to be served chilled or slightly thawed, so reheating is not recommended. Instead, simply let it sit at room temperature for about 10 to 15 minutes when you want to serve. It softens the texture just right without losing the refreshing chill.
FAQs
Can I use frozen raspberries instead of fresh?
Yes, you can use frozen raspberries if fresh ones aren’t available, but be sure to thaw and drain them first to avoid excess water making the puree too runny. The flavor will still be delicious and vibrant.
Is there a way to make this pie dairy-free?
Absolutely! Substitute the milk with a dairy-free alternative such as almond or oat milk and choose a non-dairy whipped topping. Just ensure your lemon pudding mix is compatible or make a homemade version for a dairy-free option.
How long does this pie keep in the freezer?
Frozen Raspberry Lemonade Pie Recipe can be stored in the freezer for up to one month. For the best taste and texture, try to enjoy it within that time frame.
Can I make this pie without baking the crust?
You can skip baking by pressing the graham cracker crust firmly into the pan, but baking helps to set the crust firmly and adds a wonderful toasted flavor. If pressed for time, chilling the crust before adding the filling helps prevent it from becoming soggy.
What’s the best way to slice the pie?
For clean slices, dip a sharp knife in hot water, wipe it dry, and slice through the pie. Repeat dipping the knife between cuts to maintain neat, beautiful portions without smearing the layers.
Final Thoughts
This Frozen Raspberry Lemonade Pie Recipe has become a cherished favorite because it’s simple, stunning, and bursting with fresh, sunny flavors. Whether for a summer gathering or a special treat, it’s guaranteed to impress and delight your guests. Give it a try, and watch how quickly this cool and creamy pie becomes a beloved staple in your recipe collection.
Print
Frozen Raspberry Lemonade Pie Recipe
- Prep Time: 15 minutes
- Cook Time: 10 minutes
- Total Time: 3 hours 25 minutes
- Yield: 8 servings
- Category: Dessert
- Method: Baking
- Cuisine: American
- Diet: Vegetarian
Description
This Frozen Raspberry Lemonade Pie is a refreshing no-bake dessert with a crisp graham cracker crust, tangy lemon pudding filling, and vibrant raspberry puree layers, perfect for a summer treat or any occasion that calls for a cool, fruity dessert.
Ingredients
Crust
- 1½ cups graham cracker crumbs
- 3 tablespoons sugar
- ⅓ cup melted butter
Filling
- 1 (3.4 ounce) box instant lemon pudding mix
- 2 cups milk
- 6 tablespoons lemon juice
- 8 ounces Cool Whip Whipped Topping
Raspberry Puree
- 12 ounces fresh raspberries
- 2 tablespoons sugar
Instructions
- Preheat and prepare crust: Preheat your oven to 350°F. In a bowl, mix graham cracker crumbs, sugar, and melted butter until combined. Press the mixture into a greased pie pan forming an even layer. Bake for 9-10 minutes until the crust is set and lightly golden. Remove from oven and allow to cool completely.
- Prepare lemon filling: In a separate bowl, whisk the instant lemon pudding mix with milk until the mixture thickens, roughly 2-3 minutes. Stir in the lemon juice to add fresh citrus flavor. Gently fold in the Cool Whip whipped topping until smooth and creamy.
- Make raspberry puree: In a blender or food processor, combine fresh raspberries and sugar. Blend until smooth to create a vibrant raspberry puree for layering and drizzling.
- Assemble the pie: Pour half of the lemon filling over the cooled crust, spreading evenly. Spoon or drizzle the raspberry puree over the lemon layer. Carefully add the remaining lemon filling on top. Finish by drizzling extra raspberry puree over the top for a decorative and flavorful finish.
- Freeze the pie: Cover the pie with plastic wrap or foil and place it in the freezer. Freeze for at least 3 hours or until fully set and firm.
- Serve: Before serving, allow the pie to thaw slightly at room temperature for about 10-15 minutes to make slicing easier and enhance the texture.
Notes
- Ensure the pie crust is fully cooled before adding the filling to prevent the filling from melting.
- Use fresh raspberries for the best flavor, but frozen raspberries can be substituted if fresh are not available.
- The pie needs to be frozen for a minimum of 3 hours for optimal texture.
- Thaw the pie slightly before serving to improve sliceability and presentation.
- This pie can be stored in the freezer for up to 1 week.


