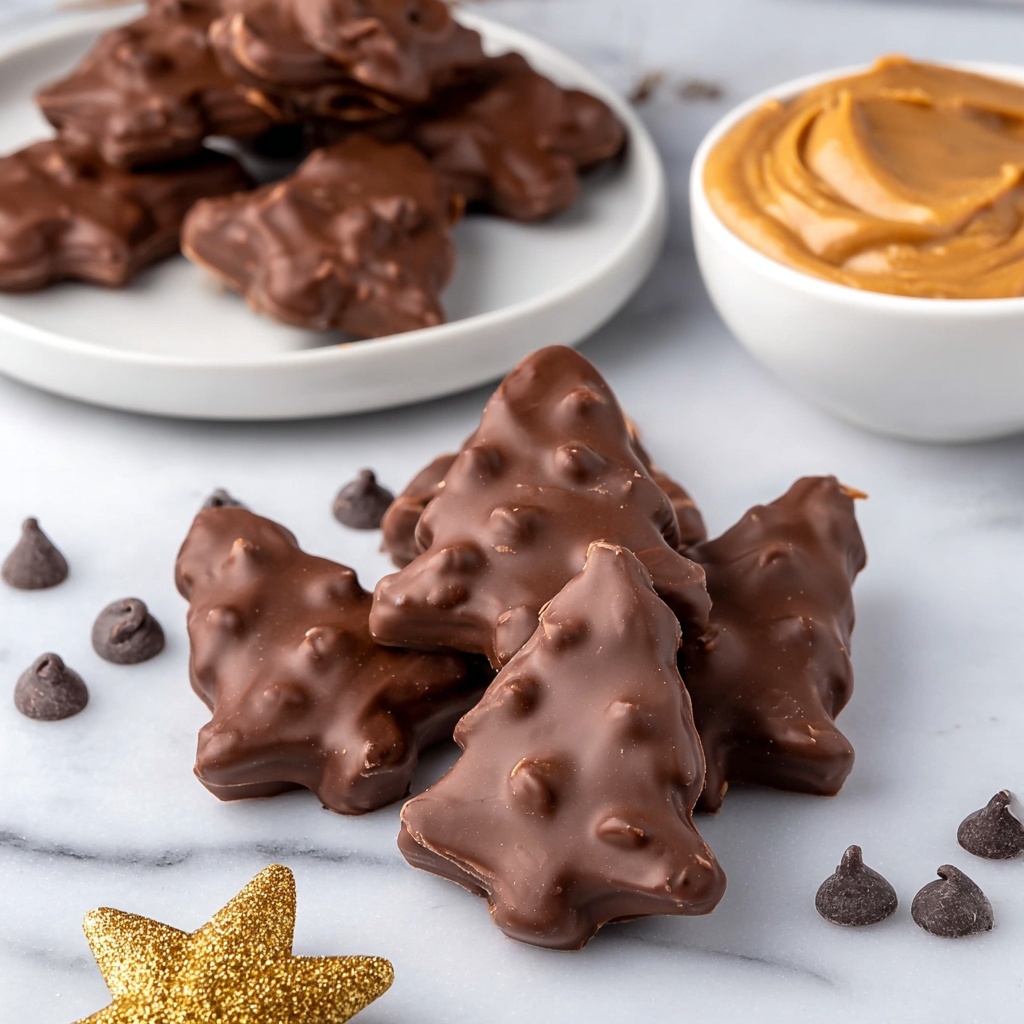
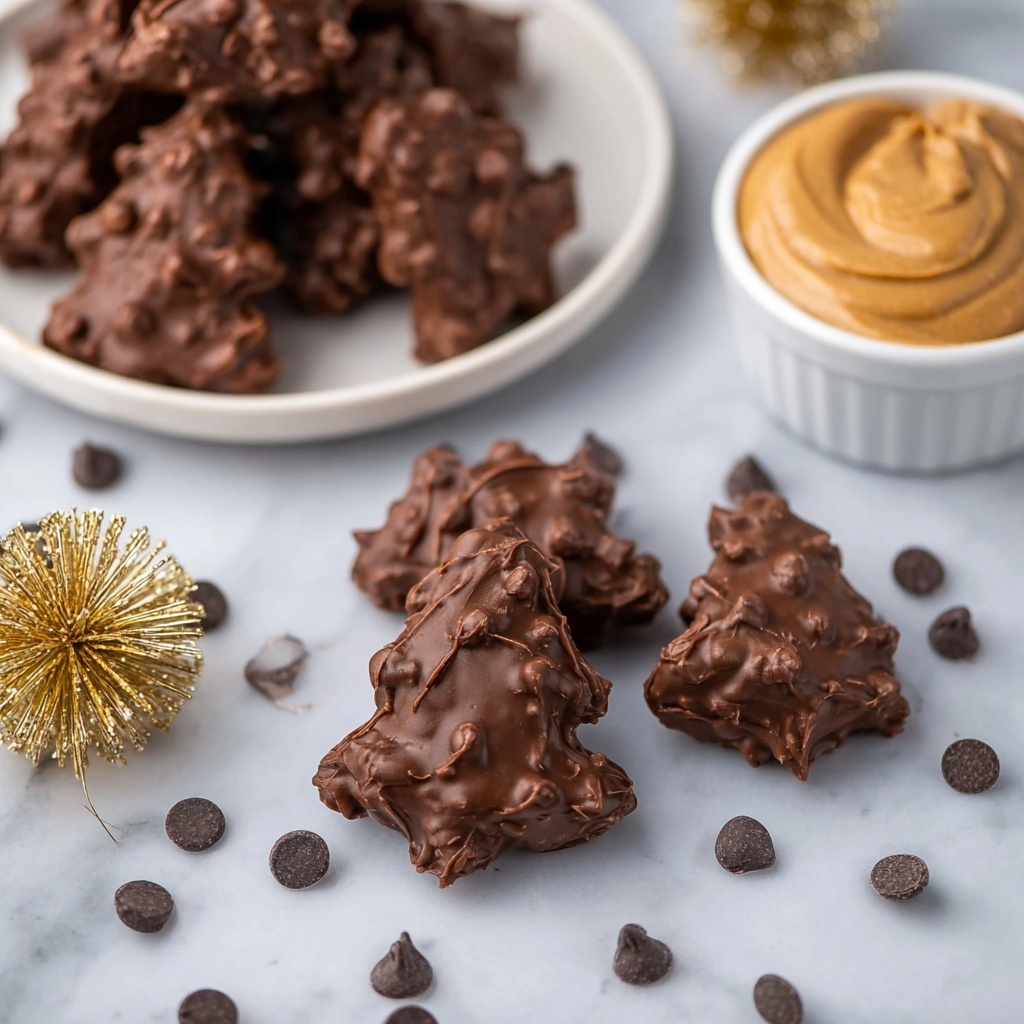
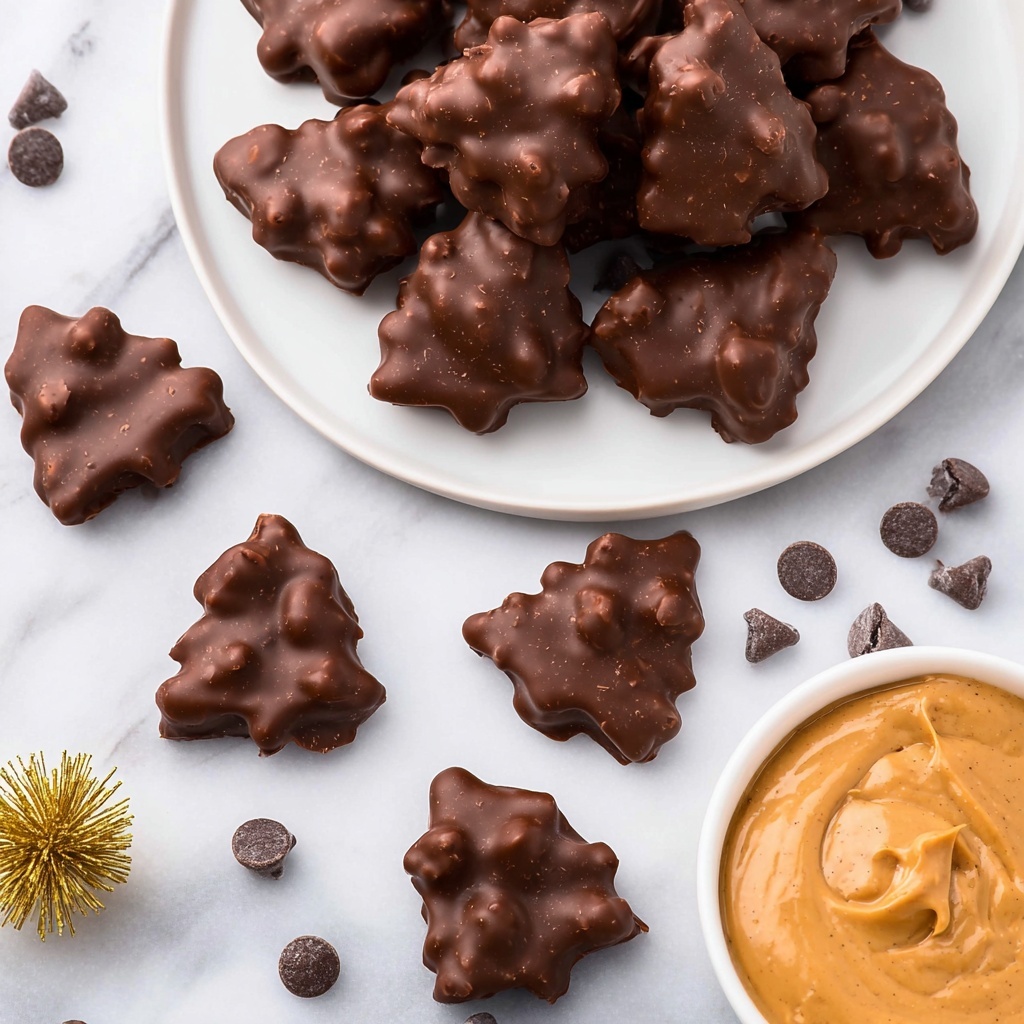
If you adore the perfect blend of chocolate and peanut butter, you are in for a true delight with the Reese’s Peanut Butter Trees Recipe. These festive treats are not only irresistibly tasty but also wonderfully fun to make and share. Imagine bite-sized Christmas trees rich with creamy peanut butter and cloaked in smooth, glossy chocolate. Every bite is a perfect balance of sweet, salty, and nutty flavors wrapped up in a charming shape that adds a pop of holiday cheer to your dessert table. This recipe brings together simple ingredients to create a truly memorable and crowd-pleasing holiday snack that’s guaranteed to become a yearly tradition.
Ingredients You’ll Need
Getting the ingredients right is half the fun, and luckily this recipe uses straightforward staples that come together beautifully. Each component has its role, from the creamy peanut butter providing luscious richness to the chocolate chips adding that smooth, velvety finish.
- Butter (½ cup, salted, melted): Adds richness and helps bind the peanut butter mixture into a smooth base.
- Peanut butter (2 cups, creamy): The star of the show, lending that classic Reese’s flavor and creamy texture.
- Granulated sugar (¼ cup): Balances the peanut butter’s saltiness with just the right touch of sweetness.
- Vanilla extract (1 Tbsp): Enhances the overall flavor with a warm, fragrant note.
- Powdered sugar (4 cups): Gives structure and sweetness, transforming the peanut butter into a moldable treat.
- Chocolate chips (3 cups, semi-sweet or a mix of semi and milk): Creates a luscious coating that hardens into a glossy shell.
- Shortening (2 Tbsp): Ensures the melted chocolate stays smooth, shiny, and easy to dip.
How to Make Reese’s Peanut Butter Trees Recipe
Step 1: Prepare Your Pan
Begin by lining a 10×15-inch jelly roll or half-sheet pan with parchment paper. This step is essential for easy removal once your peanut butter mixture sets, and it helps keep the trees perfectly shaped when cutting.
Step 2: Mix the Peanut Butter Base
Using a hand mixer, combine the melted butter, creamy peanut butter, granulated sugar, and vanilla extract. Whip everything until it’s silky smooth and creamy. Then, beat in the powdered sugar. This transforms the mixture from soft and sticky into a dough-like consistency that’s easy to spread and cut.
Step 3: Chill and Cut the Trees
Press the peanut butter mixture evenly into the prepared pan, creating about a ½-inch thick layer. Pop the pan into the freezer to firm up for about 10 minutes—this step makes cutting clean, crisp shapes so much easier. When chilled, lift the parchment with the peanut butter slab out of the pan, replace the pan’s parchment, and then cut out ½-inch thick Christmas tree shapes using a cookie cutter. Don’t throw away your leftover peanut butter scraps—press them back, chill again, and cut out more adorable trees!
Step 4: Freeze the Cutouts
Arrange your peanut butter trees onto a parchment-lined baking sheet and place them back in the freezer for about 30 minutes. This ensures they are firm enough to dip without losing their shape, making the coating process smooth and mess-free.
Step 5: Melt the Chocolate Coating
Combine the chocolate chips and shortening in a microwave-safe glass bowl. Heat in 30-second bursts, stirring in between, until the chocolate is completely melted and silky smooth. The shortening helps give the chocolate a perfect gloss and easy dipping consistency.
Step 6: Dip and Set the Trees
Using a fork, gently lift each peanut butter tree and dip it completely into the melted chocolate. Allow excess chocolate to drip off before placing it back onto the parchment-lined sheet. Let the chocolate harden at room temperature or chill briefly to speed things up. Watching these elegant trees transform into an irresistible chocolate-covered treat is one of the sweetest parts of making this recipe.
How to Serve Reese’s Peanut Butter Trees Recipe
Garnishes
Sprinkle the top of your chocolate-coated trees with festive colored sugar crystals or tiny edible pearls before the chocolate hardens for an extra touch of holiday sparkle. You can also drizzle white chocolate over them for a pretty contrast and an added layer of flavor.
Side Dishes
Serve these peanut butter trees alongside warm mugs of cocoa or a frothy eggnog for the ultimate cozy holiday treat. They also pair wonderfully with fresh fruit or simple sugar cookies to keep the desserts light and balanced on the palate.
Creative Ways to Present
Arrange the Reese’s Peanut Butter Trees Recipe as a centerpiece on a holiday dessert platter surrounded by holly leaves or sprigs of rosemary to mimic pine branches. Tie small ribbons around their “trunks” after chilling for a charming gift or party favor that friends and family will love.
Make Ahead and Storage
Storing Leftovers
These peanut butter trees keep beautifully in an airtight container at room temperature for up to a week. To preserve their freshness, store them in a cool, dry spot away from direct sunlight. The chocolate coating helps seal in the flavor and texture until you’re ready to enjoy them again.
Freezing
If you want to make these well in advance, freeze the chocolate-coated trees in a single layer on a baking sheet until firm, then transfer them to a freezer-safe container or bag. They’ll keep delicious for up to three months and thaw quickly when you need a festive treat in a pinch.
Reheating
No reheating needed here! These treats are best served cold or at room temperature. If your chocolate coating shows any signs of condensation after thawing, just let them sit uncovered for a few minutes and they’ll be perfect for serving.
FAQs
Can I use crunchy peanut butter instead of creamy?
For the best texture and smoothness, creamy peanut butter is recommended. Crunchy peanut butter will change the consistency and may not press as neatly into the pan, although it can add a pleasant crunch if that’s what you prefer.
What if I don’t have a Christmas tree cookie cutter?
No worries! You can use a different holiday-themed cutter or simply cut the peanut butter mixture into squares or triangles by hand. The flavor remains the star, no matter the shape.
Can I use a double boiler instead of a microwave to melt the chocolate?
Absolutely! Using a double boiler is a great gentle method to melt chocolate without risk of burning. Just stir frequently until smooth, then proceed to dip your peanut butter trees as usual.
Is it necessary to add shortening to the chocolate?
The shortening keeps the melted chocolate shiny and smooth, which makes dipping easier. If you want a firmer coating, you can omit it, but the texture might be a bit thicker and less glossy.
How long do the Reese’s Peanut Butter Trees last once made?
Stored properly in an airtight container, these treats stay fresh for about a week at room temperature. For longer storage, freezing is your best option, extending their life up to three months.
Final Thoughts
If you’re looking for a festive, fun-to-make treat that will wow your family and friends, the Reese’s Peanut Butter Trees Recipe is the answer. It’s simple, delightful, and bursting with that classic peanut butter and chocolate combo we all crave. Trust me, once you try making these charming trees, you’ll want to keep them as part of your holiday tradition for years to come. So grab your ingredients and start chopping out those sweet little trees—they won’t last long!
Print
Reese’s Peanut Butter Trees Recipe
- Prep Time: 15 minutes
- Cook Time: 30 minutes
- Total Time: 45 minutes
- Yield: 24 trees
- Category: Dessert
- Method: No-Cook
- Cuisine: American
Description
These Reese’s Peanut Butter Trees are deliciously creamy peanut butter treats shaped like festive Christmas trees and coated in smooth semi-sweet chocolate. Perfect for holiday gatherings or gifting, they combine a rich peanut butter base with a shimmering chocolate coating for a sweet, crunchy delight.
Ingredients
Peanut Butter Mixture
- ½ cup salted butter, melted
- 2 cups creamy peanut butter
- ¼ cup granulated sugar
- 1 tablespoon vanilla extract
- 4 cups powdered sugar
Chocolate Coating
- 3 cups semi-sweet chocolate chips (or a mix of semi-sweet and milk chocolate chips)
- 2 tablespoons shortening
Instructions
- Prepare the Pan: Line a 10×15-inch jelly roll or half-sheet pan with parchment paper and set aside. This will help in easily removing the prepared peanut butter layer later.
- Make the Peanut Butter Mixture: Using a hand mixer, beat the melted butter, creamy peanut butter, granulated sugar, and vanilla extract together until smooth and creamy. Then, gradually beat in the powdered sugar until fully incorporated. Press this mixture evenly into the prepared sheet pan, spreading it to about ½-inch thickness. Place the pan in the freezer for roughly 10 minutes to firm up.
- Cut Out Tree Shapes: After chilling, lift the parchment paper to remove the firm peanut butter layer from the pan. Place a new sheet of parchment paper back onto the pan. Using a cookie cutter, cut out ½-inch thick Christmas tree shapes from the peanut butter layer.
- Freeze the Cutouts: Arrange the cutout trees on a parchment-lined sheet pan and freeze them for 30 minutes. Gather any leftover peanut butter mixture, press it out to the same thickness, and cut additional tree shapes to maximize yield.
- Prepare Chocolate Coating: While the cutouts chill, combine the chocolate chips and shortening in a glass bowl. Microwave the mixture in 30-second intervals, stirring in between, until completely melted and smooth.
- Coat the Trees: Using a fork, carefully lift one peanut butter tree at a time and fully coat it with the melted chocolate. Tap off excess chocolate and place the coated tree back onto the parchment-lined pan. Repeat with all cutouts.
- Allow Chocolate to Set: Let the chocolate harden completely at room temperature or in the refrigerator before serving or packaging.
Notes
- Use parchment paper to prevent sticking and simplify cleanup.
- Press the mixture firmly into the pan to ensure even thickness and easy cutting.
- Microwave chocolate in short increments to avoid burning.
- The shortening helps give the chocolate coating a smooth, glossy finish.
- Store finished trees in an airtight container in the refrigerator to maintain freshness.
- Variations: You can substitute peanut butter with almond butter or sunflower seed butter for different flavors.