“`html
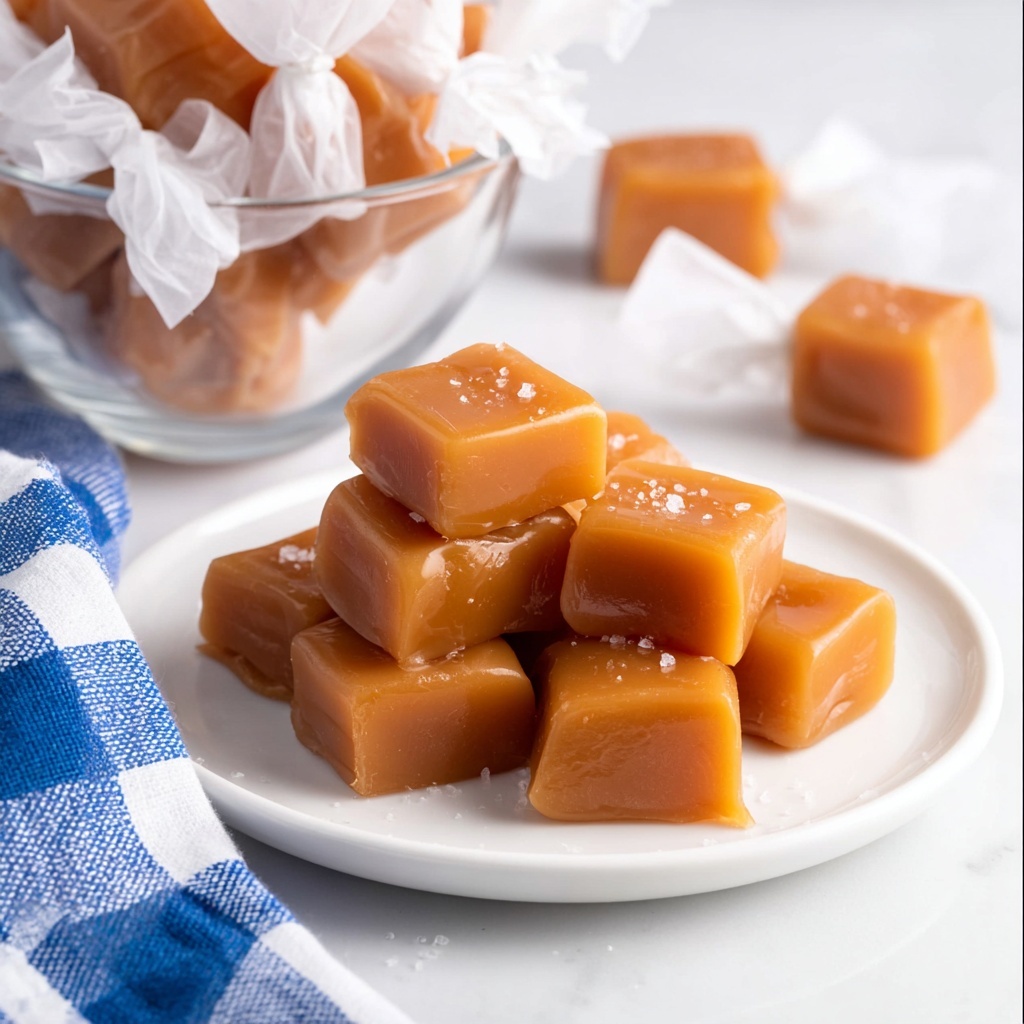
If you have a soft spot for sweet and chewy treats, you are going to fall head over heels for this Homemade Caramels Recipe. These little squares of buttery bliss bring together the perfect balance of creamy texture, rich caramel flavor, and just a hint of saltiness that will keep you coming back for more. Whether you’re making them to share with friends or just treating yourself, the process is surprisingly simple, and the result? Absolutely irresistible.
Ingredients You’ll Need
Getting the best results with this Homemade Caramels Recipe starts with a handful of straightforward ingredients. Each one plays a crucial role in bringing that classic caramel flavor and smooth consistency to life, making every bite melt in your mouth.
- 1/2 cup unsalted butter: Adds the rich, creamy base and helps achieve that luscious smooth texture.
- 1 cup granulated sugar: The sweet foundation that caramelizes beautifully for depth of flavor.
- 1 cup brown sugar: Brings moisture and a subtle molasses note to the caramel for extra warmth.
- 1 cup light corn syrup: Prevents crystallization so your caramels stay soft and chewy.
- 12 ounces evaporated milk: Enriches the caramel with creamy body and tenderness.
- 1 teaspoon kosher salt: Balances the sweetness perfectly and enhances flavors.
- 1/2 teaspoon vanilla extract: Gives a fragrant, comforting finish that rounds out every bite.
How to Make Homemade Caramels Recipe
Step 1: Prepare Your Pan
Start by lining an 8×8-inch pan with parchment paper, making sure some paper hangs over the sides. This will make it super simple to lift the caramel out once set, saving you from a sticky situation later.
Step 2: Combine the Main Ingredients
In a medium saucepan over medium heat, melt the butter with the granulated sugar, brown sugar, corn syrup, and kosher salt. Stir gently until the mixture reaches a gentle boil—it usually takes around eight minutes. This bubbling blend is where the magic begins.
Step 3: Slowly Incorporate the Evaporated Milk
Now for the trickiest part, but also the most rewarding. Gradually add the evaporated milk in small increments while constantly stirring and letting the mixture boil. This slow addition, combined with steady stirring, will help prevent any lumps and encourage that velvety texture. It takes about 10 to 15 minutes before the caramel reaches “soft ball” stage at 238 degrees Fahrenheit. Don’t have a candy thermometer? Try the ice water test: drop a little caramel in cold water, and if you can mold it softly without it falling apart, you’re on target. Remove the saucepan from heat and carefully stir in the vanilla extract.
Step 4: Chill and Set
Pour your caramel mixture into the prepared pan and smooth it out if needed. Pop it into the fridge for at least 30 minutes so it can cool completely and firm up, making it easier to slice.
Step 5: Cut Into Perfect Squares
Once firm, remove the caramel block by lifting the parchment paper gently out of the pan. Use a sharp knife to cut the caramel into squares, as big or small as you like. This step is satisfying and marks the final stretch before enjoying your homemade treat.
Step 6: Wrap for Gifting or Storage
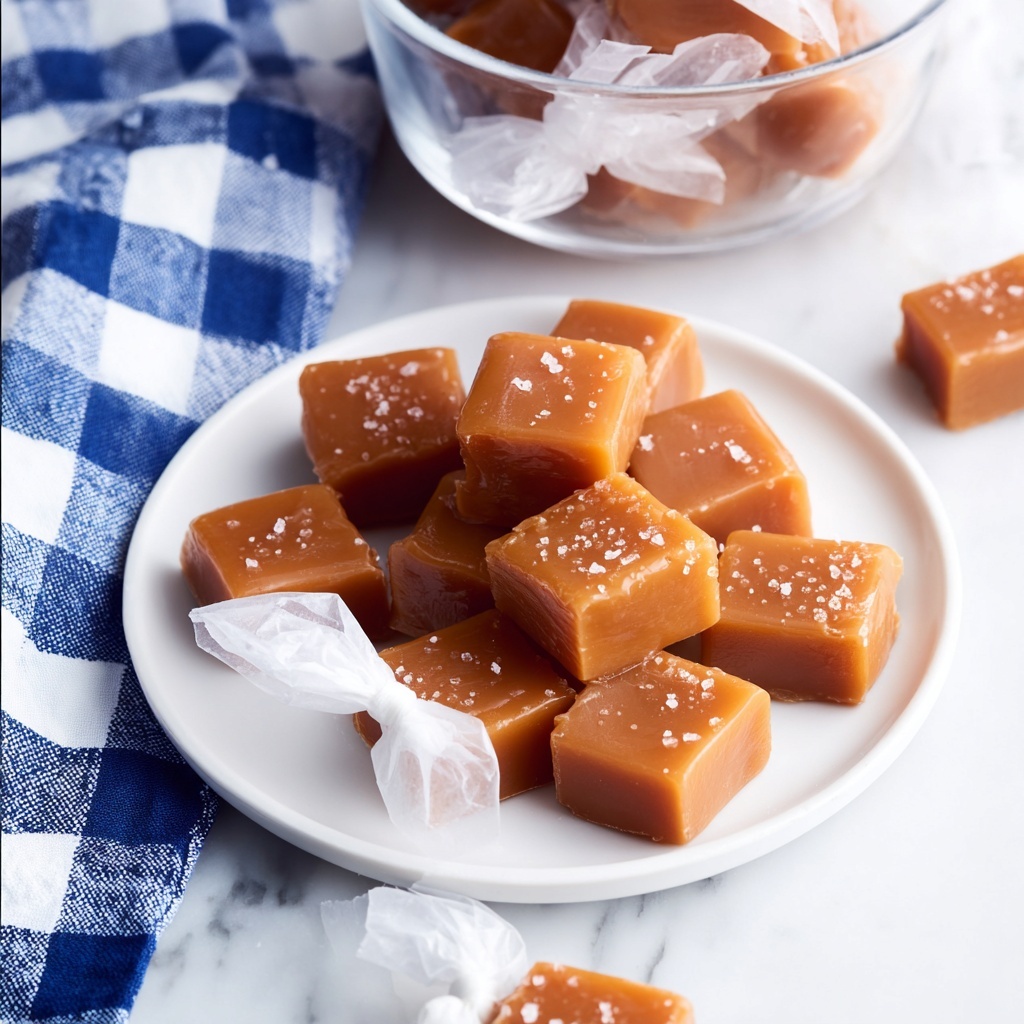
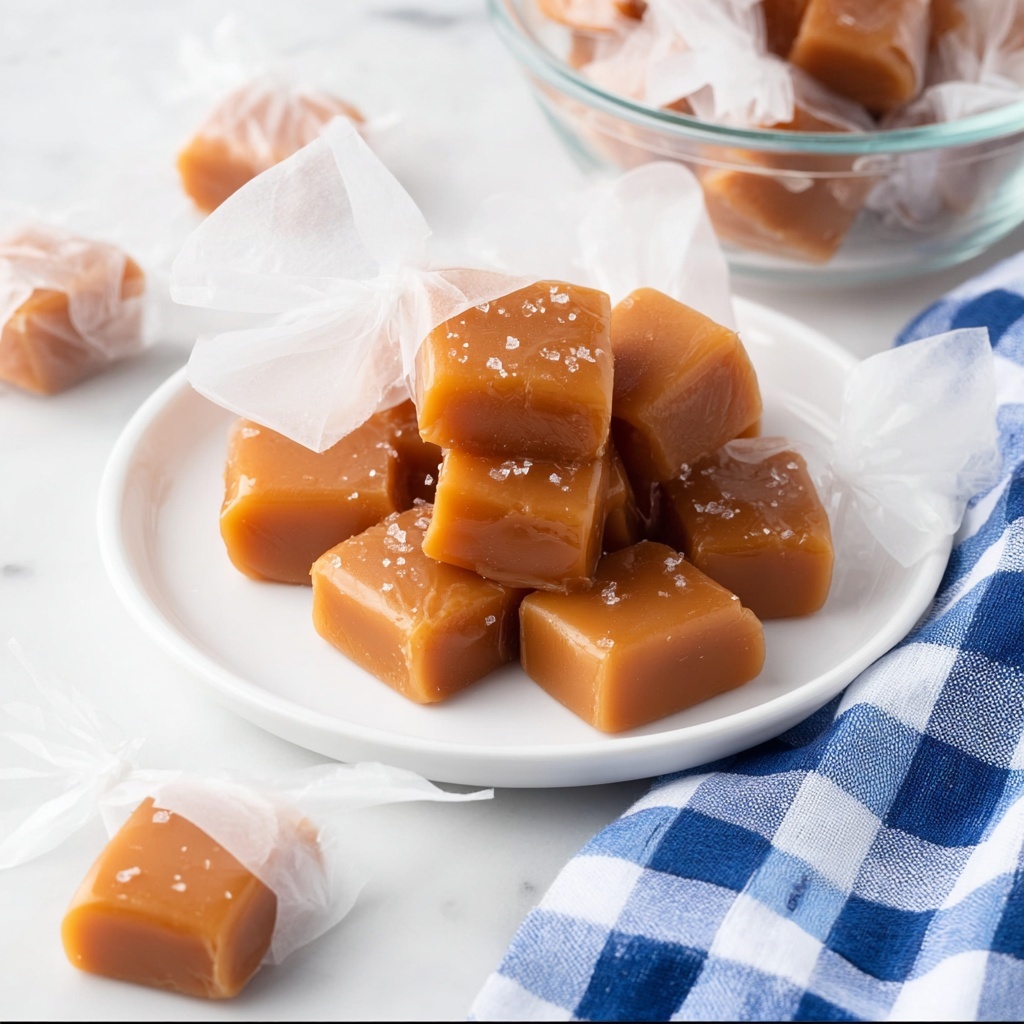
If you’re thinking of sharing the love, wrap each caramel individually in wax paper, rolling it up and twisting the ends tight. This keeps each piece fresh and easy to handle, making them perfect gifts or party favors.
How to Serve Homemade Caramels Recipe
Garnishes
Add a sprinkle of flaky sea salt atop your caramels for a sophisticated salty-sweet combo that truly wakes up your taste buds. You can also roll them lightly in finely chopped nuts or cocoa powder for an extra layer of texture and flavor.
Side Dishes
While caramels are fantastic as a standalone treat, pairing them with a cup of strong coffee or rich hot chocolate turns snack time into a cozy indulgence. They also complement a cheese platter really well—especially cheeses with a bit of tang like sharp cheddar or blue cheese.
Creative Ways to Present
Try arranging your caramels in a decorative glass jar tied with a ribbon, or make a stunning dessert platter with a variety of bite-sized sweets including these caramels. You can even use them as a delightful topping for ice cream or a decadent addition to homemade brownies for that luscious caramel surprise.
Make Ahead and Storage
Storing Leftovers
After making this Homemade Caramels Recipe, store your leftovers in an airtight container at room temperature. Wrapped properly, they will stay soft and delicious for up to two weeks—perfect for keeping your sweet stash around for whenever a craving strikes.
Freezing
You can freeze caramels to keep them fresh even longer. Wrap each piece tightly in wax paper and then place them in a sealed freezer bag or container. Frozen caramels will hold their texture and flavor for up to three months, allowing you to stock up ahead of busy holidays or special occasions.
Reheating
If your caramels become a bit firm after refrigeration or freezing, simply let them sit at room temperature for a few minutes before enjoying. For a quick soften-up, place them in a bowl and microwave on low power for 10-15 seconds, but be careful not to overheat or melt them.
FAQs
Can I use regular milk instead of evaporated milk?
Evaporated milk provides a creamier texture and richer taste than regular milk, which is why it’s ideal in this recipe. Using regular milk might result in a runnier caramel that doesn’t set as well, so for the best chewy texture, stick to evaporated milk.
What does the “soft ball” stage mean in caramel making?
The “soft ball” stage refers to a specific temperature of 238°F where sugar syrup forms a soft, pliable ball when dropped into cold water. It signals that your caramel will set to a chewy consistency instead of hard or sticky.
Why is corn syrup important in this recipe?
Corn syrup prevents sugar crystals from forming and keeps the caramel smooth and soft over time. Without it, your caramels may become grainy or overly hard.
Can I flavor these caramels with anything else besides vanilla?
Absolutely! Feel free to experiment with almond extract, a pinch of cinnamon, or even a splash of bourbon for different flavor notes. Just add your chosen flavoring after removing the caramel from heat like the vanilla.
How long does it take for the caramels to set?
Once poured into the pan, allow the caramels to chill in the fridge for at least 30 minutes, though letting them rest longer will make cutting easier and the texture firmer.
Final Thoughts
Making this Homemade Caramels Recipe is truly a rewarding experience that results in an incredibly decadent treat you’ll want to make again and again. Once you taste how buttery, soft, and perfectly sweet these caramels are, you’ll understand why they’re a favorite for sharing and gifting. So grab your saucepan and let’s turn simple ingredients into homemade magic!
“`
Print
Homemade Caramels Recipe
- Prep Time: 10 minutes
- Cook Time: 25 minutes
- Total Time: 35 minutes
- Yield: Approximately 100 pieces
- Category: Candy/Sweets
- Method: Stovetop
- Cuisine: American
Description
These homemade caramels are rich, creamy, and perfectly chewy treats made from butter, sugars, corn syrup, and evaporated milk. Crafted with a precise cooking process to reach the perfect soft ball stage, they are ideal for gifting or indulging in a classic sweet treat.
Ingredients
Caramel Ingredients
- 1/2 cup unsalted butter
- 1 cup granulated sugar
- 1 cup brown sugar
- 1 cup light corn syrup
- 12 ounces evaporated milk
- 1 teaspoon kosher salt
- 1/2 teaspoon vanilla extract
Instructions
- Prepare the Pan: Line an 8×8-inch pan with parchment paper, leaving the edges hanging over the sides to easily lift the caramel out once set.
- Cook the Sugars and Butter: In a medium saucepan over medium heat, combine the butter, granulated sugar, brown sugar, corn syrup, and kosher salt. Stir continuously until the mixture starts to boil, which takes approximately 8 minutes.
- Add Evaporated Milk Gradually: While the mixture is boiling, slowly and gradually add the evaporated milk in small increments, stirring constantly. Continue this process for 10-15 minutes, cooking until the caramel reaches the soft ball stage at 238°F (115°C). Alternatively, test by dropping a small amount into ice water; if it forms a pliable ball, it is ready. Remove the saucepan from heat and stir in the vanilla extract carefully.
- Set the Caramel: Pour the hot caramel mixture into the prepared parchment-lined pan. Place the pan in the refrigerator and chill for at least 30 minutes or until the caramel is completely firm.
- Cut into Squares: Once set, lift the caramel block out of the pan using the parchment paper overhang. Use a sharp knife to cut the caramel into squares of desired size.
- Wrap for Gifts: For gifting purposes, place each caramel square in the center of a piece of wax paper. Roll the paper around the caramel and twist the ends to seal, preserving freshness and presentation.
Notes
- Be sure to stir constantly to prevent burning and ensure even cooking.
- The soft ball stage is critical for proper caramel consistency; use a candy thermometer for accuracy.
- Use parchment paper for easy removal and clean cutting of caramels.
- Store caramels in an airtight container at room temperature or in the refrigerator to keep them fresh.
- Variations include adding sea salt on top for salted caramels or including nuts for extra texture.


