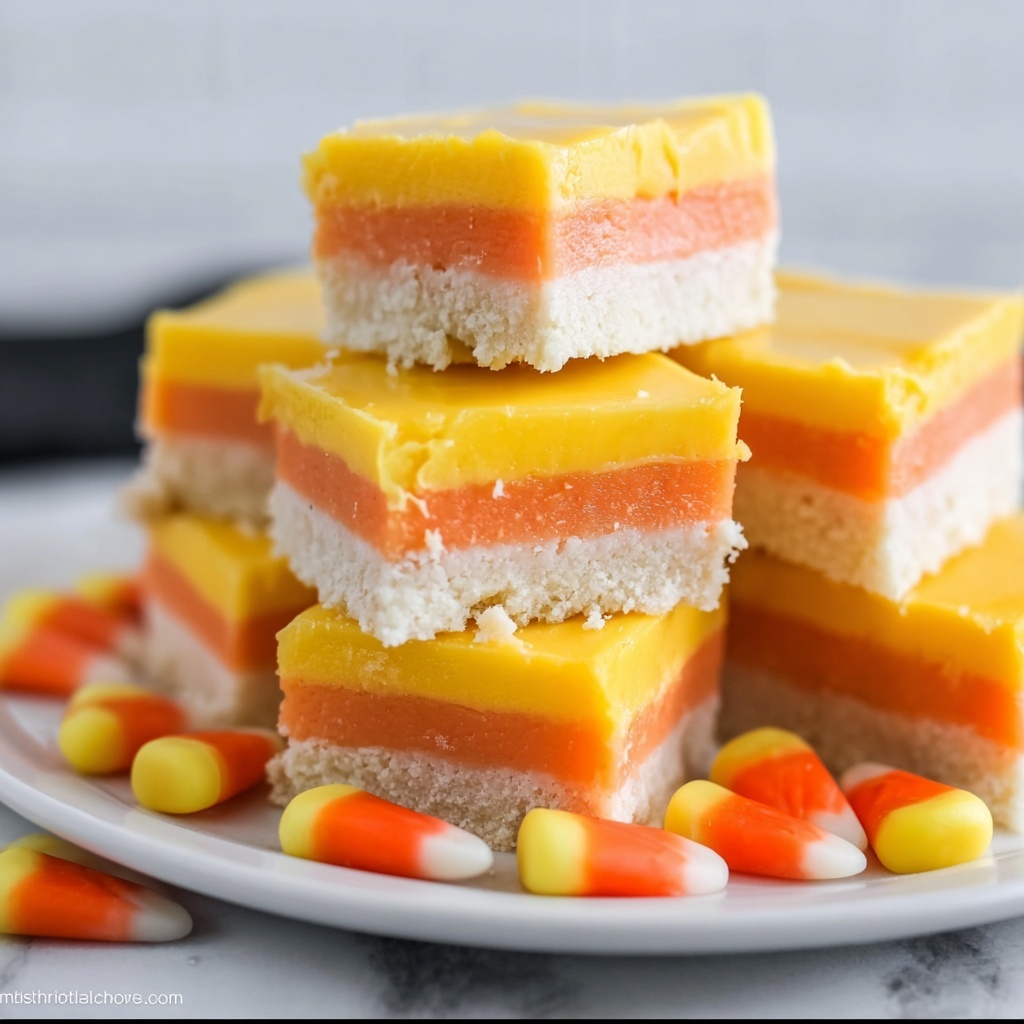
There is something irresistibly festive and delicious about this Halloween Fudge Recipe that makes it the perfect treat for spooky season. With vibrant layers of orange, yellow, and white candy melts blended with creamy sweetened condensed milk, this fudge not only looks like a Halloween dream but melts in your mouth with a smooth and luscious texture. Whether you’re preparing a Halloween party treat or simply wanting to indulge in a colorful, sweet snack, this recipe offers an easy, fun way to bring seasonal magic right into your kitchen.
Ingredients You’ll Need
Don’t let the simplicity of this Halloween fudge deceive you; each carefully chosen ingredient plays a special role in building the flavor, texture, and iconic color layers that make this treat shine. Gathering the right balance of candy melts and condensed milk is essential for a smooth and rich fudge that sets beautifully yet remains delightfully creamy.
- Orange candy melts: These provide the signature bright, pumpkin-inspired layer and bring just the right sweetness and color pop.
- Yellow candy melts: Adding a sunny, contrasting layer, these help make the fudge look as joyful as it tastes.
- White chocolate chips or candy melts: This base layer adds creaminess and a subtle vanilla flavor that balances the vibrant colors.
- Sweetened condensed milk (9-12 tablespoons): It’s the magic ingredient for that signature soft, melt-in-your-mouth fudge texture; adjust the amount to achieve your preferred softness.
How to Make Halloween Fudge Recipe
Step 1: Prepare Your Pan
Begin by greasing and lining a loaf pan or a small baking tray approximately 9″ x 4″. This setup ensures your layers release easily and keeps the fudge perfectly shaped once set. Taking this extra prep step means clean cuts and no sticky mess later.
Step 2: Separate and Melt Your Candy Melts
Place the orange, yellow, and white candy melts into separate microwave-safe bowls. This separation is key to preserving the distinct color layers of the fudge while giving you control over the melting process. No rushing here — it’s all about patience for beautiful, smooth layers.
Step 3: Melt the White Candy Coating First
Microwave the white chocolate chips or candy melts for about 25 seconds, then stir well. Repeat heating briefly as needed until fully melted and silky smooth. This starting layer sets the tone both visually and flavor-wise for your Halloween Fudge Recipe.
Step 4: Incorporate Sweetened Condensed Milk into the White Layer
Mix in 3 to 4 tablespoons of sweetened condensed milk, tasting as you go — more milk means a softer fudge, so find the texture that makes your taste buds happy. Spread this moist, creamy layer evenly into your prepared pan, smoothing it with an offset spatula or the back of a spoon. Chill in the fridge while you prepare your next layers.
Step 5: Repeat with Orange Candy Coating
Now melt the orange candy melts following the same method: microwave, stir, heat gently if needed until fully melted. Stir in sweetened condensed milk again, along with taste-testing for desired softness, then gently spread over the chilled white fudge layer to keep those neat, colorful bands intact.
Step 6: Final Layer with Yellow Candy Coating
Finish your colorful masterpiece by melting and mixing the yellow candy melts with the condensed milk, then smoothing this final sunny layer over the orange. Each layer is a step closer to that perfect Halloween Fudge Recipe that dazzles eyes and delights palates.
Step 7: Chill and Set
Refrigerate your fudge for at least 3 hours, preferably overnight, so it can fully firm up. This slow setting ensures clean cuts and the best texture — soft but holding its shape — perfect for sharing or gifting this spooky treat.
How to Serve Halloween Fudge Recipe
Garnishes
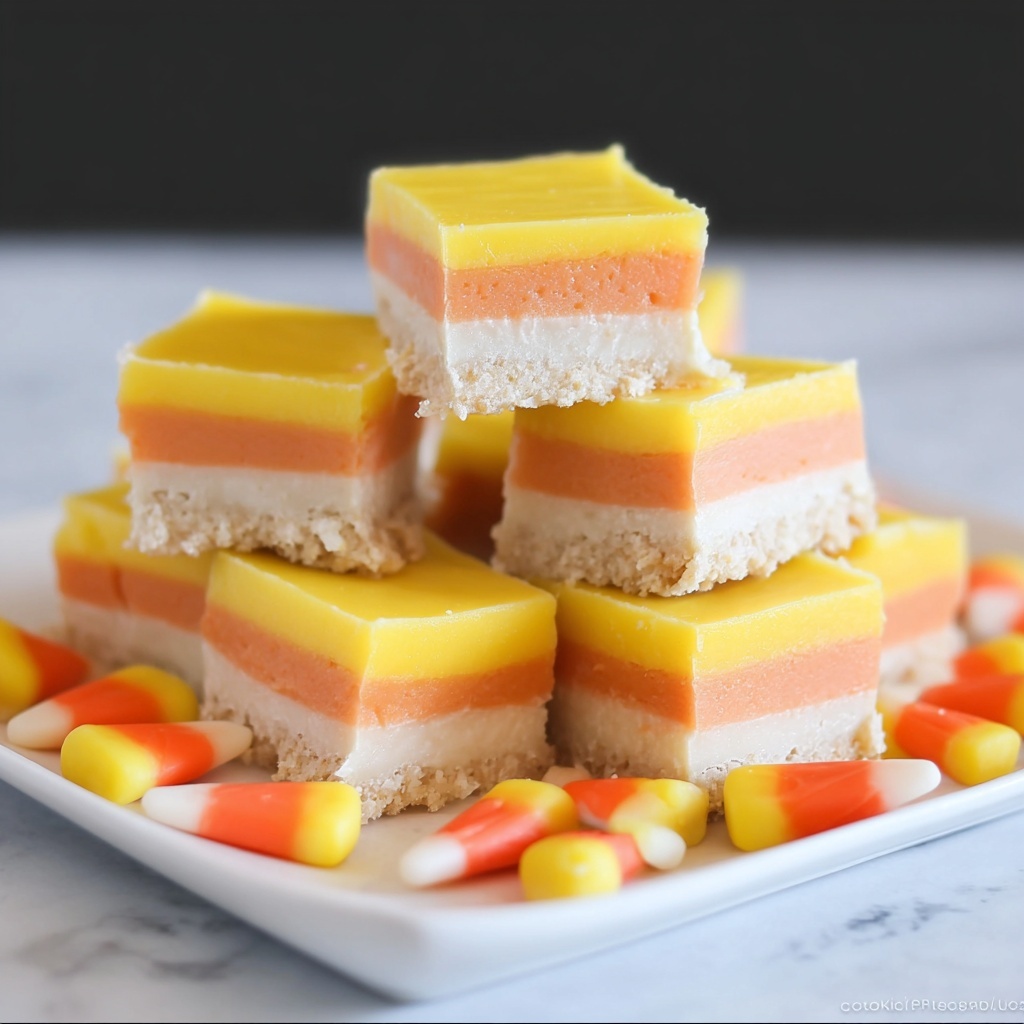
While this fudge is beautiful on its own, adding some festive garnishes can take it to the next level. Consider sprinkling crushed candy corn, mini chocolate chips, or edible Halloween-themed sprinkles on top before it sets for a little extra crunch and seasonal charm.
Side Dishes
Pair your fudge with warm drinks like spiced cider, pumpkin spice lattes, or even a cozy hot chocolate for a classic fall duo. The creamy sweetness of the fudge balances wonderfully with warm beverages, making it an ideal addition to any Halloween snack spread.
Creative Ways to Present
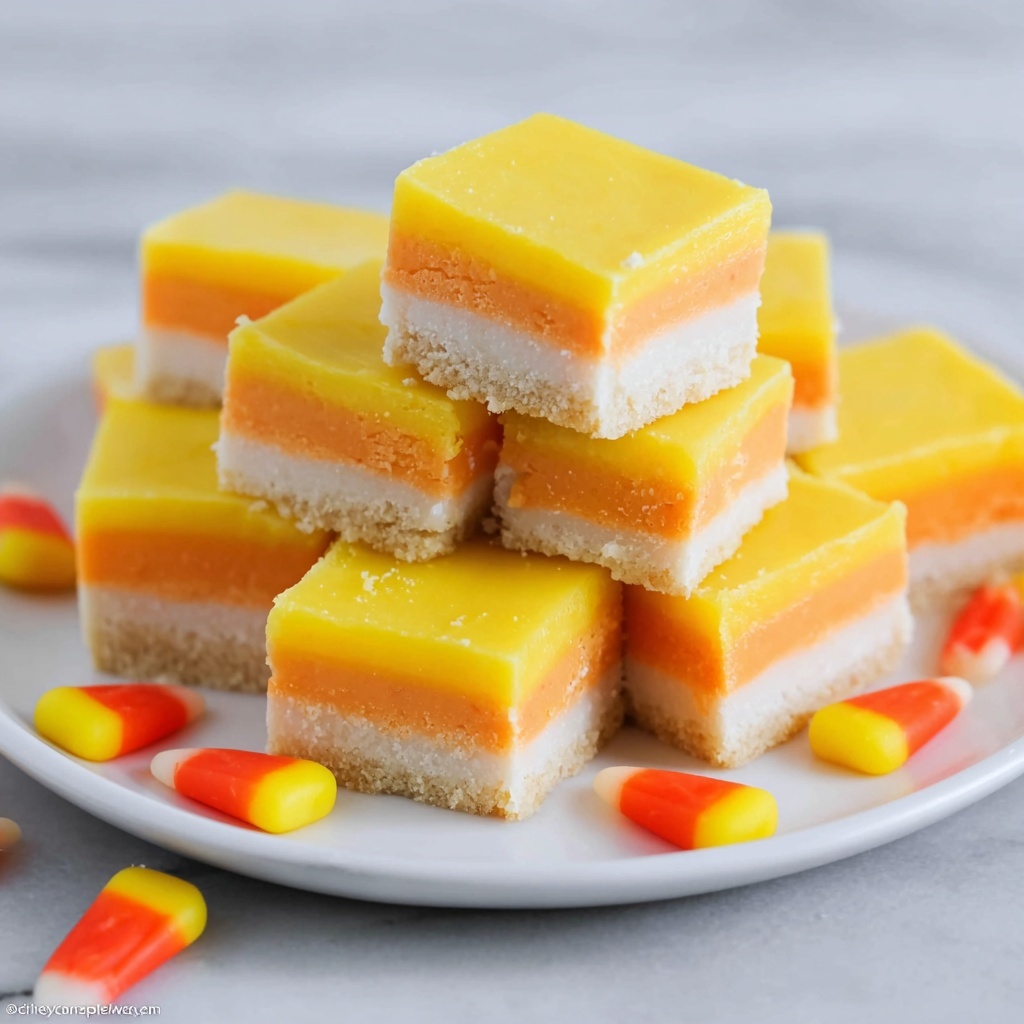
Cut the fudge into festive bite-sized squares and arrange them on a dark or spider-web-themed platter. You can even stack them in clear treat bags tied with orange and black ribbons, perfect as party favors. For a fun twist, try layering the fudge pieces in a mason jar with other Halloween candies for a unique and tasty gift.
Make Ahead and Storage
Storing Leftovers
Your Halloween Fudge Recipe keeps beautifully in an airtight container in the refrigerator for up to two weeks. This ensures it remains fresh, smooth, and ready whenever you want a sweet, seasonal indulgence.
Freezing
If you want to keep your fudge longer, it freezes very well. Wrap the fudge tightly in plastic wrap, then place it inside a freezer-safe bag or container. It can last for up to three months in the freezer, maintaining both texture and flavor when thawed gently.
Reheating
Fudge doesn’t require reheating, but if it becomes too firm after refrigeration or freezing, allow it to sit at room temperature for 10-15 minutes before serving. This softens the texture, bringing back that perfect melt-in-your-mouth quality you love about the Halloween Fudge Recipe.
FAQs
Can I use chocolate chips instead of candy melts?
Absolutely! White chocolate chips work wonderfully in this recipe and add a rich, creamy flavor. The key is to melt them gently and mix with sweetened condensed milk to maintain that smooth fudge texture.
How can I make the fudge firmer?
Use less sweetened condensed milk during mixing for a firmer texture. Keep in mind that adding more milk will make the fudge softer and creamier, so adjust according to your preference.
Is it possible to add flavors like peppermint or vanilla?
Yes! A few drops of peppermint or vanilla extract mixed into the melted candy melts can add a delightful twist. Just be careful not to add too much liquid, which might affect the fudge’s consistency.
Can this recipe be made vegan or dairy-free?
This particular Halloween Fudge Recipe relies on sweetened condensed milk and candy melts that usually contain dairy. For a dairy-free version, look for vegan candy melts and substitute with a vegan condensed milk alternative, but expect a slight variation in texture.
What’s the best way to cut the fudge without it crumbling?
Use a sharp, clean knife and warm the blade under hot water before each cut, wiping it dry. This method helps slice through the fudge smoothly, keeping your squares clean and beautiful for serving.
Final Thoughts
There is truly nothing like making and sharing this Halloween Fudge Recipe to bring a little extra sweetness and color to the season. With its easy steps and vibrant layers, it’s a recipe that’s as fun to create as it is to enjoy. Go ahead, try it out, and watch as it becomes your new favorite festive tradition everyone will ask for again and again!
Print
Halloween Fudge Recipe
- Prep Time: 15 minutes
- Cook Time: 5 minutes
- Total Time: 3 hours 20 minutes
- Yield: 10 squares
- Category: Dessert
- Method: No-Cook
- Cuisine: American
Description
This festive Halloween Fudge recipe layers smooth white, orange, and yellow candy melts combined with sweetened condensed milk to create a colorful and creamy treat perfect for the spooky season. Easy to prepare and no baking required, this fudge is a delightful, sweet dessert that can be made ahead for parties or trick-or-treat celebrations.
Ingredients
Fudge Layers
- 3/4 cup orange candy melts
- 3/4 cup yellow candy melts
- 3/4 cup white chocolate chips or white candy melts
- 9–12 Tablespoons sweetened condensed milk
Instructions
- Prepare Pan: Grease and line a 9″ x 4″ loaf pan or a similar small baking tray with parchment paper to ensure easy removal of the fudge after it sets.
- Melt Candy Coatings: Place white chocolate chips or white candy melts in a microwave-safe bowl. Microwave in 25-second intervals, stirring thoroughly between each session until fully melted and smooth.
- Mix White Layer: Stir in 3 to 4 tablespoons of sweetened condensed milk into the melted white chocolate mixture, adjusting to achieve your preferred softness. Pour and spread this mixture evenly into the prepared pan using an offset spatula or the back of a spoon. Chill in the refrigerator to set.
- Melt Orange Layer: Repeat the melting process with the orange candy melts, microwaving in short bursts and stirring until smooth.
- Mix Orange Layer: Add 3 to 4 tablespoons of sweetened condensed milk to the orange candy melts and mix well. Spread this layer evenly over the set white fudge.
- Melt Yellow Layer: Similarly, melt the yellow candy melts and stir in the remaining sweetened condensed milk to your taste.
- Top with Yellow Layer: Pour and smooth the yellow candy melt mixture over the orange layer, creating a vibrant three-color fudge.
- Chill and Serve: Refrigerate the assembled fudge for at least 3 hours or overnight until firm. Once set, cut into squares and serve as a festive Halloween treat.
Notes
- Adjust the amount of sweetened condensed milk to control the fudge’s softness; more milk yields a softer texture.
- If candy melts are difficult to melt, stir frequently and microwave in short intervals to avoid burning.
- Use an offset spatula for smooth layers and neater presentation.
- Store fudge in an airtight container in the refrigerator for up to one week.
- Variations can include adding edible glitter or small Halloween themed sprinkles on top before chilling.


