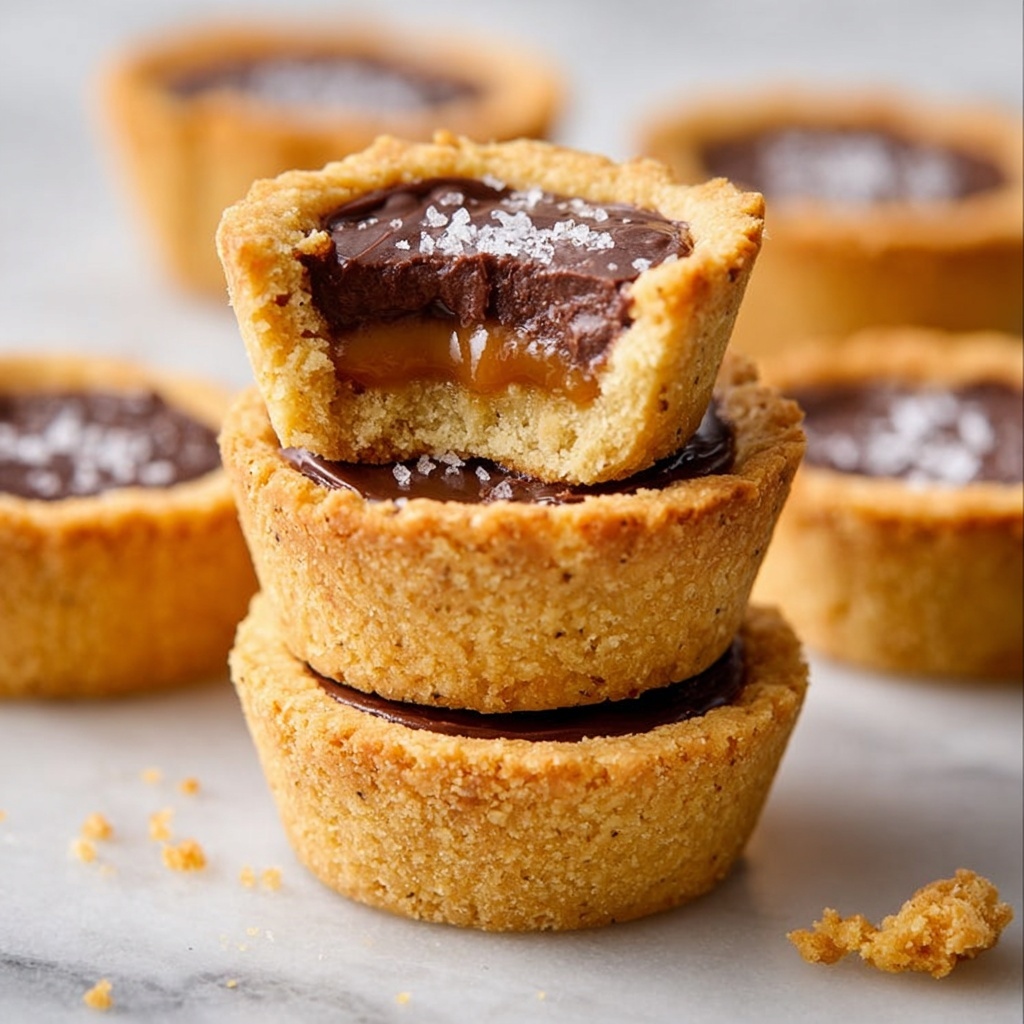
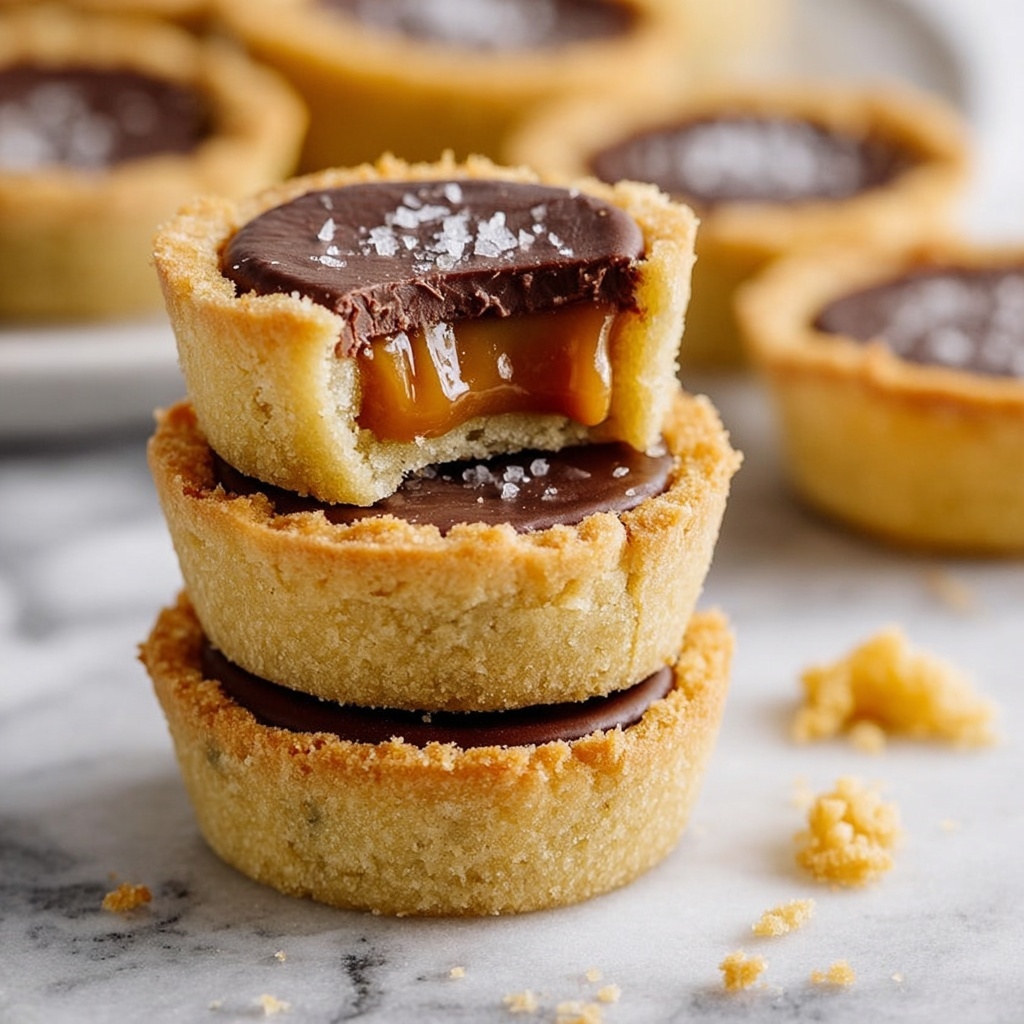
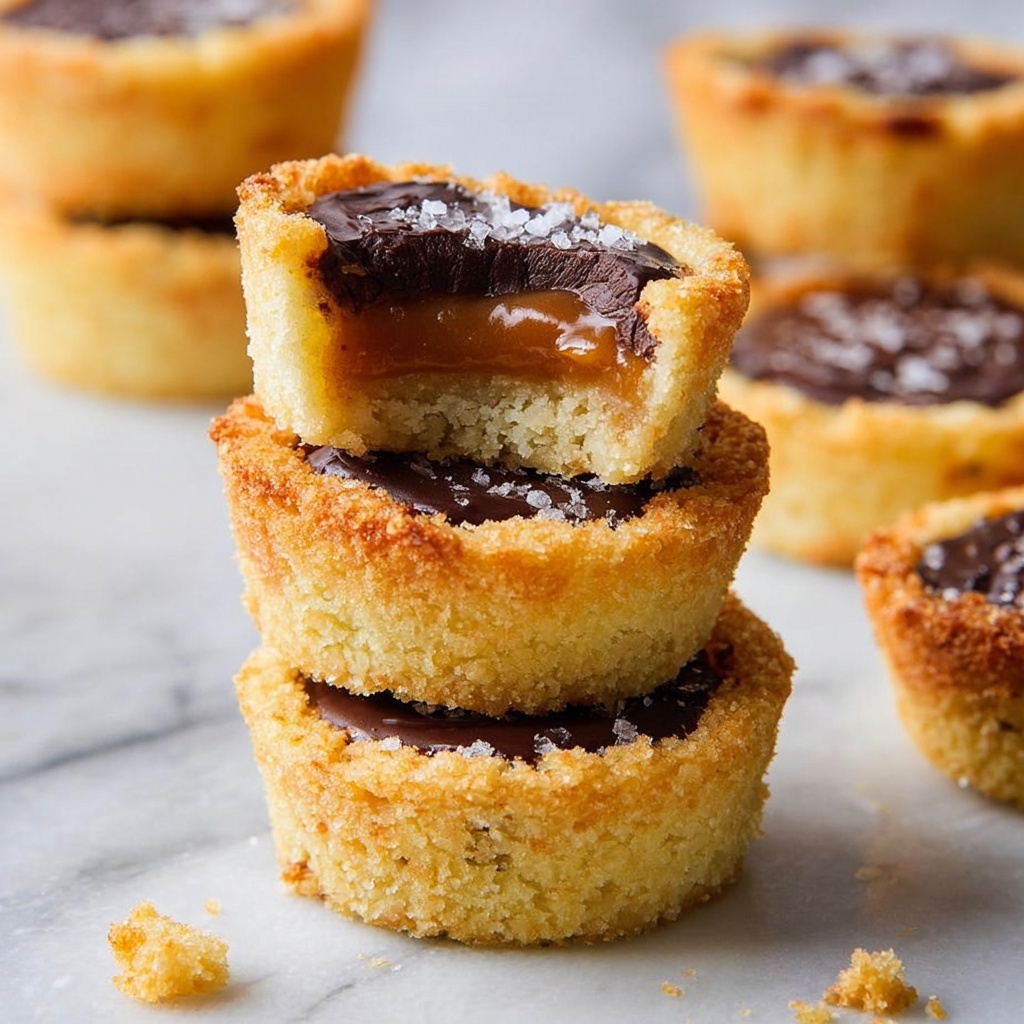
If you are dreaming of a treat that combines buttery cookie goodness, gooey caramel, and rich chocolate all in one delightful bite, the Twix Cookie Cups Recipe is your new best friend in the kitchen. This fun and delicious dessert takes the beloved flavor combo of a Twix bar and transforms it into cute, perfectly portioned cookie cups that are as satisfying to make as they are to eat. Whether for an indulgent snack or a crowd-pleasing party delight, these cookie cups deliver layers of texture and flavor that feel like a warm hug.
Ingredients You’ll Need
Gathering simple, quality ingredients is the secret to nailing this Twix Cookie Cups Recipe. Each component plays a crucial role—from the tender sugar cookie dough forming the crispy shell to the luscious caramel filling and smooth chocolate topping that finish with a sweet flourish.
- 16.5 ounces pre-made refrigerated sugar cookie dough: Using refrigerated dough makes this recipe a breeze without sacrificing that fresh-baked taste.
- 2 cups caramel bits: These melt beautifully to create a gooey, sticky center reminiscent of a classic twix bar.
- 1-2 tablespoons water: To help soften the caramel bits into a silky texture perfect for filling.
- 2 cups milk chocolate chips: Melted on top to add a creamy, rich chocolate layer that contrasts perfectly with the caramel.
- Sea salt (optional): A pinch on top balances the sweetness and adds a gourmet touch.
How to Make Twix Cookie Cups Recipe
Step 1: Prepare Your Oven and Tin
Preheat your oven to 350°F and prepare your cupcake tin by greasing it or spraying with non-stick spray. This simple prep ensures the cookie cups come out beautifully without sticking and ready to be molded.
Step 2: Shape the Cookie Cups
Slice the refrigerated sugar cookie dough into about half-inch thick rounds. Gently press each round into your cupcake molds with your fingers, making sure the dough hugs the bottom and sides firmly to create the perfect cup shape ready to hold caramel and chocolate.
Step 3: Bake Until Slightly Golden
Bake the cookie-lined cupcake tin for 10 to 12 minutes or until the edges turn a lovely golden color. Keep an eye on them as ovens vary so they don’t overbake and lose their tender chewiness.
Step 4: Form the Cups
Once baked, while still warm, gently press the center of each cookie down with a rounded object like the end of a shot glass to create more space for the caramel filling. This molds the cookie perfectly without cracking.
Step 5: Remove Cookies from Tin
Let the cookie cups cool enough to handle, then carefully lift them out of the tin. They are delicate now but will firm up more once fully cooled.
Step 6: Melt and Fill with Caramel
Heat the caramel bits with 1-2 tablespoons of water in the microwave, stirring every 30 seconds until melted into a smooth, spreadable caramel sauce. Spoon the caramel into each cookie cup, filling about two-thirds full for that irresistibly gooey center.
Step 7: Chill to Set the Caramel
Place the caramel-filled cookie cups in the refrigerator for about 20 minutes so the caramel sets nicely before the next delicious layer.
Step 8: Add the Chocolate Layer
While the caramel chills, melt the milk chocolate chips in the microwave in 30-second increments, stirring in between, until silky smooth. Pour the melted chocolate over each caramel cup, creating a decadent top layer.
Step 9: Final Chill and Optional Sea Salt Sprinkling
Sprinkle a pinch of sea salt on each cookie cup if you like that sweet-and-salty flavor boost. Then set the cookie cups back into the refrigerator for another 20 minutes to firm up the chocolate before indulging.
How to Serve Twix Cookie Cups Recipe
Garnishes
To elevate your Twix Cookie Cups Recipe further, consider toppings like finely chopped nuts for crunch or a drizzle of white chocolate for contrast. A sprinkle of sea salt works wonders to highlight all the caramel and chocolate flavors.
Side Dishes
Serve these cookie cups alongside a scoop of vanilla ice cream or a dollop of whipped cream to add a creamy component that complements the rich cookie and caramel. Fresh berries also add a refreshing pop and balance the sweetness.
Creative Ways to Present
For a fun twist, place each cookie cup in colorful mini cupcake liners or on a decorative serving tray lined with parchment. They make delightful individual gifts or festive additions to dessert tables that grab attention instantly.
Make Ahead and Storage
Storing Leftovers
Store your Twix Cookie Cups Recipe leftovers in an airtight container in the refrigerator to keep the caramel and chocolate firm. They stay fresh for up to 4 days.
Freezing
These cookie cups freeze well! Place them in a single layer on a baking sheet to freeze solid, then transfer to a freezer-safe container. Thaw in the refrigerator overnight before serving.
Reheating
If you prefer a warm treat, gently reheat the cookie cups in the microwave in 10-second bursts just until slightly soft but not melted. This brings back that fresh-from-the-oven coziness.
FAQs
Can I make these cookie cups from scratch?
Absolutely! While pre-made refrigerated sugar cookie dough keeps things simple and quick, you can use your favorite homemade sugar cookie dough recipe if you prefer to bake from scratch.
What if I can’t find caramel bits?
If caramel bits are hard to find, you can substitute with soft caramel squares chopped into small pieces, then follow the same melting process with water to create the smooth filling.
Can I use dark chocolate instead of milk chocolate?
Yes, dark chocolate provides a richer, slightly more bitter contrast to the sweet caramel and cookie, giving your Twix Cookie Cups Recipe a gourmet twist perfect for less sweet palates.
Is it necessary to chill the cookie cups between layers?
Chilling between layers is important to help the caramel and chocolate set properly, preventing them from mixing together and keeping each texture distinct and delightful.
How long do these cookie cups last?
When stored properly in the refrigerator, they maintain their best texture and flavor for about 4 days. Beyond that, the cookie may start to soften too much.
Final Thoughts
This Twix Cookie Cups Recipe is truly a show-stopper that combines ease and incredible flavor into one adorable dessert. I can’t wait for you to try making these for yourself and share them with friends and family. Trust me, once you taste that gooey caramel and melty chocolate inside a crisp cookie cup, it’ll become a new favorite you’ll want to bake again and again!
Print
Twix Cookie Cups Recipe
- Prep Time: 20 minutes
- Cook Time: 15 minutes
- Total Time: 55 minutes
- Yield: 12 cookie cups
- Category: Dessert
- Method: Baking
- Cuisine: American
Description
These Twix Cookie Cups combine crispy sugar cookie shells filled with creamy caramel and topped with rich milk chocolate and a hint of sea salt for a delightful homemade candy treat. Perfect for serving at parties or enjoying as a sweet snack, these cookie cups feature the classic Twix flavor in a fun and easy-to-make bite-sized form.
Ingredients
Cookie Dough
- 16.5 ounces pre-made refrigerated sugar cookie dough (468 grams, 1 package)
Caramel Filling
- 2 cups caramel bits (312 grams)
- 1–2 tablespoons water (14–28 grams)
Chocolate Topping
- 2 cups milk chocolate chips (340 grams)
- Sea salt (optional, for topping)
Instructions
- Preheat and Prepare: Preheat your oven to 350°F. Grease or spray a cupcake tin to prevent sticking and set aside.
- Shape Cookie Cups: Slice the refrigerated sugar cookie dough into ½-inch rounds. Press each slice firmly into the bottom and up the sides of each cupcake mold to form a cup shape, ensuring the dough adheres evenly.
- Bake Cookie Cups: Bake the cookie cups for 10-12 minutes, watching closely until they turn slightly golden but not burnt. Oven times may vary.
- Create Cup Shape: Remove from oven and immediately press the center of each cookie cup down using the end of a shot glass or similar object to deepen the cup shape.
- Cool and Remove: Allow the cookies to cool slightly, then carefully remove each cookie cup from the tin using a butter knife or similar tool.
- Melt and Fill Caramel: Microwave the caramel bits with 1-2 tablespoons of water in 30-second intervals, stirring between each until melted and creamy. Fill each cookie cup about two-thirds full with the melted caramel mixture.
- Set Caramel: Refrigerate the filled cookie cups for about 20 minutes to allow the caramel to set properly.
- Melt Chocolate: While the caramel is setting, melt the milk chocolate chips in the microwave using 30-second intervals, stirring between heating until smooth.
- Add Chocolate and Salt: Remove the cookie cups from the refrigerator and pour melted chocolate evenly over the top of each cookie. Optionally, sprinkle a pinch of sea salt on each for enhanced flavor.
- Final Chill: Return the cookie cups to the refrigerator for an additional 20 minutes to let the chocolate harden before serving.
Notes
- Use pre-made refrigerated sugar cookie dough to save time and ensure consistent results.
- If you don’t have a shot glass, use the bottom of a spice jar or wooden spoon to press the cookie cups.
- Adjust the amount of water when melting caramel to achieve a smooth and creamy consistency.
- Sea salt is optional but highly recommended to balance the sweetness.
- Store leftovers in an airtight container in the refrigerator to maintain freshness.

